SC-F9200 Series Revision C
ADJUSTMENT Head Related Checks and Adjustments 320
SE Group Confidential (Related Staff Only)
8. Remove the CR Cover. (P. 139)
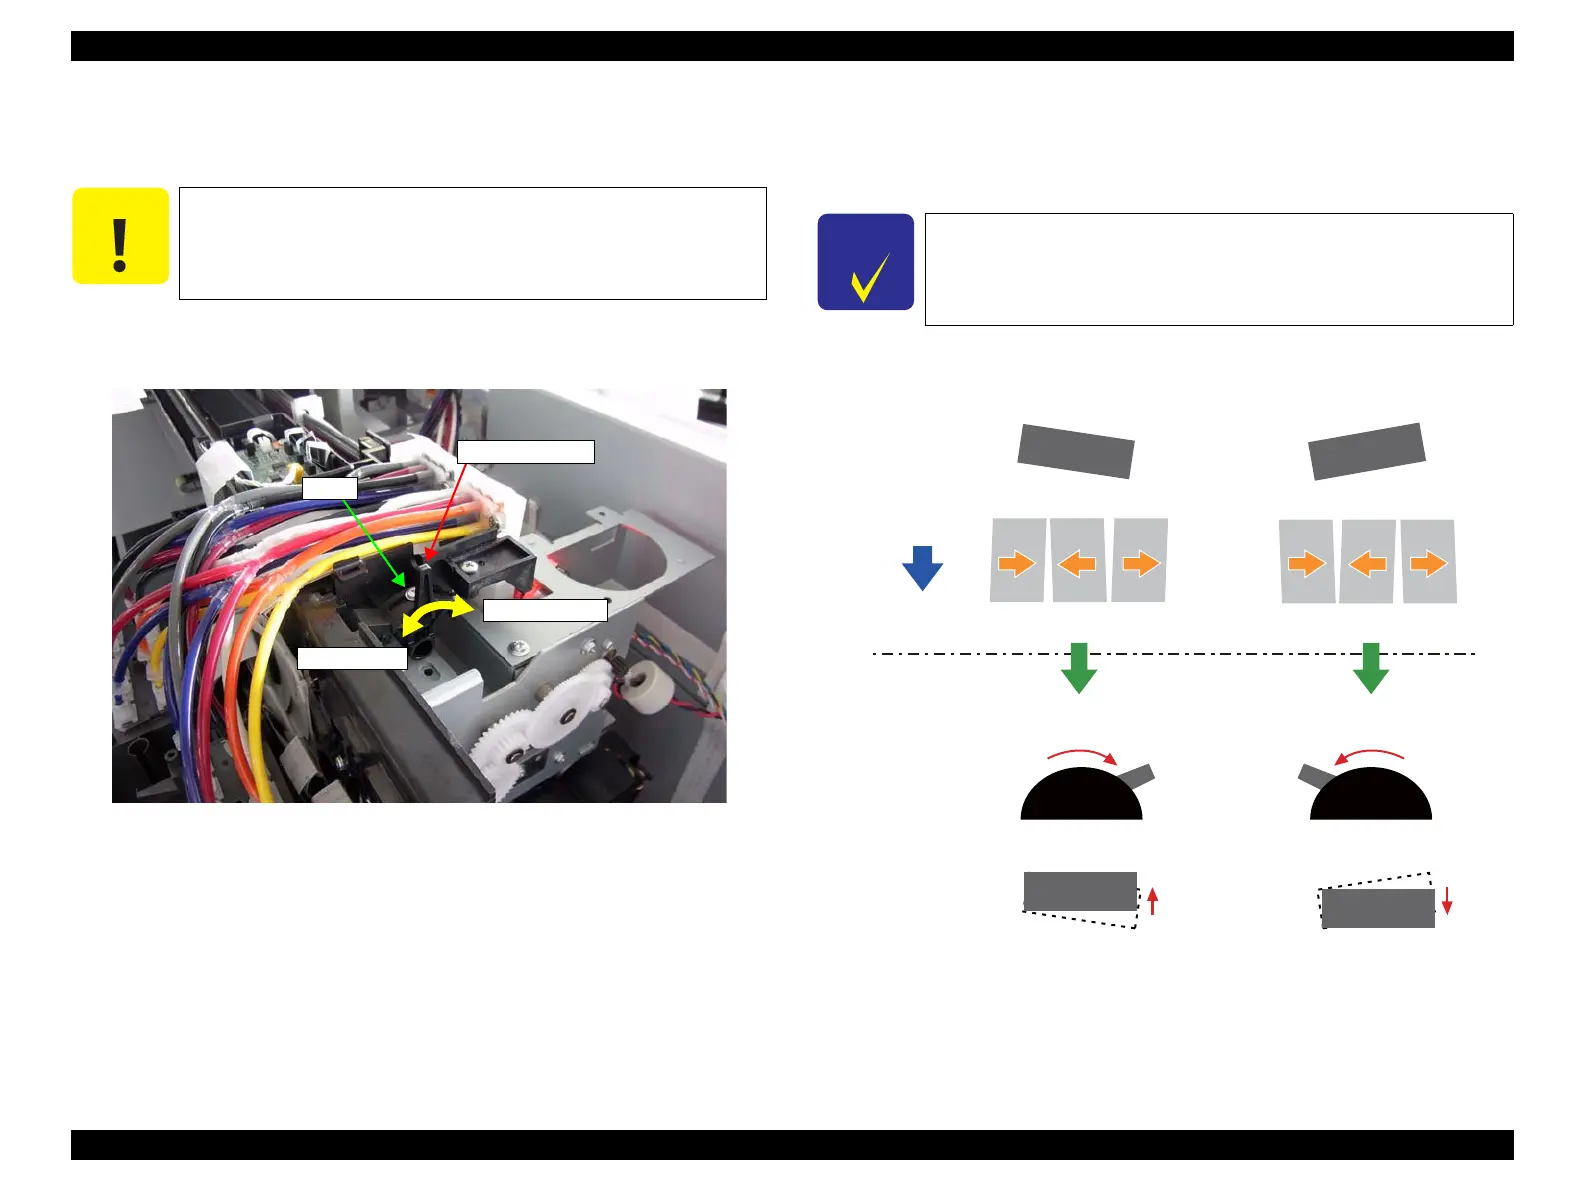
9. Loosen the screw that secures the Adjustment Knob.
10. Move the Adjustment Knob to correct the head slant.
See Figure 4-41 for which direction to move the knob.
Figure 4-41. Correcting the Head Slant
11. Tighten the screw to secure the Adjustment Knob.
12. Print the pattern and see if the slant is corrected. If not, repeat the procedure until
normal pattern is printed.
x
13. When finished, click [Finish] and turn the printer OFF.
Figure 4-42. Adjustment
Be careful not to completely remove the screw that secures the
Adjustment Knob.
Adjustment Knob
Screw
Minus direction
Plus direction
When the result does not fall within the adjustable range if you try
it a few times, perform the PG Adjustment (P. 306) first and try
again.
Print Head
Print Head
Print Head
FrontRear
Print Head
FrontRear
FrontRear FrontRear
Paper feed direction
Condition of the head
Adjustment knob
Printed pattern

 Loading...


