SC-F9200 Series Revision C
TROUBLE SHOOTING Other Troubles 73
SE Group Confidential (Related Staff Only)
15. Select Tube inner cleaning.
Select the corresponding color rows, and press the [Run] button to fill the cleaning
liquid. (Page 333)
16. Discard the waste ink.
17. Remove the cleaning cartridges.
18. Lower the lock levers.
19. Turn off the printer.
20. Start the printer in the Serviceman Mode.
Turn on the printer while pressing [Menu] + [Back] + [OK].
21. Select Ink Eject.
Select the corresponding color rows, and press the [Run] button to eject the
cleaning liquid. (Page 332)
22. Select Switch between Ink cartridges and Ink tanks.
Select the corresponding color rows and Ink tank, and press the [Run] button to
validate the ink tanks. (Page 329)
23. Turn off the printer.
24. Install the new ink tanks. (Page 207)
25. Install the chip units, and then pour ink into the ink tanks.
26. Lower the lock levers.
27. Turn on the printer.
28. Select Initial ink charge.
Select the corresponding color rows, and press the [Run] button to perform the
initial ink charge. (Page 334)
29. Select Nozzle Check.
Select Nozzle Check Pattern Print, and press the [Run] button to perform the
nozzle check. (Page 311)
30. Perform cleaning if necessary. (Page 313)
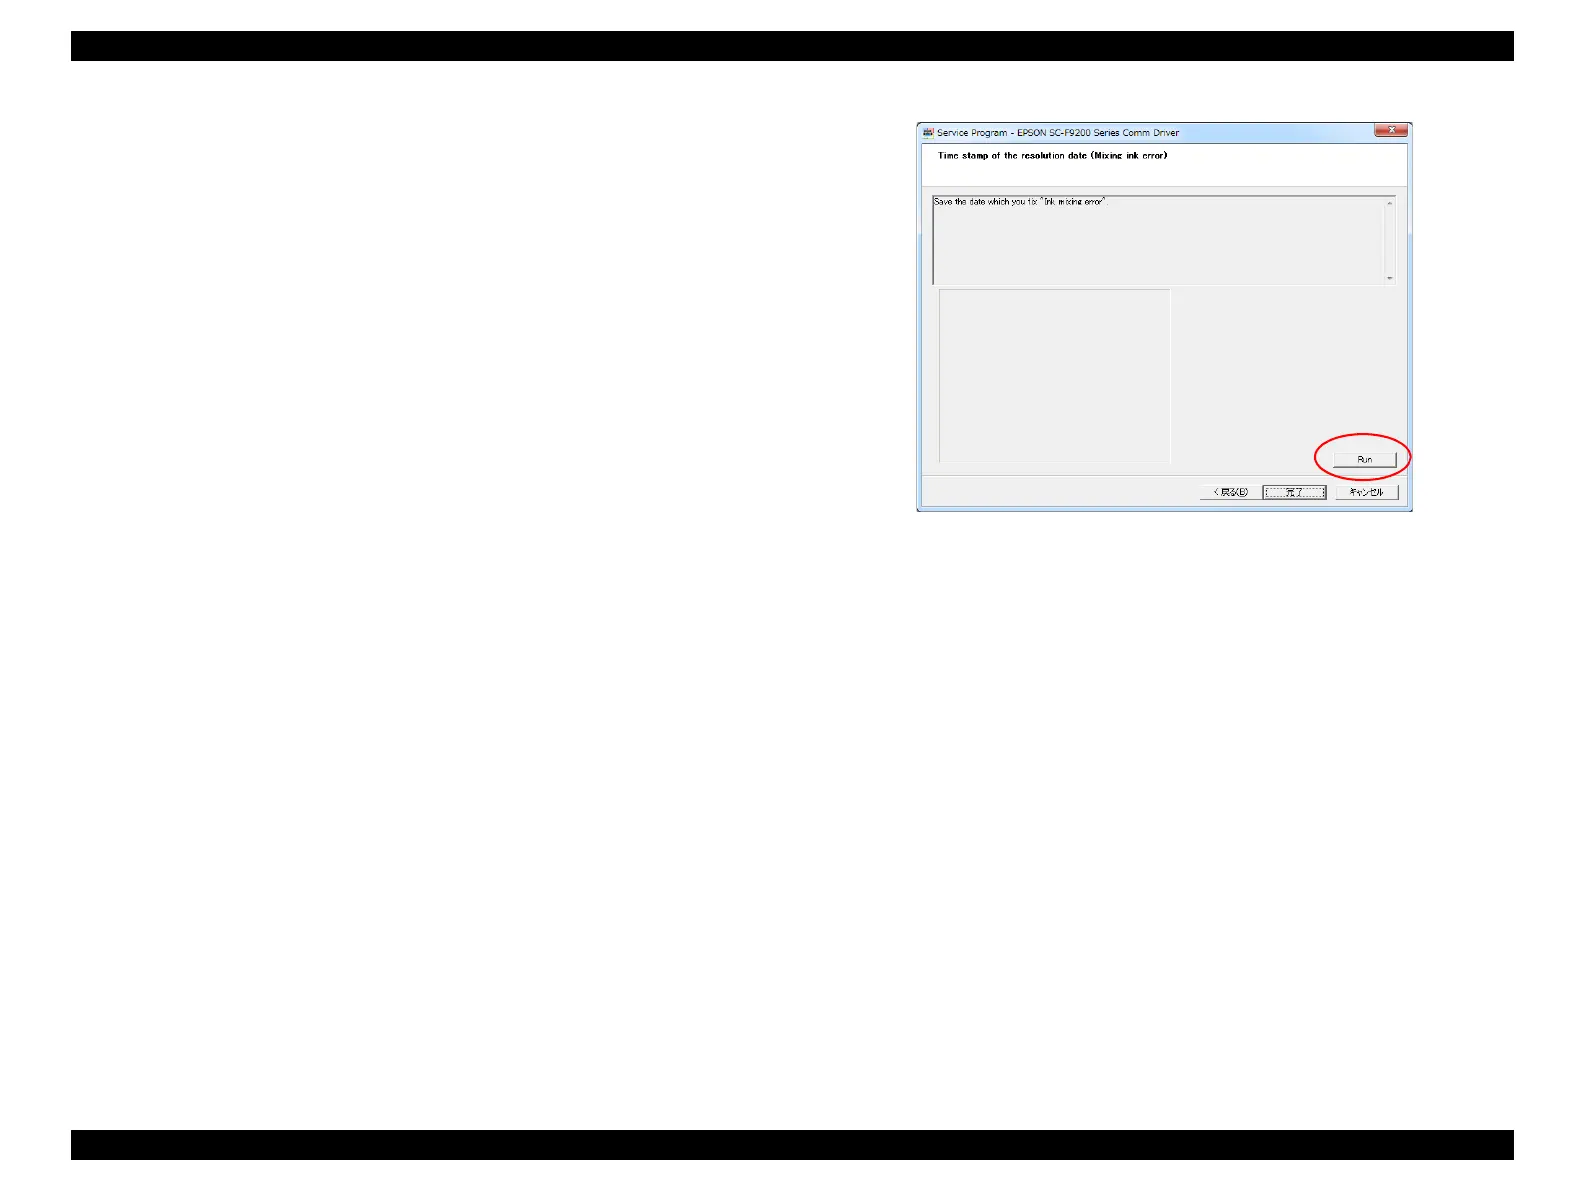
31. Select Time stamp of the resolution date (Mixing ink error).
Click [Run] button.
Figure 2-1. [Time stamp of the resolution date (Mixing ink error)] screen

 Loading...


