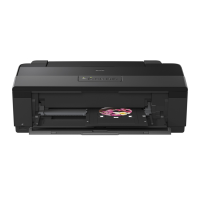
Testing the Printer
Use paper at least 8.27 inches (210 mm) wide; otherwise the
print head sprays ink directly on the platen, which could
smudge your next document.
1. Make sure the printer is turned off.
2. While holding down the
Load/Eject
button, press the
Operate
( ) button.
The self test begins by printing on the first and last lines of
the first sheet of paper to measure the page length. Then the
printer prints character samples on the next sheet of paper in
the available fonts and colors.
3. To pause the test, press the
Pause
button. (The test may
continue to print for a few seconds.) Otherwise, the test
continues until the paper in the sheet feeder runs out. To
resume the test, press the
Pause
button again.
4. To end the self test, press the
Pause
button and turn off the
printer by pressing the
Operate
button.
Note:
Do not turn off the printer before pressing the
Pause
button.
Otherwise, a cleaning cycle occurs when you turn it on again and ink
is wasted.
If the quality of the test output is not good, clean the print
heads as described in Chapter 5. Note that it might take as
many as three cleaning cycles to solve the problem. If cleaning
the print heads does not improve the print quality, see
Chapter 6, “Troubleshooting.”
1-14
Setting Up

 Loading...


