EPSON Stylus CX3100/3200 Revision A
Disassembly and Assembly Overview 36
4.1.2 Tools
Use only specified tools to avoid damaging the machine.
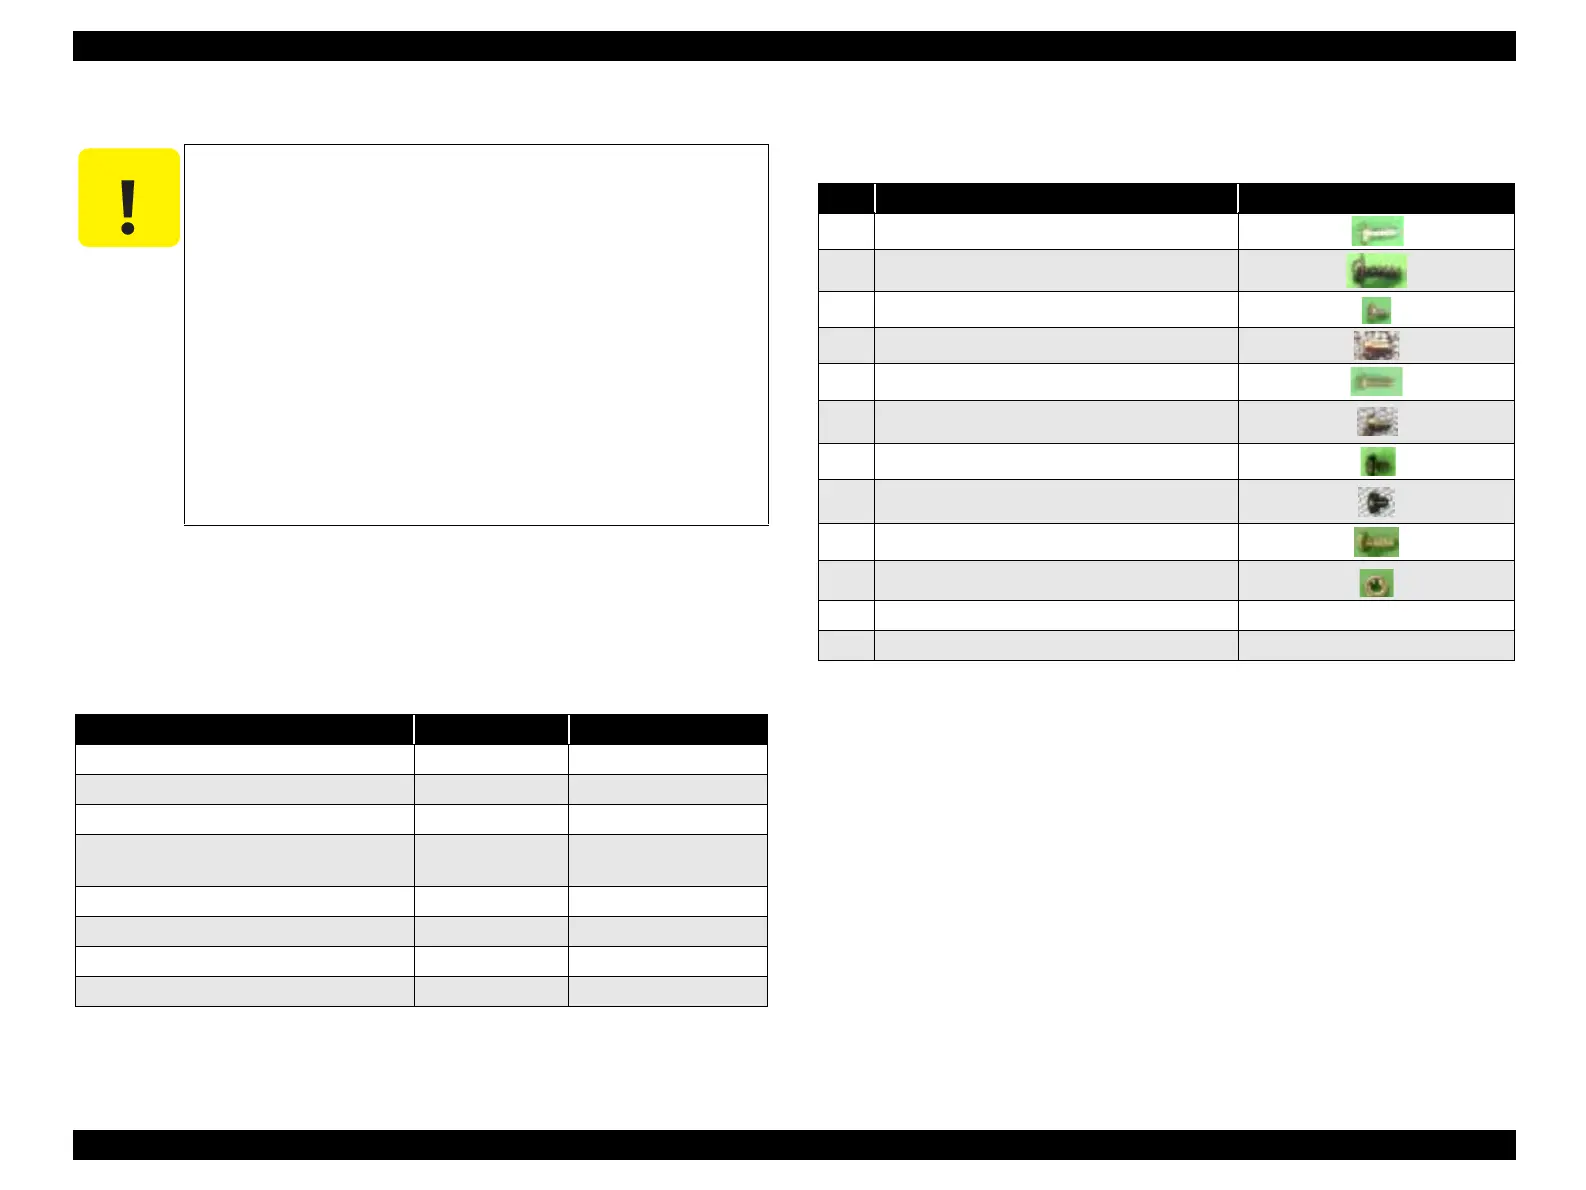
4.1.3 Screws
*x*: Screw nominal size x nominal length
C A U T I O N
Use only recommended tools for disassembling, assembling or
adjusting the machine.
Observe the specified torque when tightening screws.
Apply lubricants and adhesive as specified.
Once you have disassembled this machine, make the specified
adjustments.
(See Chapter 5 for details.)
At assembly, make sure that the ink tube has been installed in
the correct position. If it is not in the correct position, ink can
leak.
Never remove the ink cartridge from the carriage unless this
manual specifies to do so.
When transporting the printer after installing the ink
cartridge, be sure to pack the printer for transportation
without removing the ink cartridge.
Table 4-1. Tools
Tool Name Available from Tool Code
Phillips screw driver #2 EPSON 1080532
Phillips screw driver #1 EPSON 1080530
Tweezers EPSON 1080561
Hexagonal box driver
(opposite side: 5.5mm)
EPSON 1080584
M3 (5.5mm) wrench EPSON -
Radio pliers EPSON -
Acetate tape EPSON 1003963
Tension gauge (2000cN) EPSON 1213123
Table 4-2. Screws
No. Description Appearance
1 CBP-Tite *x* F/Ni
2 C.C.P-Tite *x* F/Zb
3 C.B.S. *x* F/Zn
4 C.C.S-Tite *x*
5 C.B.S-Tite *x* F/Zn
6 C.B.S-Tite (P4) *x* F/Zn
7 Bind B-Tite sems W2, 2.5x5F/Zb
8 C.B.(O) SCREW *x* F/Zg
9 C.B.P-Tite *x* F/Zn
10 M3 Hexagon nut
 Loading...