EPSON Stylus CX3100/3200 Revision A
Disassembly and Assembly Disassembly of Printer 49
4.4.4 Waste Ink Pad Removal
1. Remove the Middle Housing. (See “Middle Housing Removal” on page 44.)
2. Remove the ASF Unit. (See “ASF Unit Removal” on page 48)
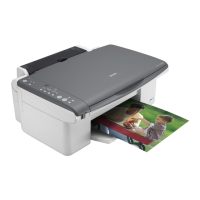
3. Remove the Tube Holder.
Figure 4-27. Removing the Tube Holder
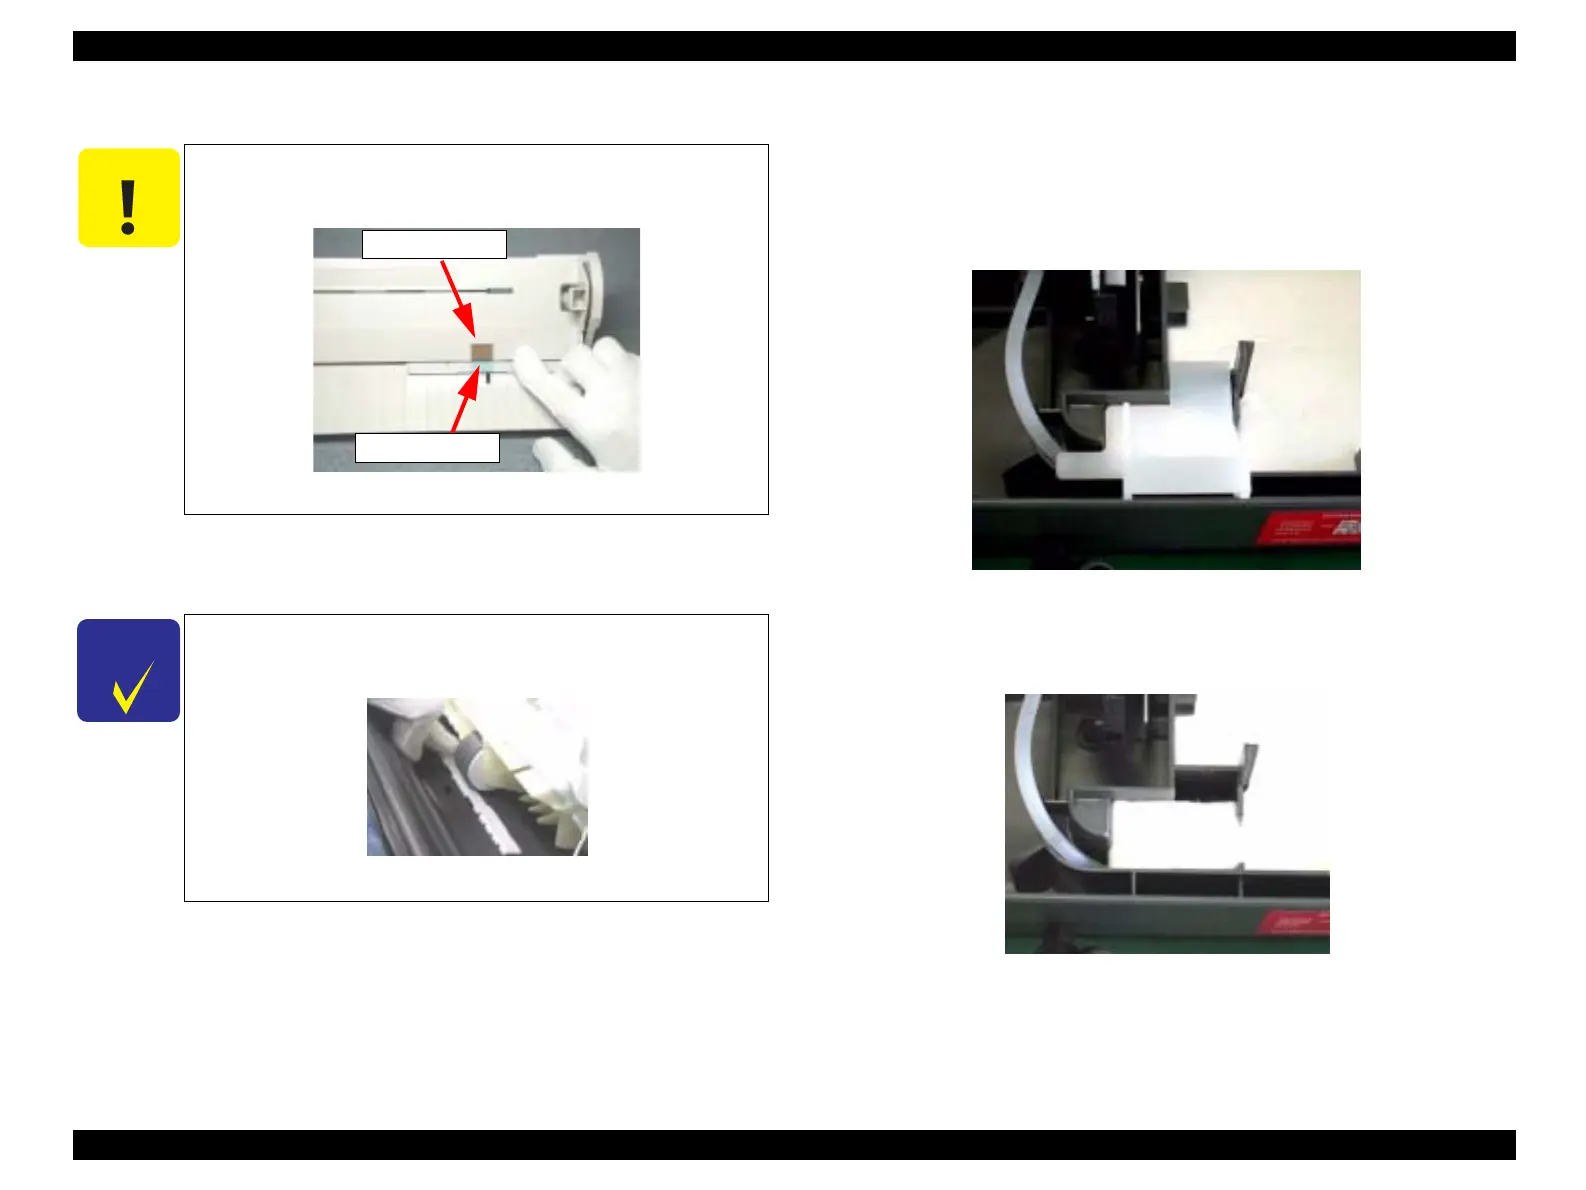
4. Remove the Tube Holder Waste Ink Pad.
Figure 4-28. Removing the Tube Holder Waste Ink Pad
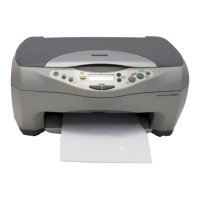
C A U T I O N
Do not touch the LD Pad or Hopper Pad of the ASF Unit.
Do not reuse any scratched pad.
Figure 4-25. Hopper Pad and LD Pad
C H E C K
P O I N T
When installing the ASF Unit, the flat surface of the LD Roller
must face the inside of the Mechanism Unit.
Figure 4-26. LD Roller Installation
Hopper Pad
LD Pad
 Loading...