EPSON Stylus CX3100/3200 Revision A
Adjustment Adjustment by Adjustment Program 62
5.2.4 Head ID Input
With this item, you can write the Head ID in EEPROM and check the current set value.
This adjustment compensates for the unevenness of ink eject volume and ensure
satisfactory print quality. Unless the correct ID is input, unevenness in print density can
occur.
This adjustment is required on any of the following occasions.
When the Print Head has been replaced with a new one
When the Main Board has been replaced with a new one
When the Printer Mechanism has been replaced with a new one
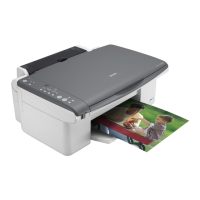
Figure 5-4. Head ID Adjustment Items
1. Click the item for which the adjustment is to be made and click the [OK] button.
Select the [Check present data], and the Head ID currently stored in EEPROM will
be indicated at the lower center of the screen.
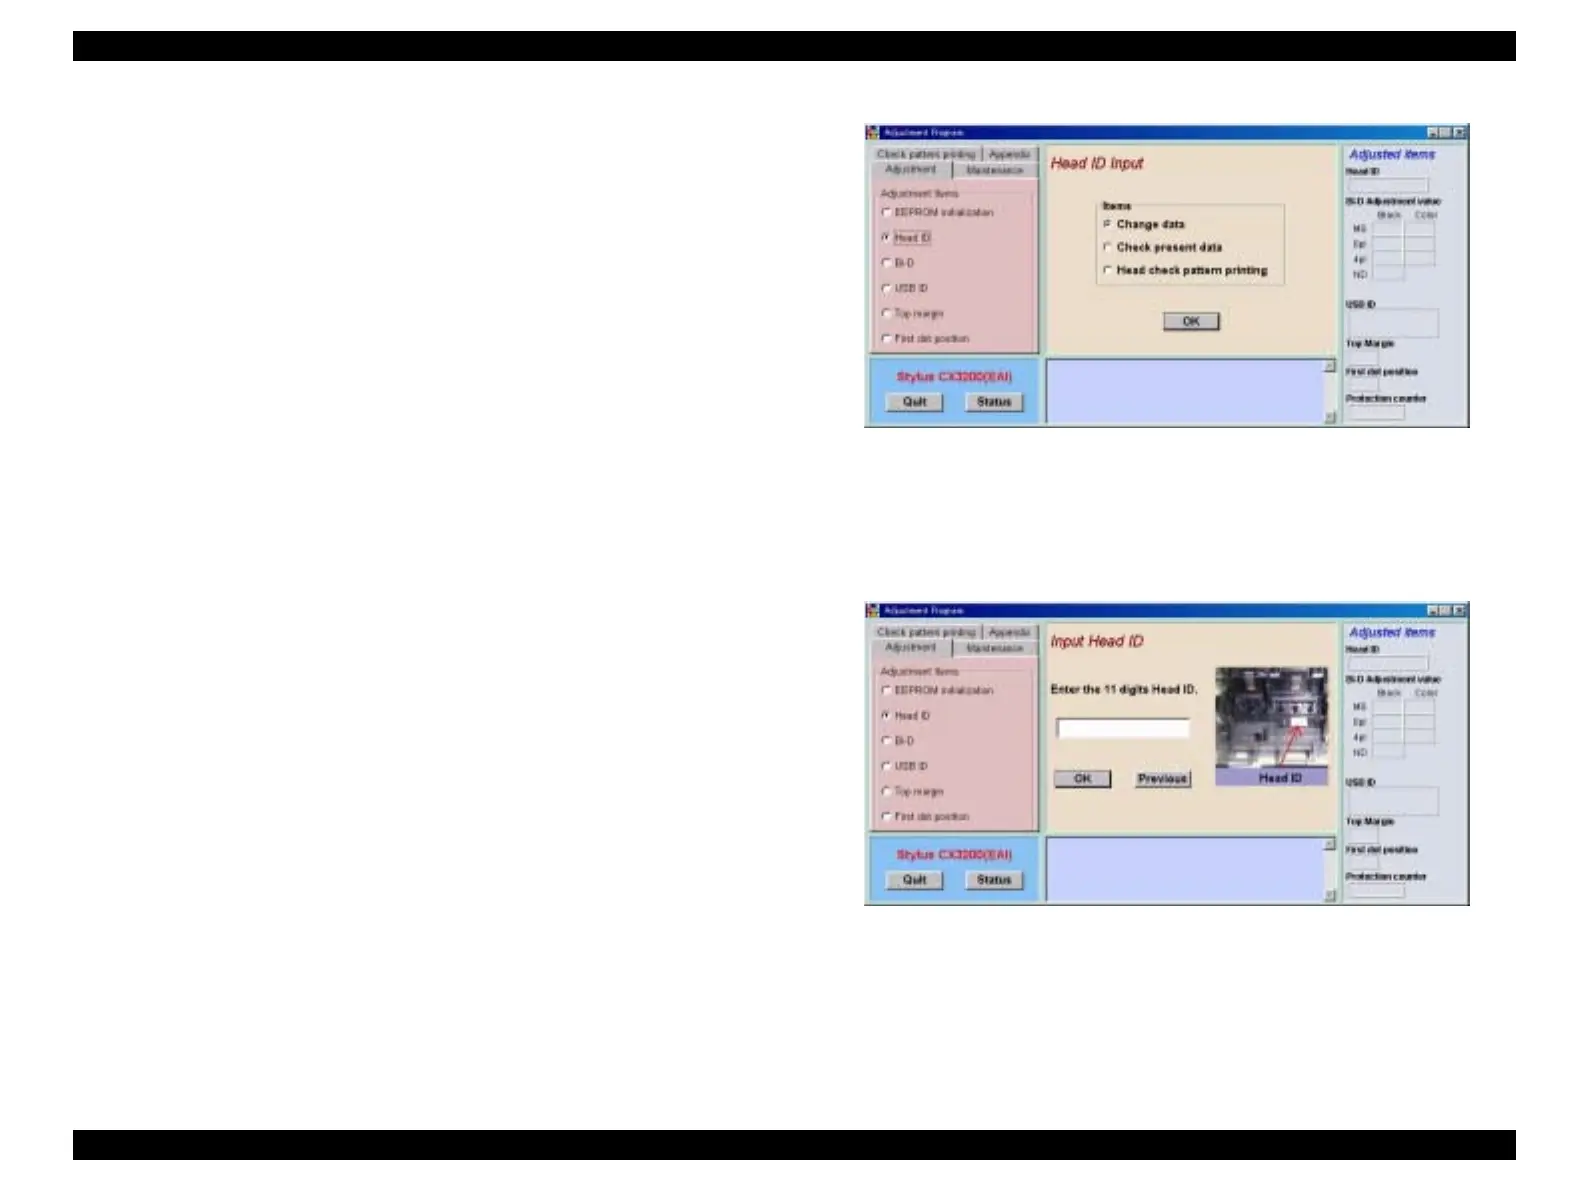
Figure 5-5. Head ID Input
2. Check the 11-digit ID written on the Printer Head and input it. Upon completion of
input, click the [OK] button. For returning to previous screen, click the [Previous]
button. The input values are indicated for the respective input items at “Adjusted
items list”.
 Loading...