EPSON Stylus CX3100/3200 Revision A
Disassembly and Assembly Disassembly of Printer 56
4.4.9 Power Unit Removal
1. Remove the Middle Housing. (See “Middle Housing Removal” on page 44.)
2. Remove the ASF Unit. (See “ASF Unit Removal” on page 48)
3. Remove the Main Board. (See “Main Board Removal” on page 54)
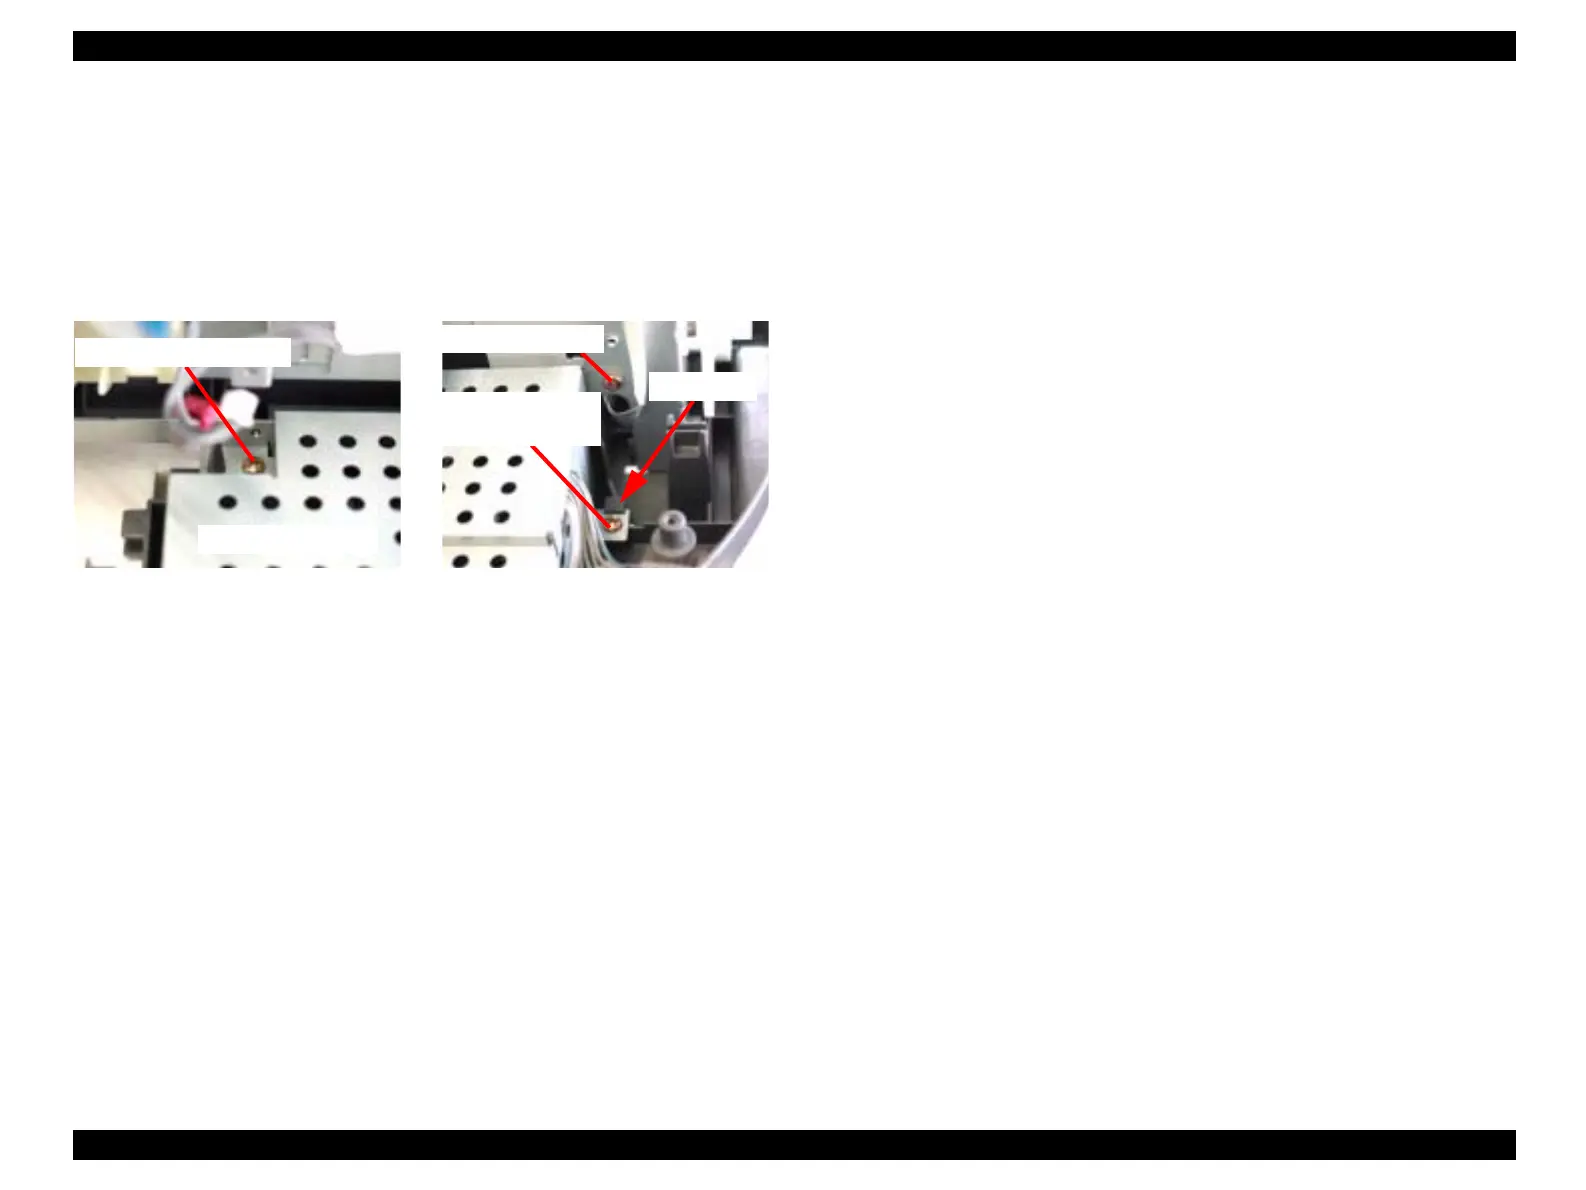
4. Remove the three screws, namely, one C.B.S. 3x6 F/Zn and two C.B.P-TITE 3x8 F/Zn,
securing the Power Supply Unit to the Porous Pad Tray.
Figure 4-38. Power Supply Unit Removal
5. Remove the Power Supply Unit by detouring the hook on the Porous Pad Tray.
NOTE: Screw tightening torque: C.B.P-TITE 3x8 F/Zn (2 pcs.): 0.5-0.7Nm
C.B.S. 3x6, F/Zn (1 pc.): 0.5-0.7Nm
C.B.P-TITE 3x8 F/Zn
Power Unit
C.B.S. 3x6 F/Zn
Hook
C.B.P-TITE 3x8
F/Zn
 Loading...