269
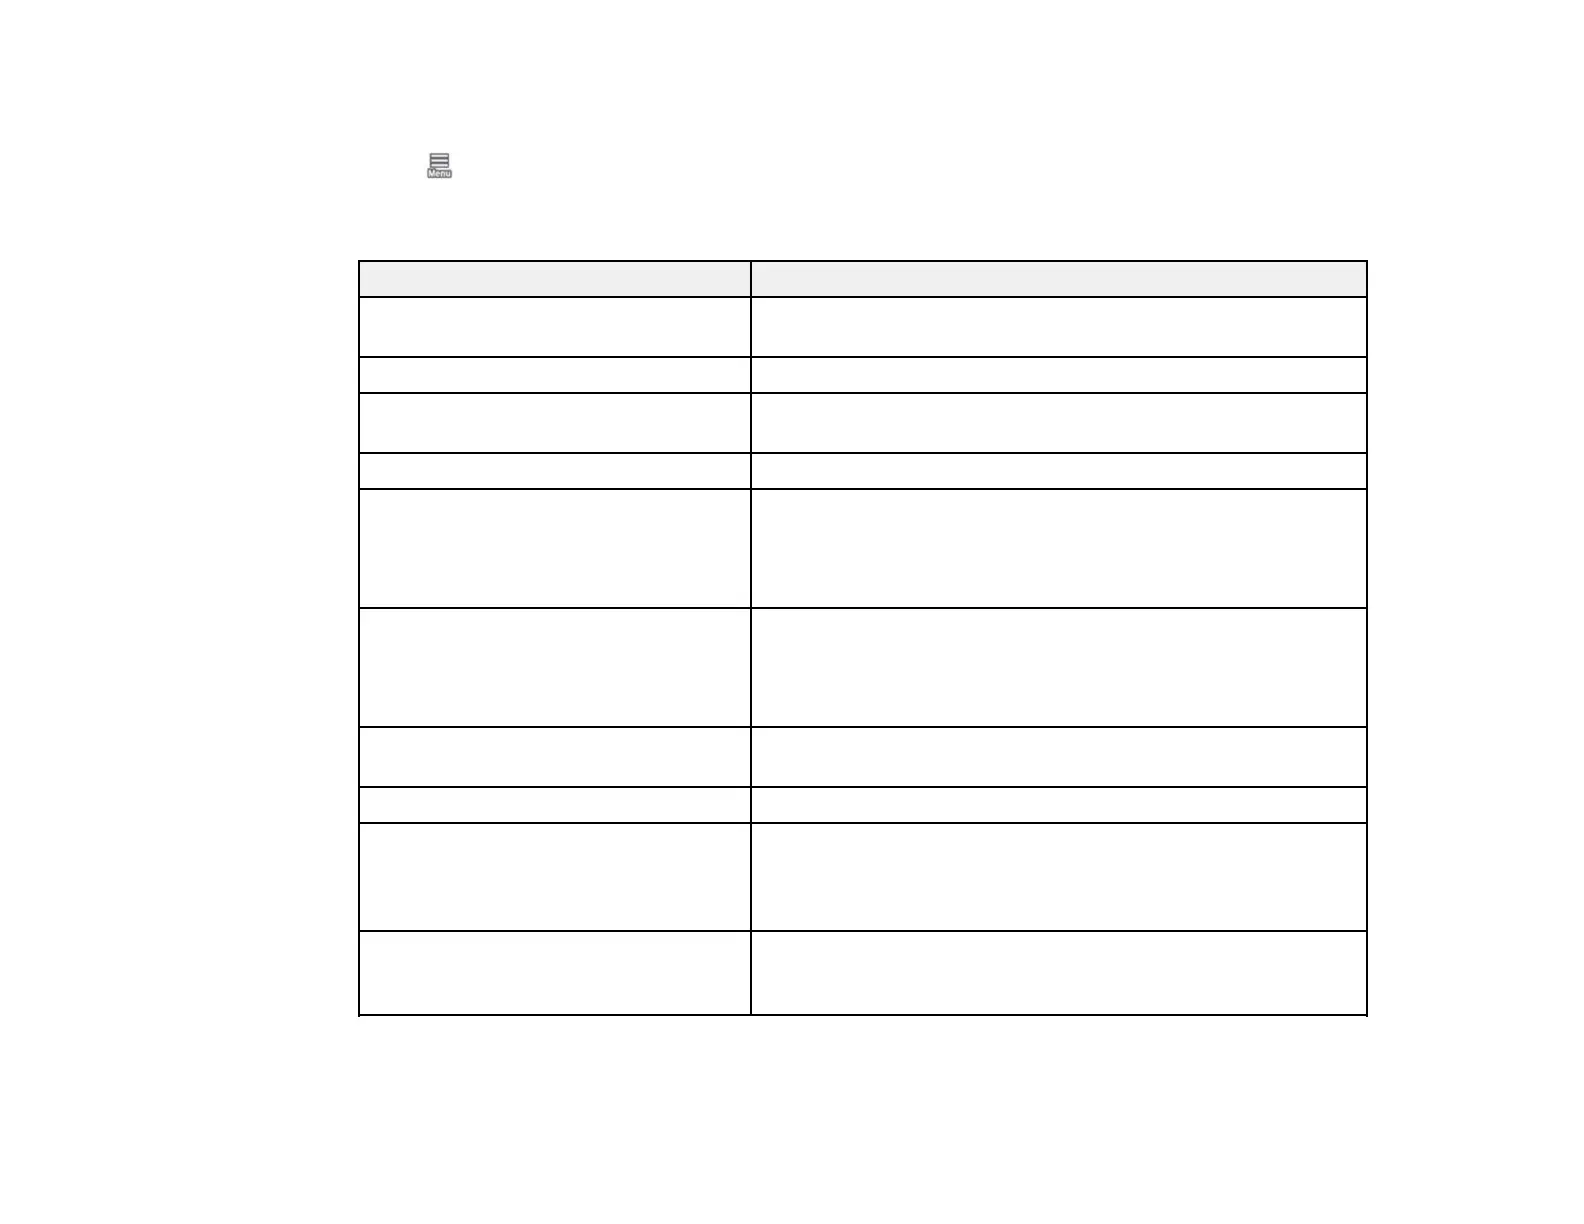
Maintenance Menu
Select > Maintenance to run nozzle checks, cleaning cycles, and other maintenance operations.
Caution: Follow the instructions in the topic links below the table to use these menu settings correctly.
Setting Description
Print Head Nozzle Check Prints a nozzle check pattern so you can check for clogged
nozzles
Print Head Cleaning Perform if the nozzle check pattern has faint or missing areas
Power Cleaning* Perform if the nozzle check pattern still has faint or missing
areas after performing a head cleaning three times in a row
Remove Paper Removes any scraps of paper remaining inside the printer
Ink Cartridge(s) Replacement Displays the amount of ink remaining and the model number
for the ink cartridge
Select How To... to view the replacement procedure on the
LCD screen.
Replace Maintenance Box Displays the amount of free space remaining and the model
number of the selected maintenance box
Select How To... to view the replacement procedure on the
LCD screen.
Replace Auto Cutter Blade Select How To... to view the replacement procedure on the
LCD screen.
Adjust Cut Position Adjust the position of the cutter between -3.0 to 3.0 mm
Cleaning the Maintenance Parts Select Wiping the Print Head to manually clean the print
head or Wiping around the Cap to manually clean the area
around the caps and press Start to move the print head to the
cleaning position.
Keeping Preparation* Perform if you are transporting or storing the printer in 14°F
(–10°C) or lower temperatures. Follow the prompts to eject the
ink. The printer turns off automatically after the procedure.
*The Power Cleaning and Keeping Preparation settings can be locked by an administrator. If you
cannot access or change these settings, contact your administrator for assistance.
 Loading...