WF-C20590 Installation Guide
Installing the Optional Units 54
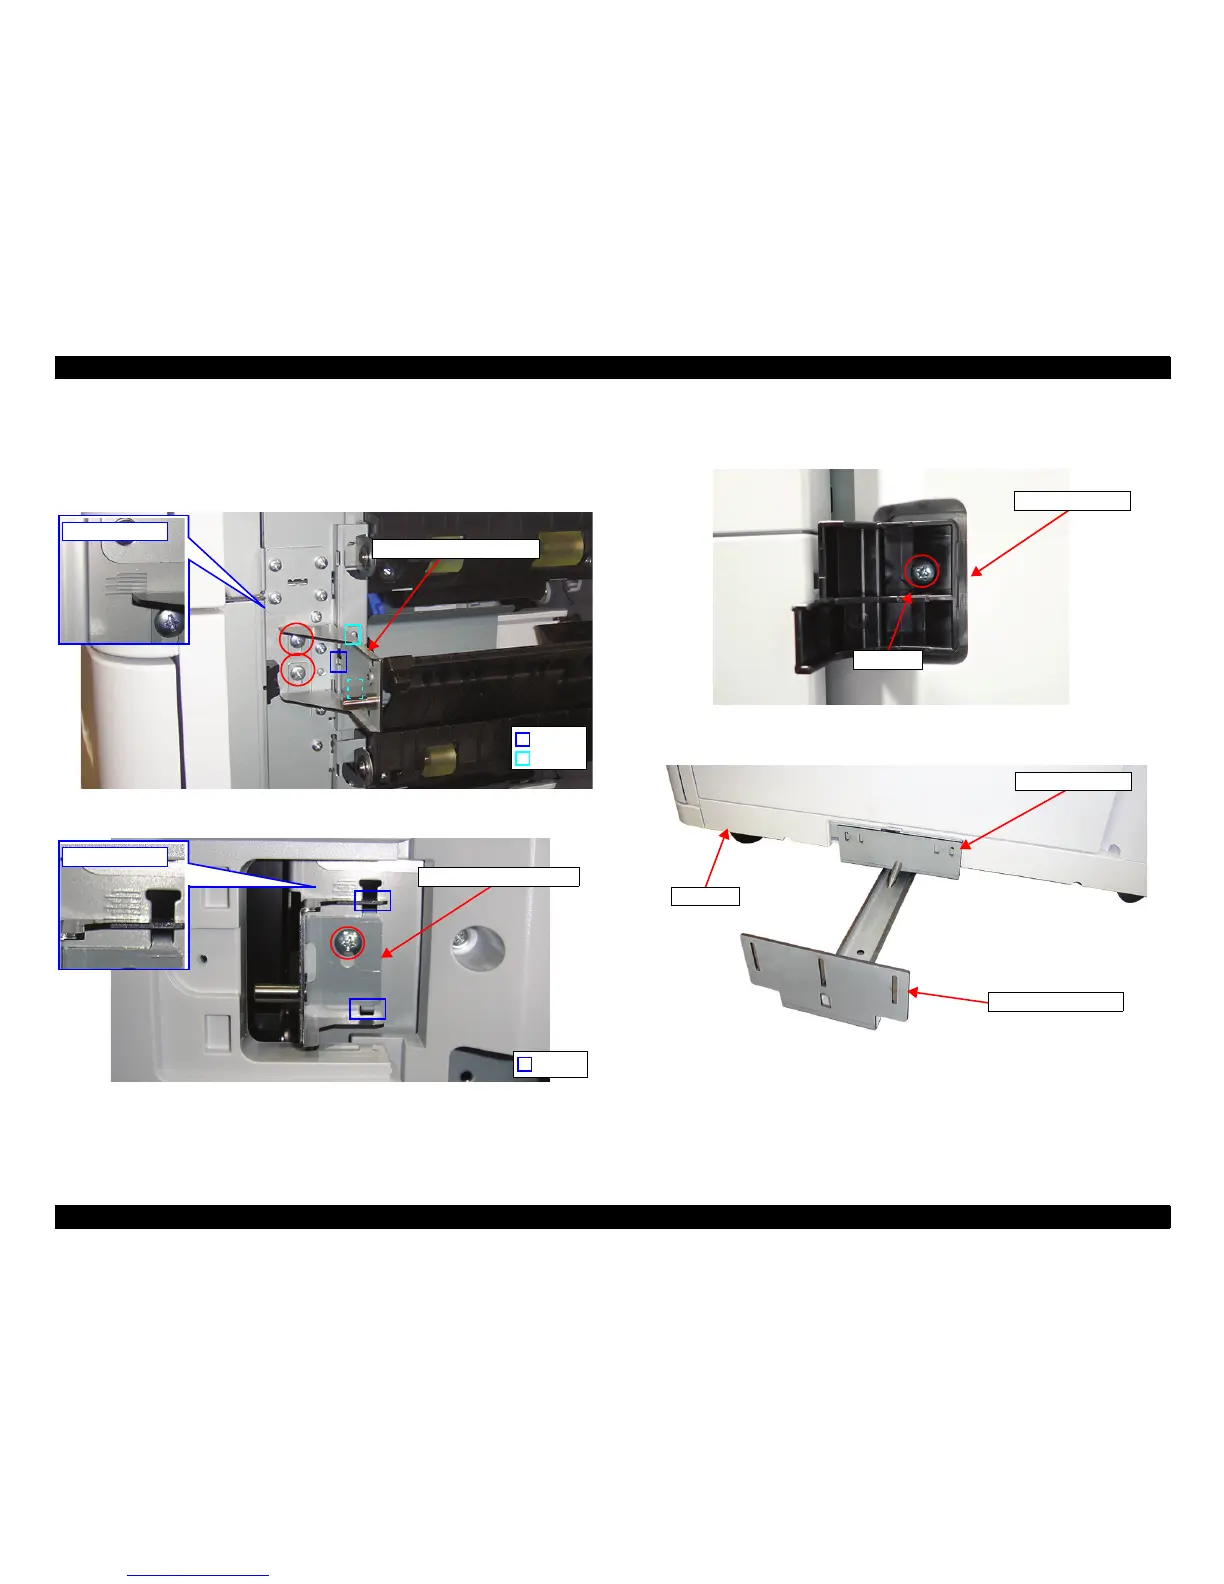
3. Open the E Door.
4. Attach the Front Lock Support Plate to the part covered with Cover 1.
5. Align the upper end of the Front Lock Support Plate with the bottom of the
marking line of the frame, then attach it with two screws.
6. Attach the Back Lock Support Plate to the part covered with Cover 3, then attach it
with one screw.
7. Attach the Switch Lever to the part covered with Cover 4, and attach it with one
screw.
8. Put the Drawer Rail on the Drawer Rail Guide, then temporarily attach them to the
printer.

 Loading...


