SmartEdge 600 Router Hardware Guide
• If the software release on the controller card that you are installing is
different from the release on the active controller, the active controller
overwrites the release on the second controller card after you complete
the installation procedure.
Stop!
Risk of electrostatic discharge (ESD) damage. Always use an ESD wrist or
ankle strap when handling the card. Do not attach the wrist strap to a painted
surface. Avoid touching the card, components, or any connector pins.
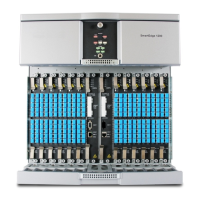
Figure 23 Removing a Card from the SmartEdge 600 Chassis
1181
Figure 24 Replacing a Card in the SmartEdge 600 Chassis
Caution!
Risk of equipment damage. Never attempt to repair parts or cards yourself;
always replace any defective card with a card supplied by your technical
representative.
Table 80 Tools Needed for Installation and Replacement Procedures
Tool Purpose
#1 Phillips screwdriver Remove and install the fan tray, cards. The screwdriver needs a 4.5-inch (11.5-cm) shaft
to reach the screws that secure the fan tray in the chassis.
Trompeter tool Remove and install DS-3 or E3 cables.
90 27/153 30-CRA 119 1170/1 Uen A | 2010-04-09