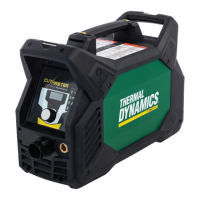
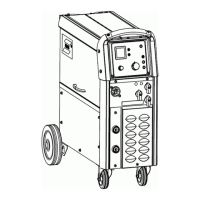
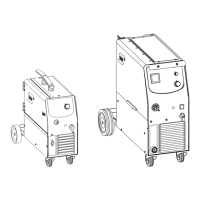
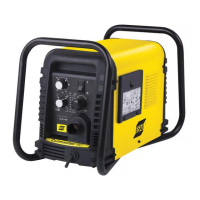
ESAB CUTMASTER 80
OPERATION Manual0-5396
4T-4
3
4
Art # A-03383
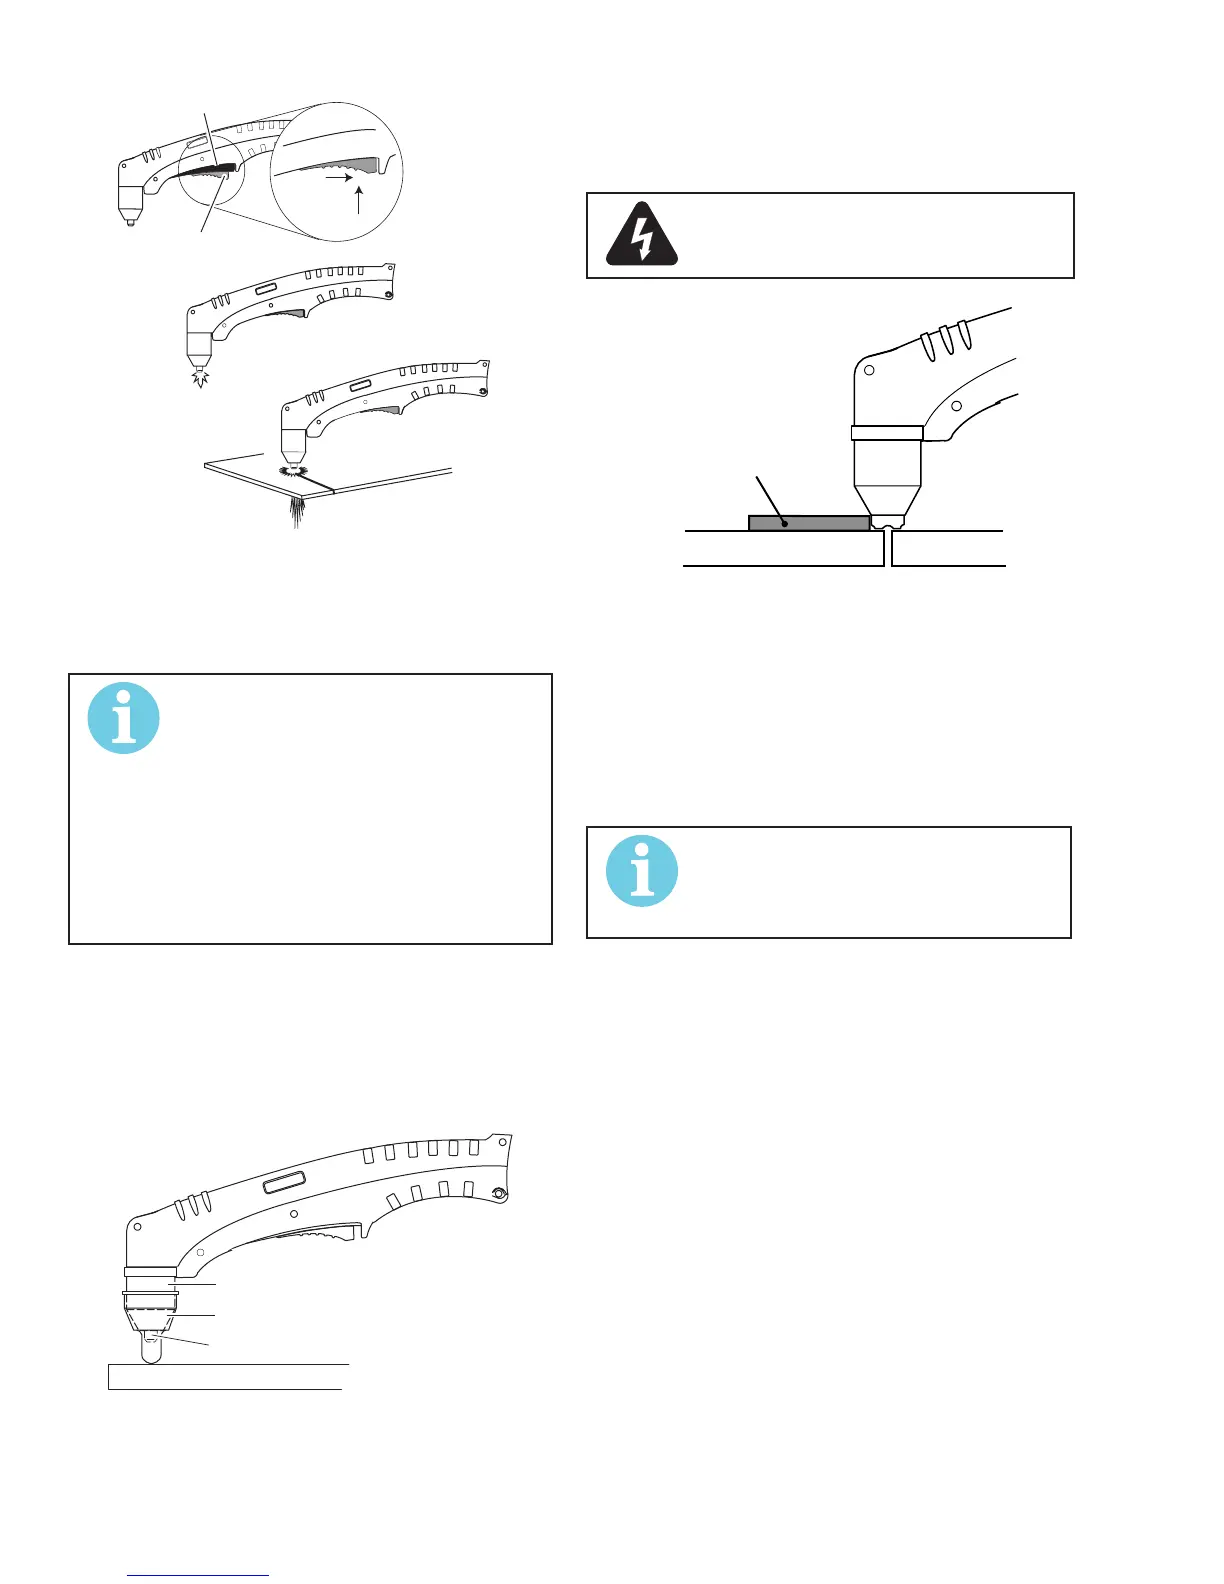
Tr igger
2
1
Tr igger Release
6. Cut as usual. Simply release the trigger assem-
bly to stop cutting.
7. Follow normal recommended cutting practices as
providedinthepowersupplyoperator'smanual.
NOTE!
When the shield cup is properly in-
stalled,thereisaslightgapbetween
the shield cup and the torch handle.
Gasventsthroughthisgapaspart
of normal operation. Do not attempt
to force the shield cup to close this
gap. Forcing the shield cup against
the torch head or torch handle can
damage components.
8. For a consistent standoff height from the work-
piece, install the standoffguide by sliding it
onto the torch shield cup. Install the guide with
the legs at the sides of the shield cup body to
maintaingoodvisibilityofthecuttingarc.During
operation,positionthelegsofthestandoffguide
against the workpiece.
Shield Cup
Workpiece
Standoff Guide
Art # A-04034
Torch Tip
Shield Cup With Straight Edge
The drag shield cup can be used with a non conduc-
tivestraightedgetomakestraightcutsbyhand.
WARNING
The straight edge must be non-
conductive.
A-03539
Non-Conductive
Straight Edge
Cutting Guide
Using Drag Shield Cup With Straight Edge
The crown shield cup functions best when cutting
3/16inch(4.7mm)solidmetalwithrelativelysmooth
surface.
Drag Cutting With a Hand Torch
Drag cutting works best on metal 1/4" (6 mm) thick
or less.
NOTE!
Forbestpartsperformanceandlife,
always use the correct parts for the
type of operation.
1. Install the drag cutting tip and set the output cur-
rent.
2. The torch can be comfortably held in one hand
or steadied with two hands. Position the hand to
press the Trigger on the torch handle. With the
handtorch,thehandmaybepositionedcloseto
the torch head for maximum control or near the
back end for maximum heat protection. Choose
the holding technique that feels most comfortable
andallowsgoodcontrolandmovement.
4. Keep the torch in contact with the workpiece
during the cutting cycle.
5. Hold the torch away from your body.
6. Slide the trigger release toward the back of the
torch handle while simultaneously squeezing the
trigger. The pilot arc will start.