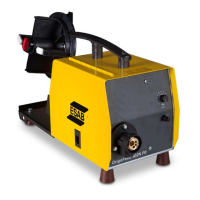
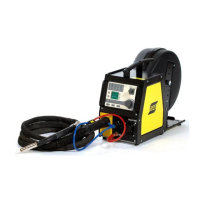
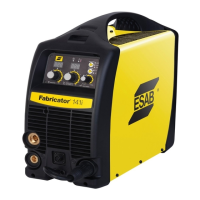
ESAB FABRICATOR 141i
Manual 0-5448 6-19 TROUBLESHOOTING
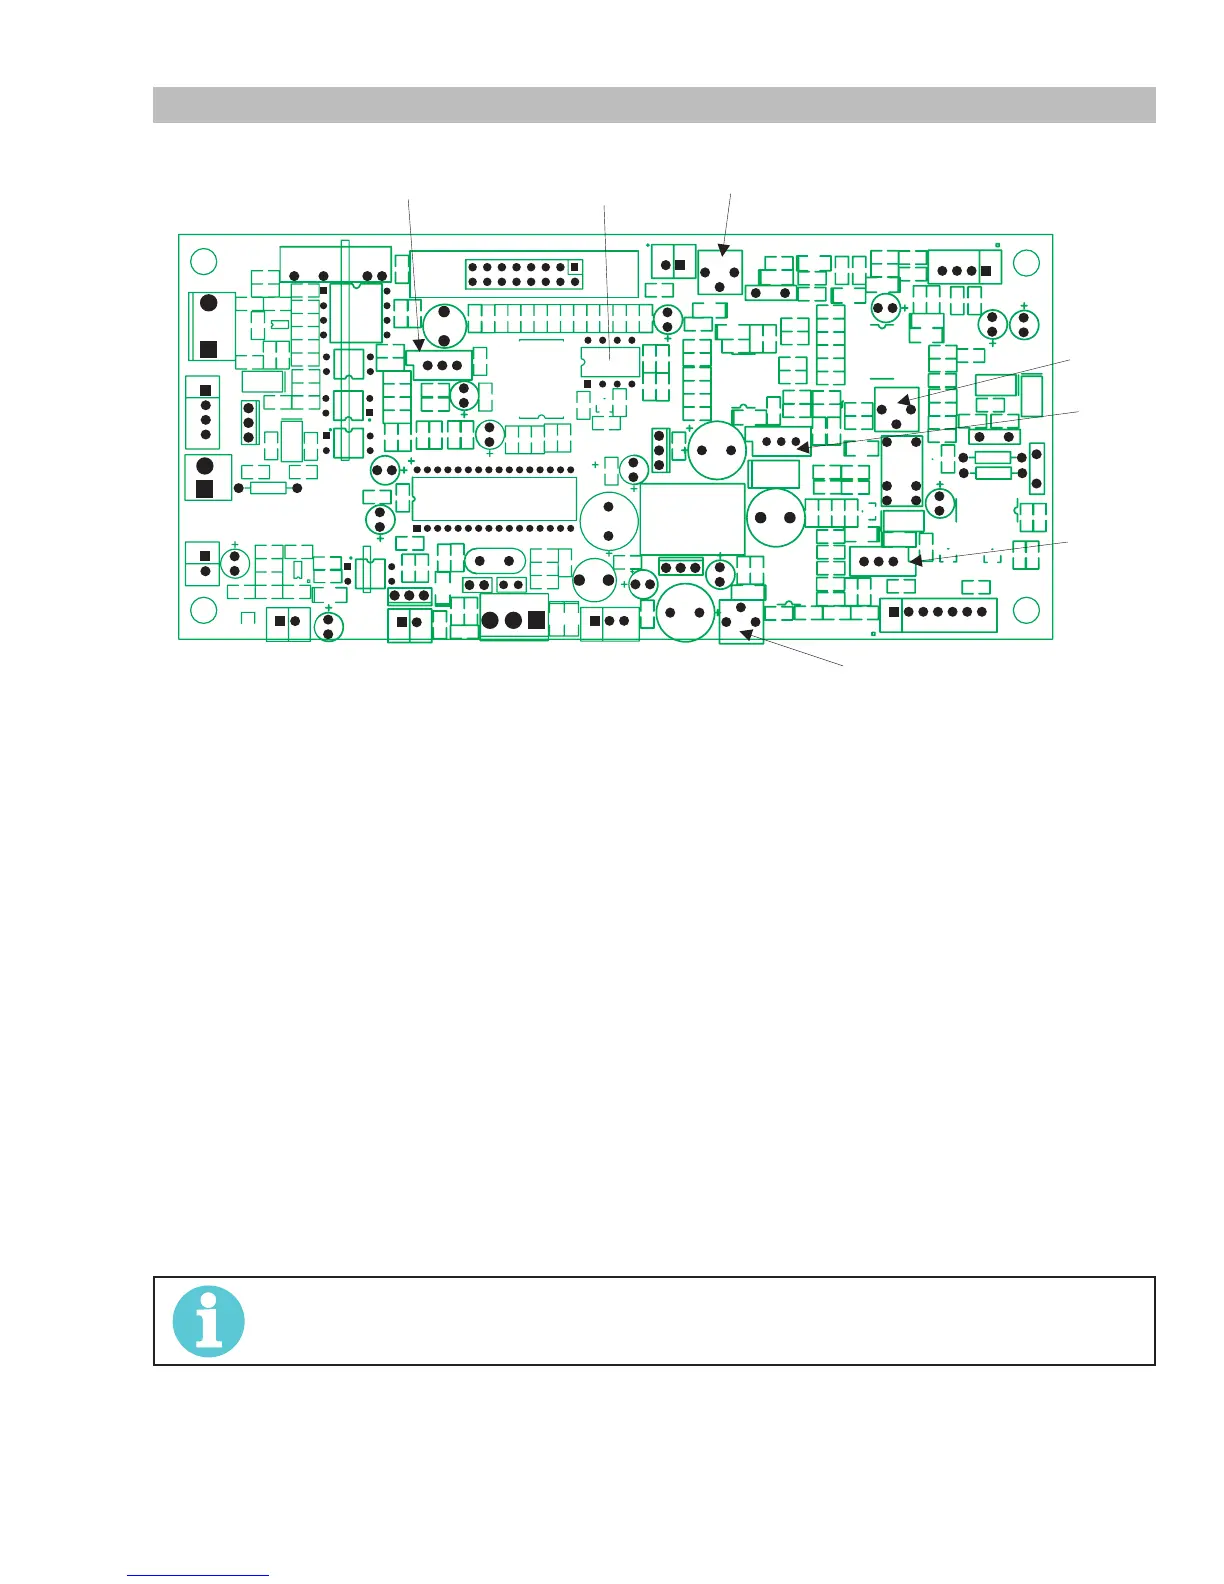
6.13 Calibration
1 Calibration
Imin
Imax
W2
A
Art # A-12224
Set SW0-1 to ON, SW0-2 to ON, SW0-3 to ON, SW0-4 to OFF to allow calibration of output volts & amps, and calibration of wire feed
speed.
2 Output Current Calibration
Select STICK mode on the front panel.
Measure open circuit voltage and adjust WVF potentiometer so Volts display reads within 0.2V of the measured value.
Connect a load to the output terminals. The load should be of a resistance to give 25V at 250A.
Set front panel AMPS potentiometer to minimum.
Adjust Imin trimpot until output amps is 10A +/- 0.2A
Set front panel AMPS potentiometer to maximum.
Adjust Imax trimpot until output amps is 90A +/- 1A
Recheck settings
Set front panel AMPS potentiometer to maximum.
Adjust A potentiometer so Amps display reads within 0.5A of the measured value.
3 Output Voltage Calibration
Select MIG mode on the front panel.
Remove the load from the output terminals.
Set front panel VOLTS potentiometer to minimum.
Adjust Vmin trimpot until output volts is 10.0V +/- 0.2V
Set front panel VOLTS potentiometer to maximum.
Adjust W2 trimpot until output volts is 19V +/- 0.2V
Recheck settings
4 Wire Speed Calibration
NOTE!
These adjustments are on the wiring side of the Main PCB1.
 Loading...