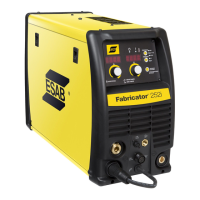
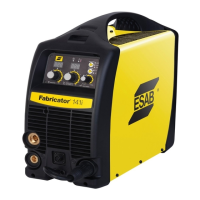
ESAB FABRICATOR 141i
Manual 0-5448 8-3 ASSEMBLY PROCEDURES
8.03 Installing Front Panel
1. Reinstall output terminals on front panel with 27mm wrench.
2. Place Display PCB3 and Remote Interface PCB4 assembly into front panel and install screws.
3. Reconnect torch polarity cable to the torch connector.
4. Reconnect positive output terminal bolts and tighten with 17mm wrench. ( Note: reconnect wires, pay attention to the wire color.)
5. Reconnect negative output terminal bolts and tighten with 17mm wrench. (Note: reconnect wires and pay attention to the wire
color.)
Art # A-12182
5
3
4
6. Reconnect the harness to the connectors on Display PCB3 and Remote Interface PCB4.
 Loading...
