Eureka Manta Manual Page 40 of 67
that case, it’s best to dry out the membrane between stations by using only a few drops of water in the
storage cup instead of a few ounces.
D.17 PAR
The PAR (photosynthetically active radiation) sensor measures the amount of light available to biota for
photosynthesis. It’s units of measurement are micro-moles of photons per square meter per second, or
photon μmoles/m
2
second. This is also referred to as micro-Einsteins per square meter per second.
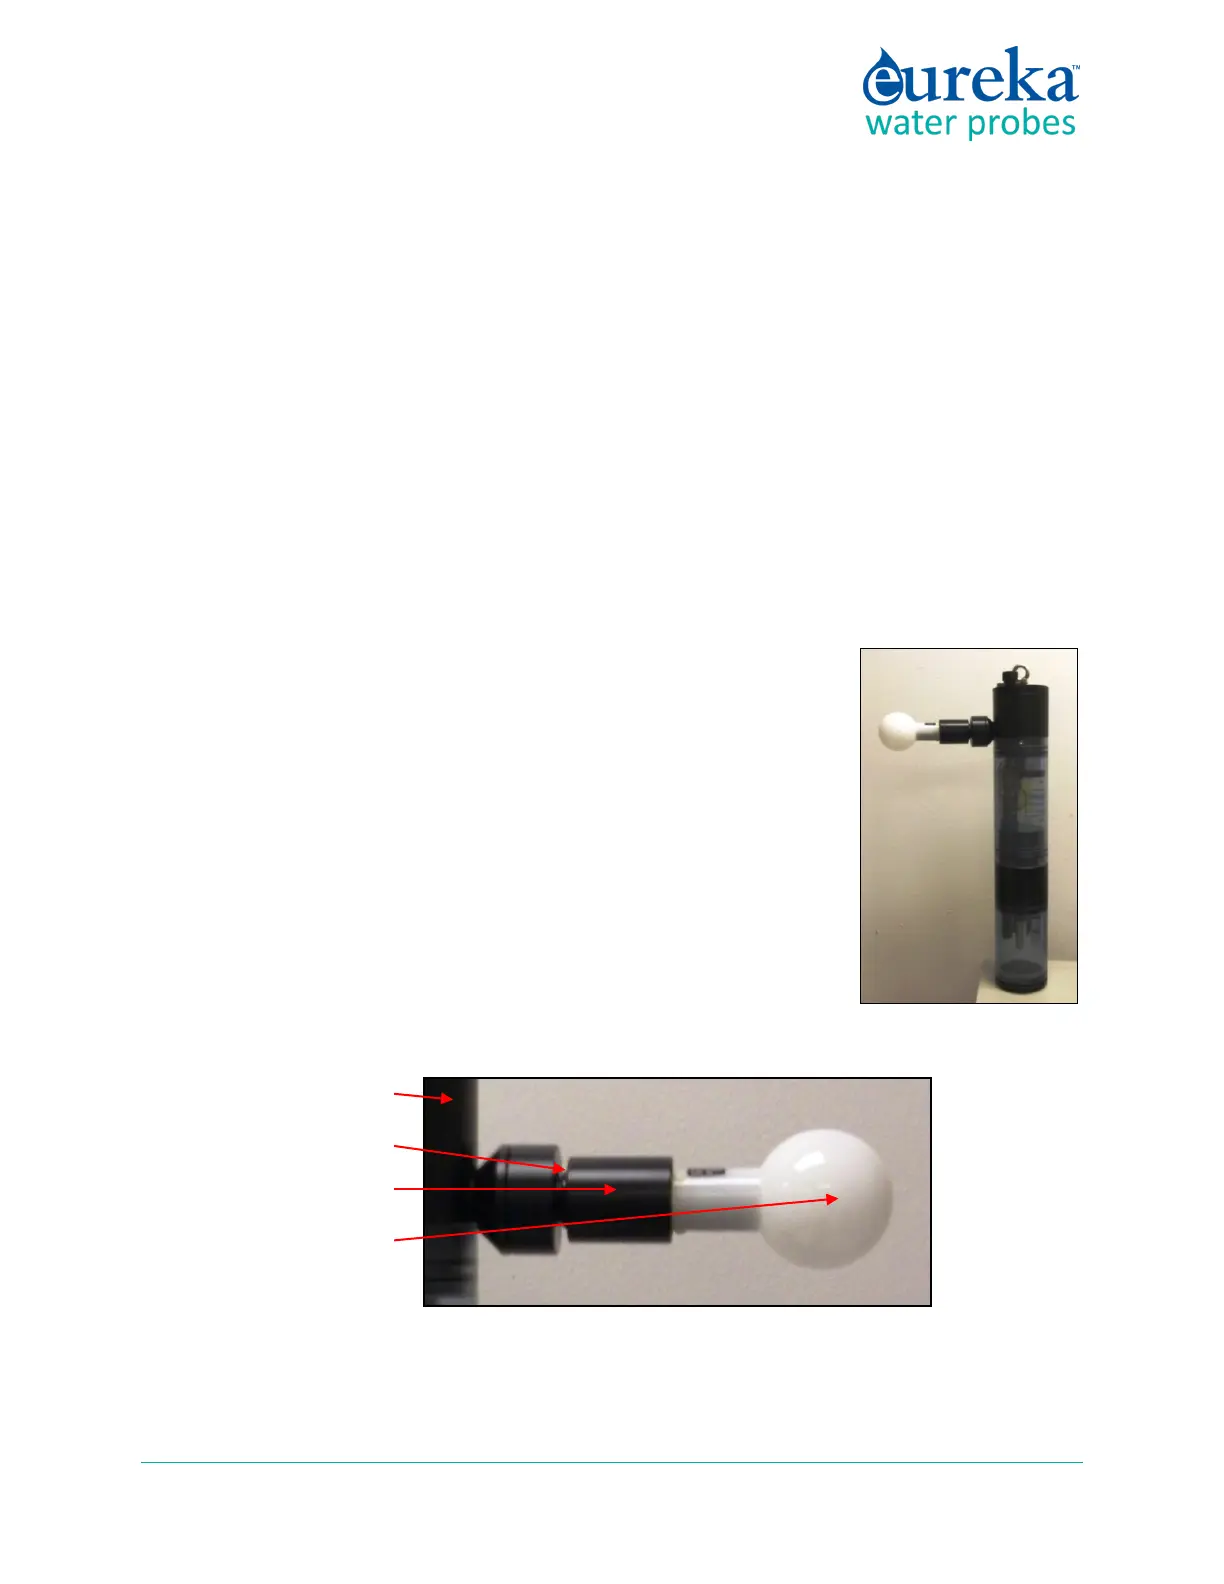
The sensor looks like a light bulb and receives light from all directions except the “blind spot” at its base.
Eureka mounts the PAR sensor a few inches away from the multiprobe, facing away from the multiprobe,
so that the multiprobe is in the blind spot.
PAR sensors are supplied with a dummy plug so that you can use the Manta 2 without the PAR sensor
attached.
PAR measurement is accessed for display through the menu structure just like
all other sensors. The PAR sensor is calibrated at the LI-COR factory, and cannot
be calibrated by the user. LI-COR recommends that the sensor be returned to
the factory every couple of years to be re-calibrated.
PAR sensors are not attached to the multiprobe when shipped from Eureka;
there is a dummy plug in the PAR port. To attach the PAR sensor, simply
unscrew the dummy plug’s locking sleeve (it’s the same type locking sleeve
used for Eureka cables) and pull the dummy plug out of the port. Slide the
locking sleeve onto the non-light-bulb end of the PAR sensor and push the PAR
sensor into the port as you tighten the locking sleeve. This may take a little bit
of practice, as the locking sleeve’s off-center hole has to shift slightly to center
of the PAR sensor and its port.
There is no need to tighten the locking sleeve more than finger-tight.
Reverse the process to remove the PAR sensor if you wish to make calibration easier, or for cleaning, or
for storage if you want extra protection for the PAR sensor. Simply unscrew the locking sleeve, pull the
Manta top cap
PAR port
locking sleeve
PAR sensor