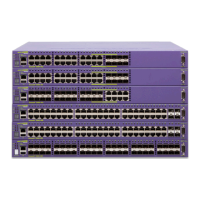
Installing a Summit X460 Series Switch
Summit Family Switches Hardware Installation Guide
243
6 Secure the mounting bracket flanges to the rack, using screws that are appropriate for the rack.
(Rack-mounting screws are not provided.)
The Summit X460 series switch is shipped without installed power supplies. You can install one or two
power supplies. After the switch is secured to the rack, install the necessary power supplies for your
configuration. For instructions, see the following pages:
● 300 W AC power supply—page 245
● 750 W AC power supply—page 247
● 300 W DC power supply—page 250
To install an XGM3-2sf port card, see page 333.
To install a stacking module, see page 335.
Front-Mounting a Switch in a Two-Post Rack
To front-mount a Summit X460 series switch in a two-post rack:
1 Attach an ESD-preventive wrist strap to your bare wrist and connect the metal end to an appropriate
ground point on the rack.
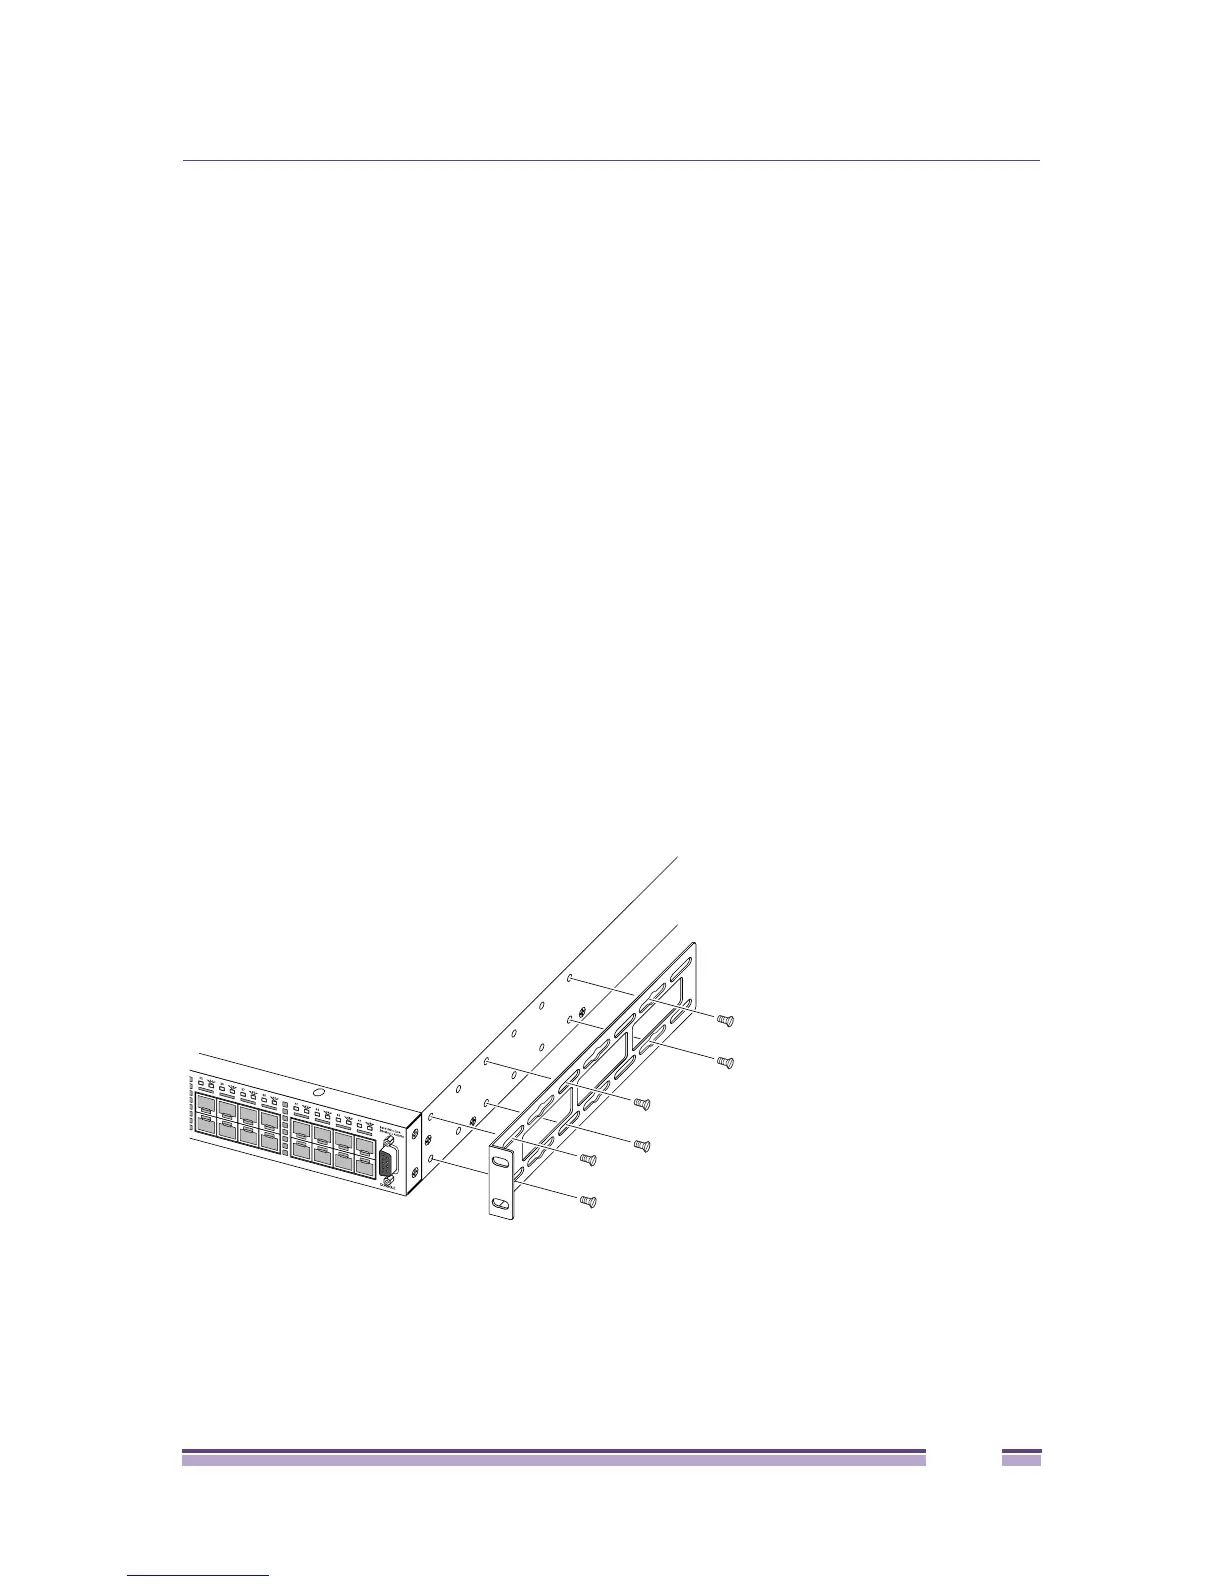
2 Attach each mounting bracket as follows:
a Set the bracket against the switch housing, with the flange even with the front panel of the switch
(see Figure 182).
b Use six of the provided screws to secure the bracket to the switch housing.
c Repeat steps a and b to attach the other bracket to the other side of the switch.
Figure 182: Attaching a Rack-mounting Flange
3 Slide the switch into the equipment rack (Figure 183).
SH_199
 Loading...