Page 34 of 91
7.1.2 Main menu
After the user has entered the “Main menu”, to add some points (detectors,
modules, buttons), it is necessary to select “POINT” using the four arrows
placed low on the display.
Confirm the made selection with “Sel.”.
7.1.3 Point menu
After the user has entered the “Point menu”, to add further
points (detectors, modules, buttons), it is necessary to select
“insert”. Select “Back” to return to the “Main menu”. Select
“Esc”, to go out completely.
7.1.4 Address assignation
In the address “Address assignation” the programming procedure is
decided:
• Select “SINGLE POINT” to programme one only point;
• Select “AUTOMATIC INCREASE” to programme more points in
succession.
Use the four arrows to set oneself on the line that shows the type of address
assignment the user wants to select and confirm with “Sel.”. Type in
“Del.” to return to the “Point menu”.
7.1.5 Type of point acquisition
After the user has entered the “Point acquisition” menu the acquisition
procedure of the point can be decided:
• For “INSTALLATION”;
• For “ACTIVATION”;
• For “SERIAL NUMBER”;
• For “PRESET ADDRESS”.
Use the four arrows to set oneself on the line that shows the type of address
assignment the user wants to select and confirm with “Sel.”. Type in
“Del.” to return to “Point menu”. Refer to chapter 7.1 for further
description of the items.
Main menu
POINT SETTING
ZONE CONNECTION
LOOP ACC. LEVEL
OUTPUT DIAGNOSTIC
EVENT 3b option
ACCESS LEVEL: 1
Point menu
view/mod.
insert
remove
d.b.reset
ACCESS LEVEL: 1
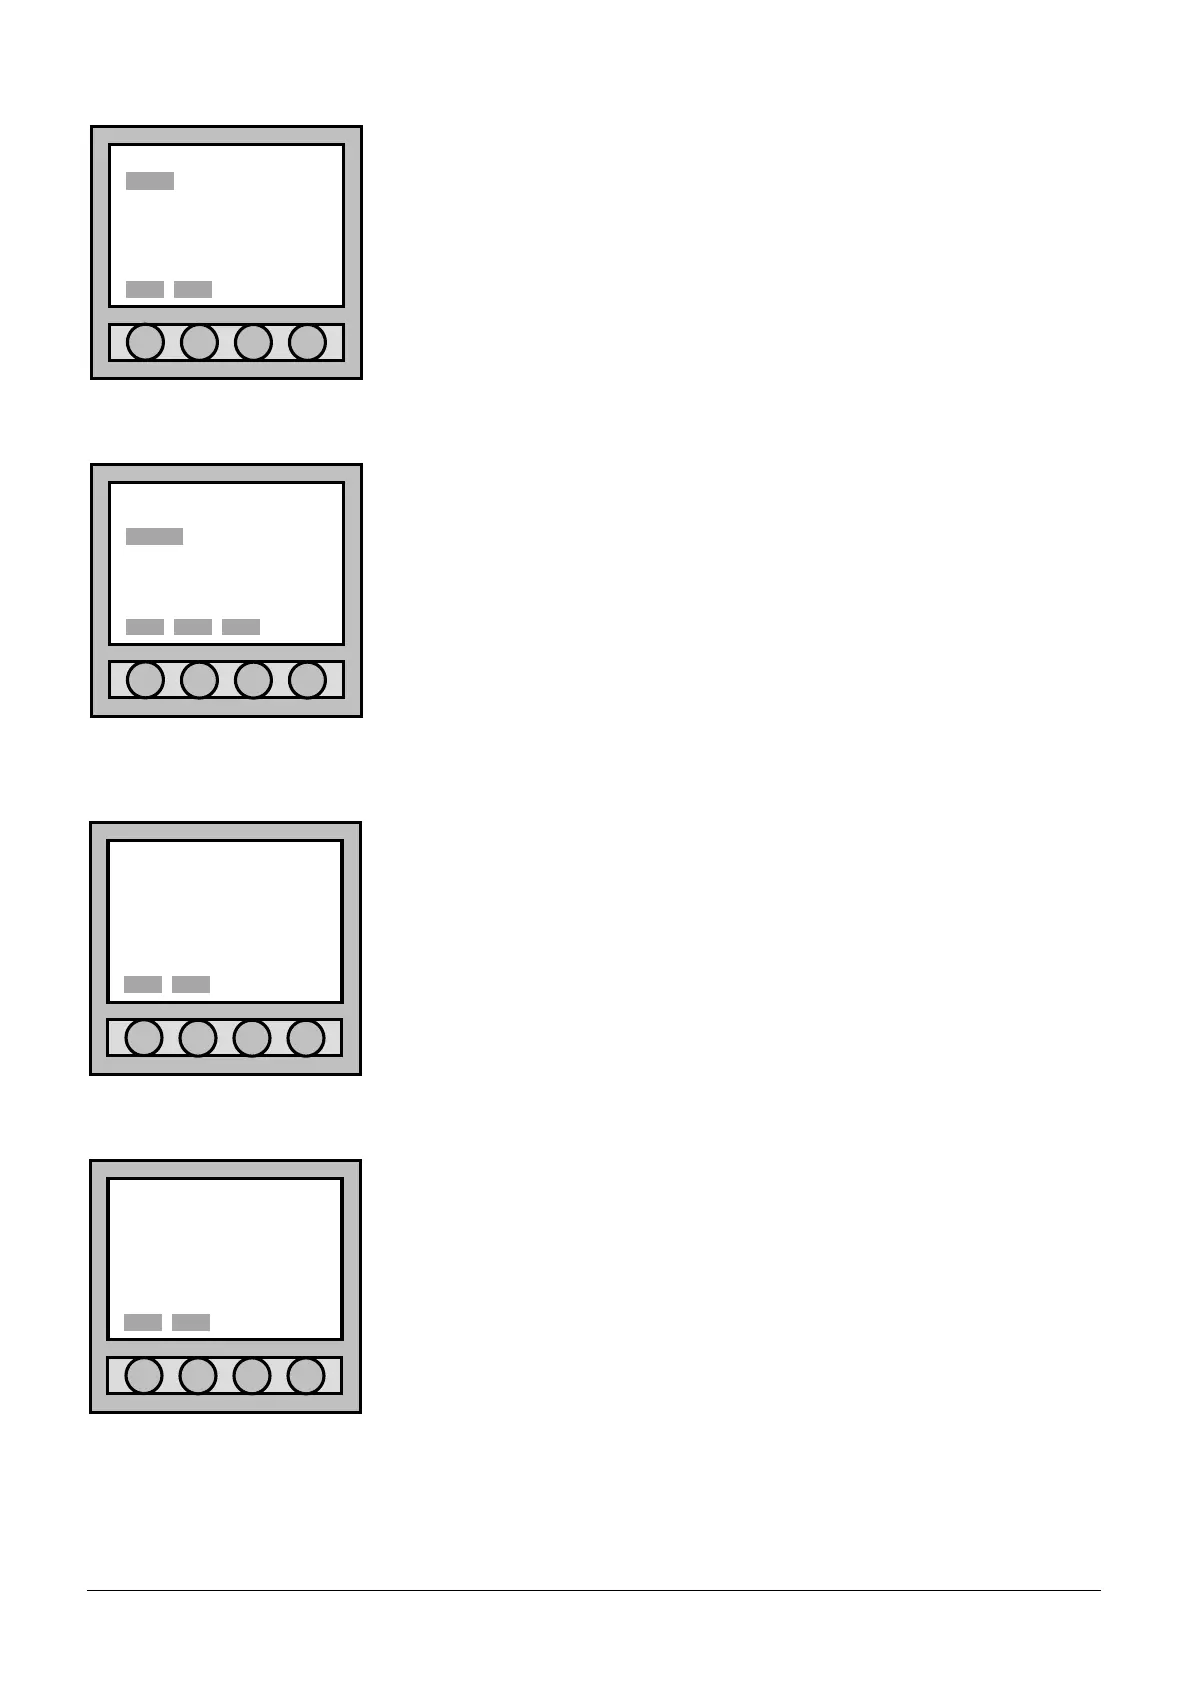
Address assignation
•SINGLE POINT
AUTOMATIC INCREASE
Sel. Del.
Point acquisition
•INSTALLATION
ACTIVATION
SERIAL NUMBER
PRESET ADDRESS