6 Installation of the Transmitter FLUXUS WD100, WD200
UMFLUXUS_F5WDV1-1EN, 2016-04-08 23
6 Installation of the Transmitter
6.1 Location
• Select the measuring point according to the recommendations in chapter 3 and 5.
• Select the location of the flowmeter within cable reach of the measuring point.
The ambient temperature has to be within the operating temperature range of the transmitter (see Technical Specifica-
tions).
6.2 Installation of the Transmitter
6.2.1 Opening and Closing the Housing
Opening
• Loosen the 4 screws of the housing.
• Open the front plate of the transmitter.
• Remove the protection films from the window of the front plate (inside and outside) and from the display of the transmitter
(see Fig. 6.1).
Closing
• Close the front plate.
• Tighten the 4 screws of the housing of the transmitter.
6.2.2 Wall Installation
• Loosen the 4 screws of the housing.
• Open the front plate of the transmitter.
• Fix the housing to the wall (see Fig. 6.2).
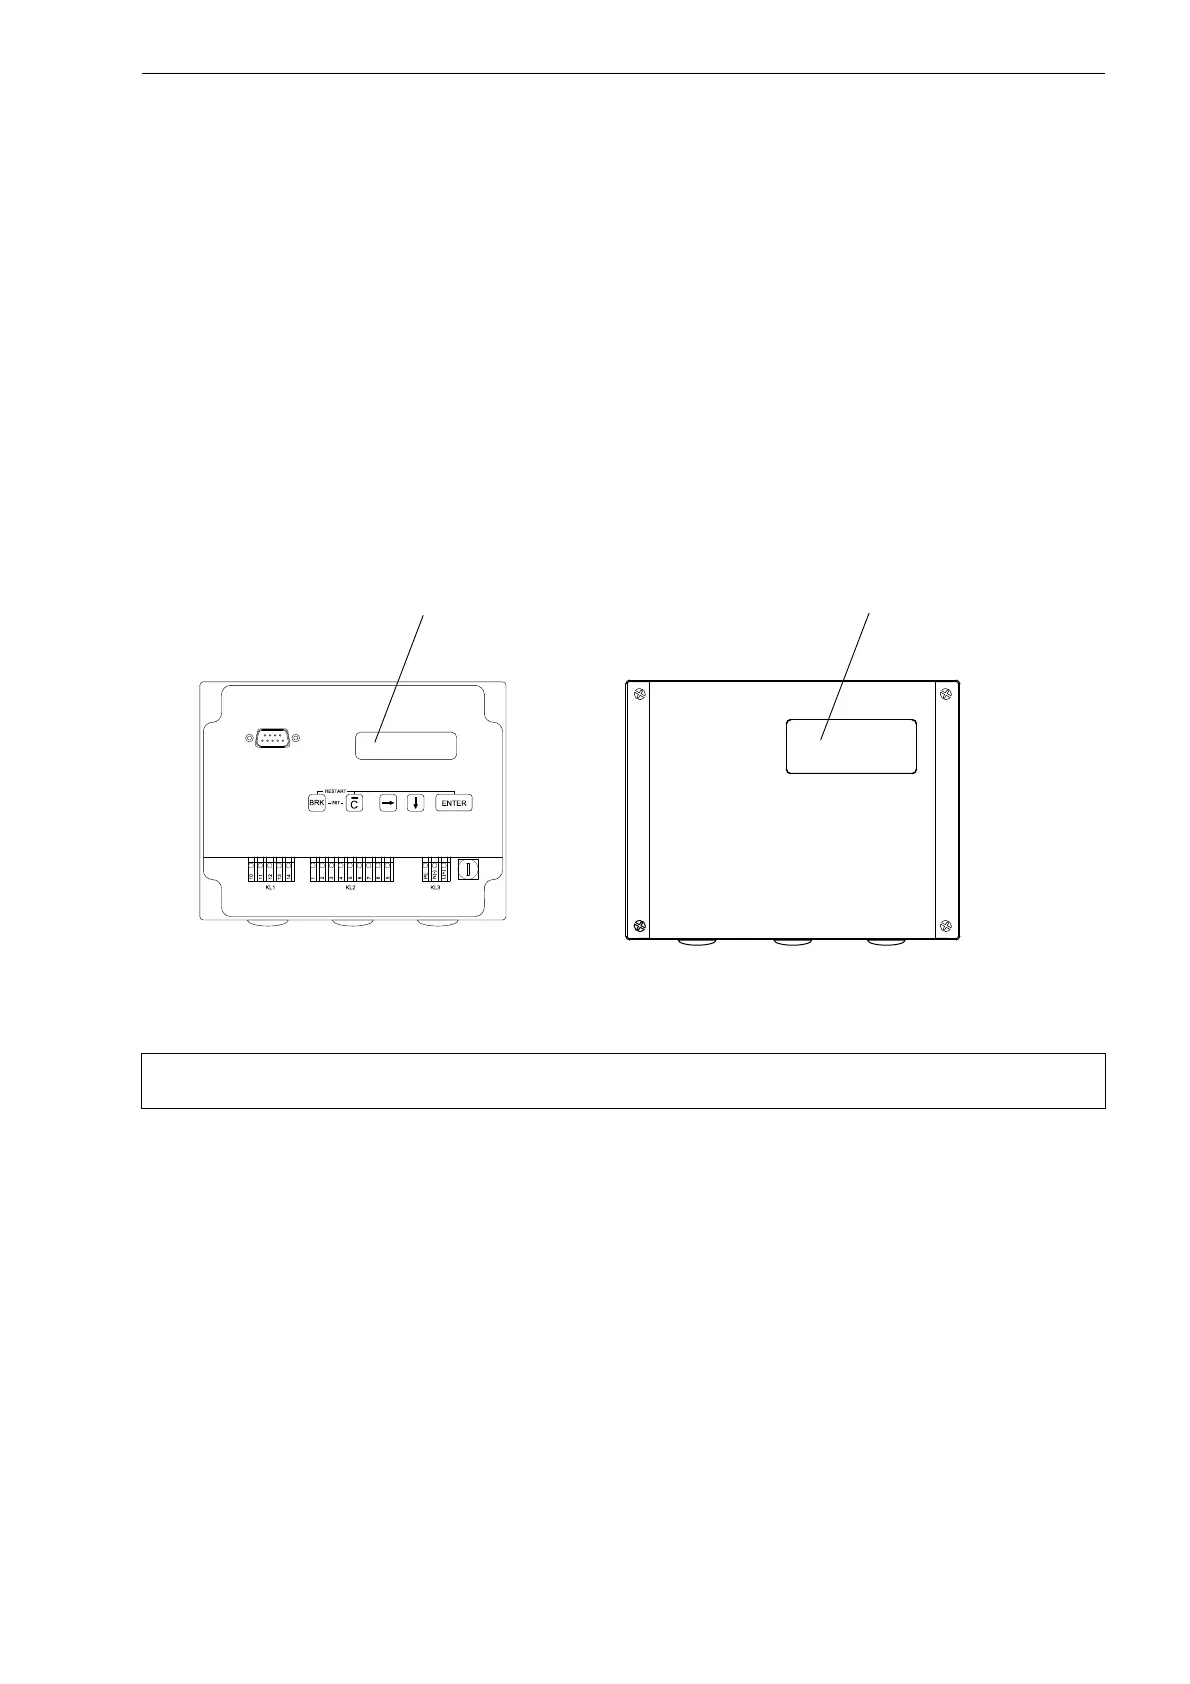
Fig. 6.1: FLUXUS WD100, WD200
Attention! The degree of protection of the transmitter is only ensured if the cable glands are firmly tightened and
the housing is tightly screwed.
Display of the transmitter Window of the front plate