15 Outputs FLUXUS WD100, WD200
UMFLUXUS_F5WDV1-1EN, 2016-04-08 77
15.1.3 Function Test
The function of the installed output can now be tested. Connect a multimeter with the installed output.
Test of the analog output
Test of the binary outputs
15.2 Error Value Delay
The error value delay is the time interval after which the error value will be transmitted to the output in case no valid mea-
sured values are available. The error value delay can be entered in the program branch Output Options if this menu
item has previously been activated in the program branch Special Funct.. If the error value delay is not entered, the
damping factor will be used.
15.3 Activation of an Analog Output
The current output is tested in the display. Enter a test value. It has to be within the output
range. Press ENTER.
If the multimeter displays the entered value, the output functions correctly.
Press yes to repeat the test, no to return to the SYSTEM settings. Press ENTER.
Select Opto-Relay OFF or Open collect OFF in the scroll list Output Test to test
the de-energized state of the output. Press ENTER. Measure the resistance at the output.
The value has to be high ohmic.
Select yes. Press ENTER.
Select Opto-Relay ON or Open collect. ON in the scroll list Output Test to test the
energized state of the output. Press ENTER. Measure the resistance at the output. The val-
ue has to be low ohmic.
Select yes to repeat the test, no to return to SYSTEM settings. Press ENTER.
Select Special Funct.\SYSTEM settings\Dialogs/Menus\Error-val. de-
lay.
Select Damping if the damping factor is to be used as the error value delay. Select Edit to
activate the menu item Error-val. delay in the program branch Output Options.
From now on, the error value delay can be entered in the program branch Output Op-
tions.
Note! An output can only be activated in the program branch Output Options if it has previously been in-
stalled.
Select the program branch Output Options. Press ENTER until Current Loop is dis-
played.
Select yes to activate the output. Press ENTER.
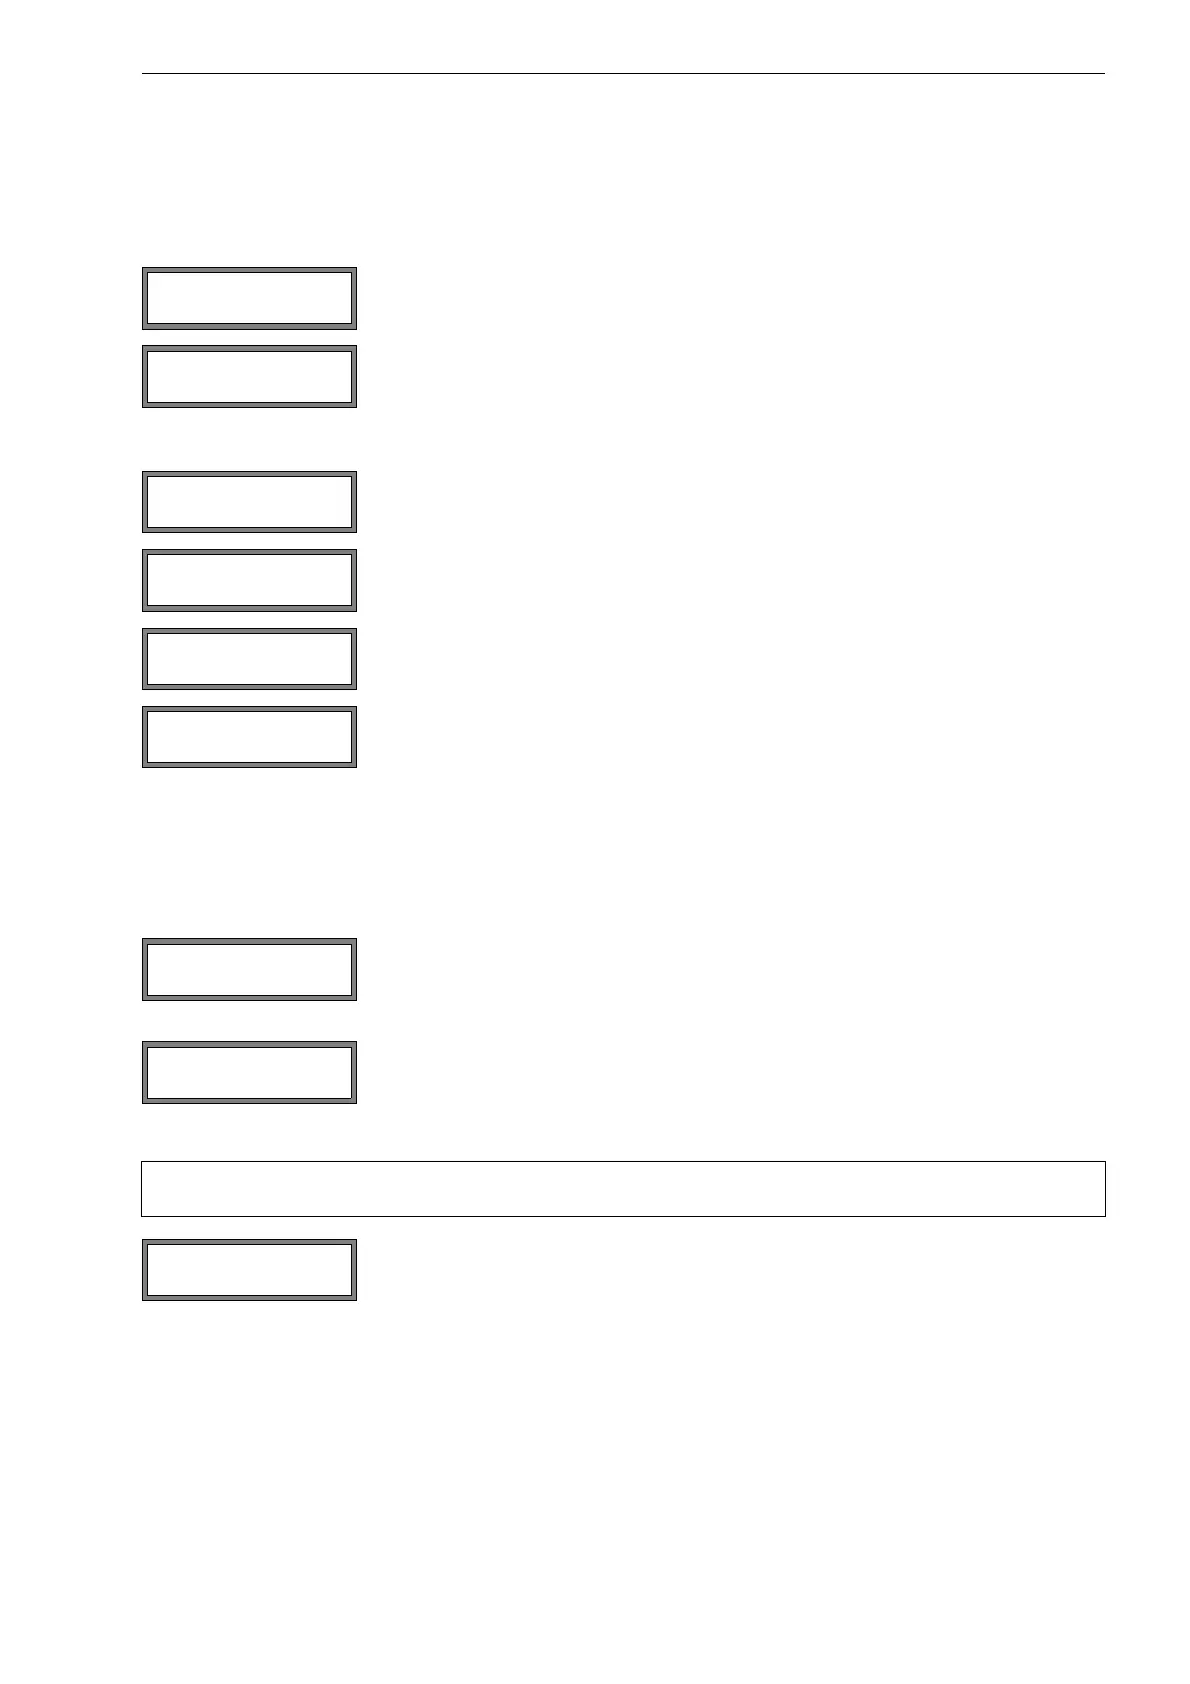
I1= 4.0 mA
Again? no >YES<
B1:Output Test ↕
Opto-Relay OFF
B1:Output Test ↕
Opto-Relay ON
Error-val. delay
>DAMPING< edit