Limitorque MX Maintenance and Spare Parts FCD LMENIM2314-00 – 07/08
144
Tools required:
• M3 hex key
• M6 hex key
• Phillips head screwdriver
• Flat head screwdriver
5.18.1 Disassembly Procedure
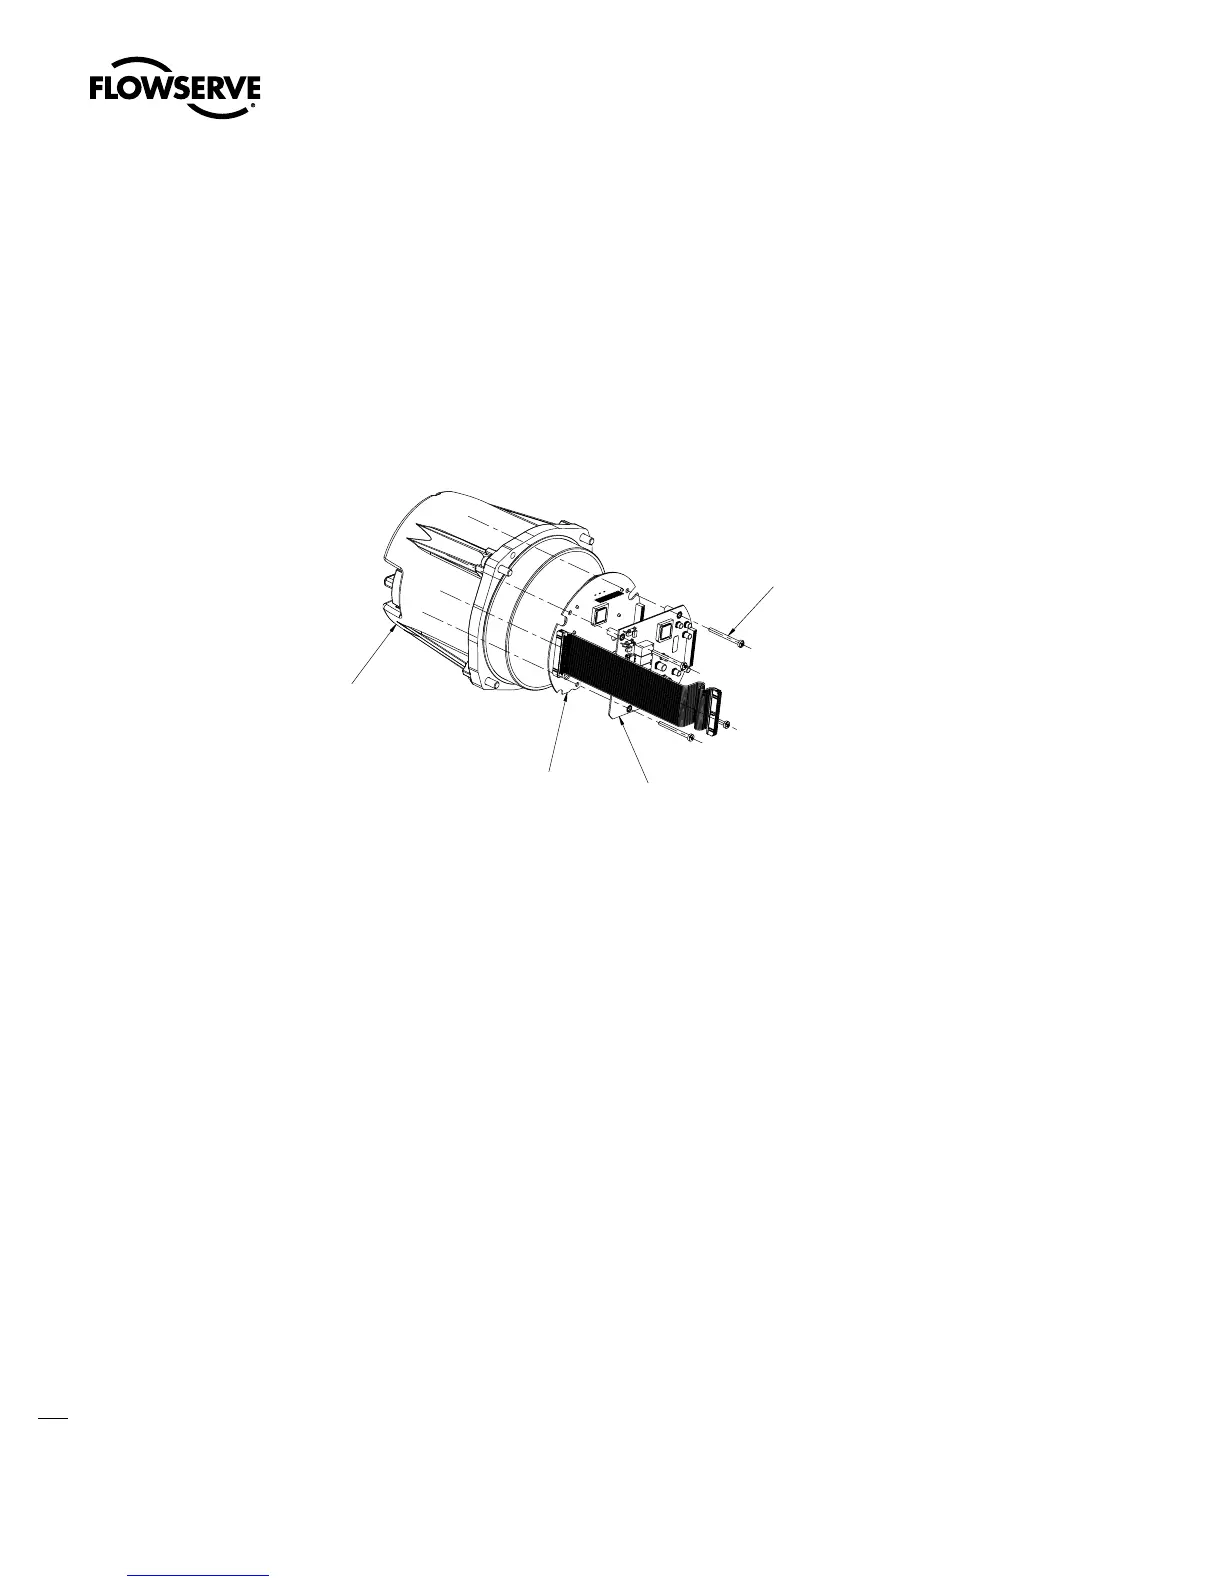
Figure 5.22 – Disassembly Procedure
STEP 1
Remove contactor. See Section 5.10.1 for removal procedure.
NOTE: Removal of the contactor requires removal of the motor, CP cover, controls, and terminal
block. Sections for these procedures are listed under the contactor removal. See Sections 4.1, 5.1,
5.4 and 5.5.
STEP 2
Retain the Main/LCS board, power assembly, mounting screws, and any optional boards removed
from the CP cover.
STEP 3
Discard the CP cover assembly and the four M8 mounting screws. A new CP with integral insulator
and mounting screws is included in the upgrade kit.
STEP 4
Discard the mechanical contactor assembly, keeping the two M4 mounting screws (8-28) per
Figure 5.9.
Swanson Flo | 800-288-7926 | www.swansonflo.com