45
Service Manual
4-14
7. Remove the adjustment tool from the vicinity of C2 and let the reading settle.
8. The reading should remain stable.
9. Readjust if necessary.
10. Re-install the top shield (MP11).
11. Complete the performance test for ACV.
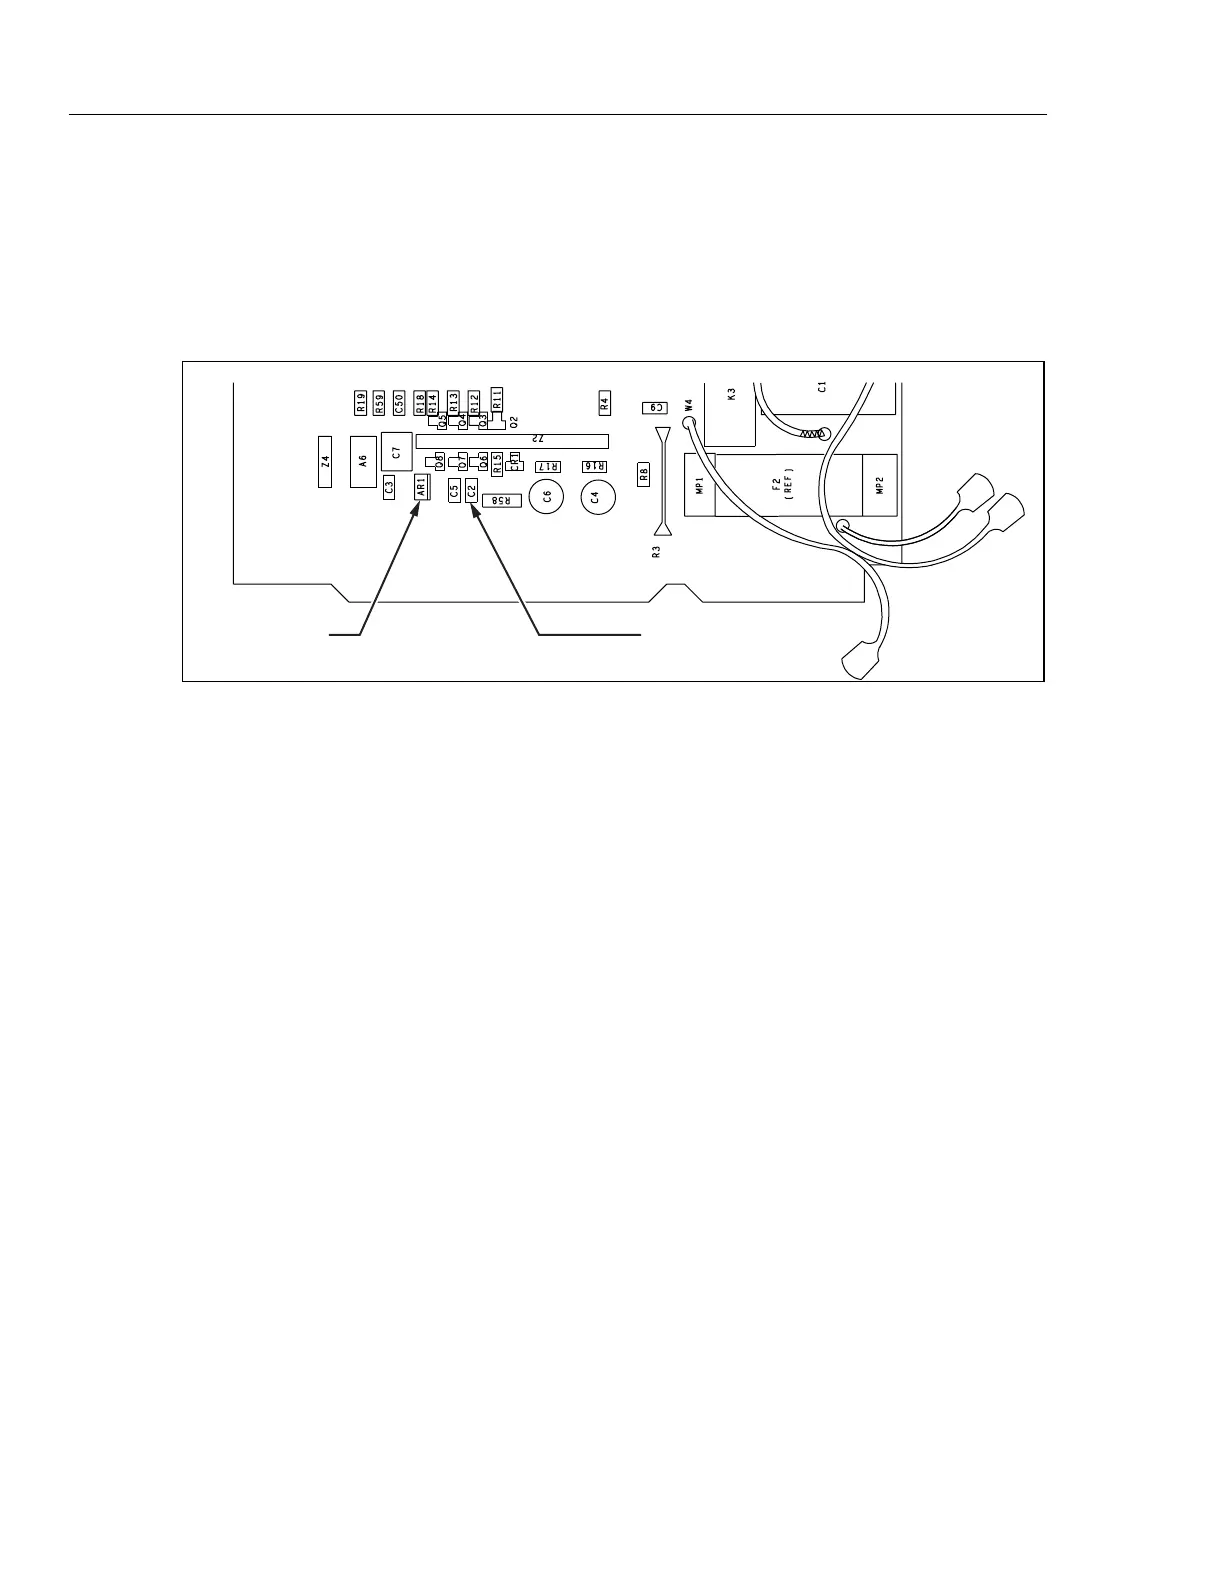
C2AC Buffer Amp
qb58sc.eps
Figure 4-2. C2 Location
4-17. Editing the Prompt for Different Calibration Points
Except for the first three prompts in VDC (0.000 mV, +90.000 and -90.000 mV are
calibration constants), the Fluke 45 can be calibrated using calibration points other than
the prompted values. To do this, you must edit the prompt to the reference source value
as follows:
1. Press the
T editor button. This intensifies the left-most digit of the numeric
display and turns the EDIT annunciator on.
2. Press the
U editor button to increment the intensified digit from 0-9.
3. Press the
T editor button again to intensify the next digit to be edited.
4. Once the edited value is equal to the reference source value, push the
E button to
exit the edit mode.
Holding down the editor buttons causes continual incrementing until the button is
released.
For calibration at points other than full scale, you must account for the effect of non-
linearity and noise on the accuracy specifications. This effect is expressed as a
percentage added to the Fluke 45 specification.
Table 4-6 shows additional errors to be added to the specifications when calibration is
conducted at points other than full range.
For example, if ohms is calibrated using decades of 1.9 (190 Ω, 1.9 kΩ, etc.), the
additional error on the 300 Ω and 100 Ω ranges is 0.01%. Therefore, since calibration
has been performed at less than full scale, 0.01% must be added to the Fluke 45 300 Ω
and 100 Ω range accuracy to arrive at the new specification.