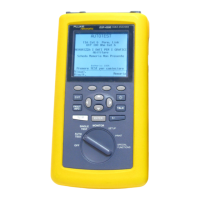
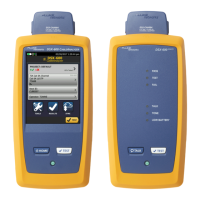
DSP-4000 Series
Users Manual
8-4
Table 8-1. Troubleshooting the Test Tool
Symptom 1: Display is blank
Press C. The test tool may have switched to low-power mode.
Connect the ac adapter/charger. The battery pack may need charging.
Hold down C for 2 seconds, then hold down U for 5 seconds. The display contrast may be too
low.
Hold down C for 2 seconds, then hold down D for 5 seconds. The display contrast may be too
high.
Symptom 2: Remote unit is not detected.
Charge or replace the battery in the remote.
Verify that the cable is securely connected to the main and remote units.
Connect the remote with a different cable. The cable you are using may be defective.
Check the connectors on the main and remote units for damage.
Symptom 3: Test results appear to be incorrect.
Perform a self-test to verify correct operation. See “Performing a Self-Test” in Chapter 2 for
details.
Verify that the test standard, cable type, temperature, and power line frequency (all in SETUP)
are correctly set. See Chapter 2 for details.
Perform a self-calibration. See “Calibrating the Test Tool” in Chapter 6 for details.
Perform a NVP calibration. See “Calibrating the NVP Value” in Chapter 6 for details.
Symptom 4: Internal fault detected.
Note any error number displayed. Turn the unit off, then turn it on again. Stored data may be
lost.
If the error occurs again, contact a Fluke Networks Service Center for assistance.
Symptom 5: Test tool does not operate with ac adapter/charger connected.
Verify that the NiMH battery pack is installed. The ac adapter/charger will not power the test tool
if the battery is removed.
Turn off the test tool; then charge the battery for about 30 minutes before resuming operation.
Replace the NiMH battery pack.
Symptom 6: Self calibration fails.
See “Calibrating the Test Tool” in Chapter 6 for details.
Symptom 7: Test tool is locked in the power-on sequence.
Turn off the test tool; then charge the battery for about 30 minutes before resuming operation.
 Loading...


