25CI400A/W • 25HI400A • 50CI400A/W • 50HI400A 19
Gearmotor replacement
1. Disassemble evaporator as described above.
2. Disconnect the wire connectors.
3. Remove four screws holding gear motor mounting
plate to base of ice machine and lift gearbox and
motor clear of ice machine.
4. Remove machine screws holding mounting plate to
motor.
5. Install new motor in reverse order.
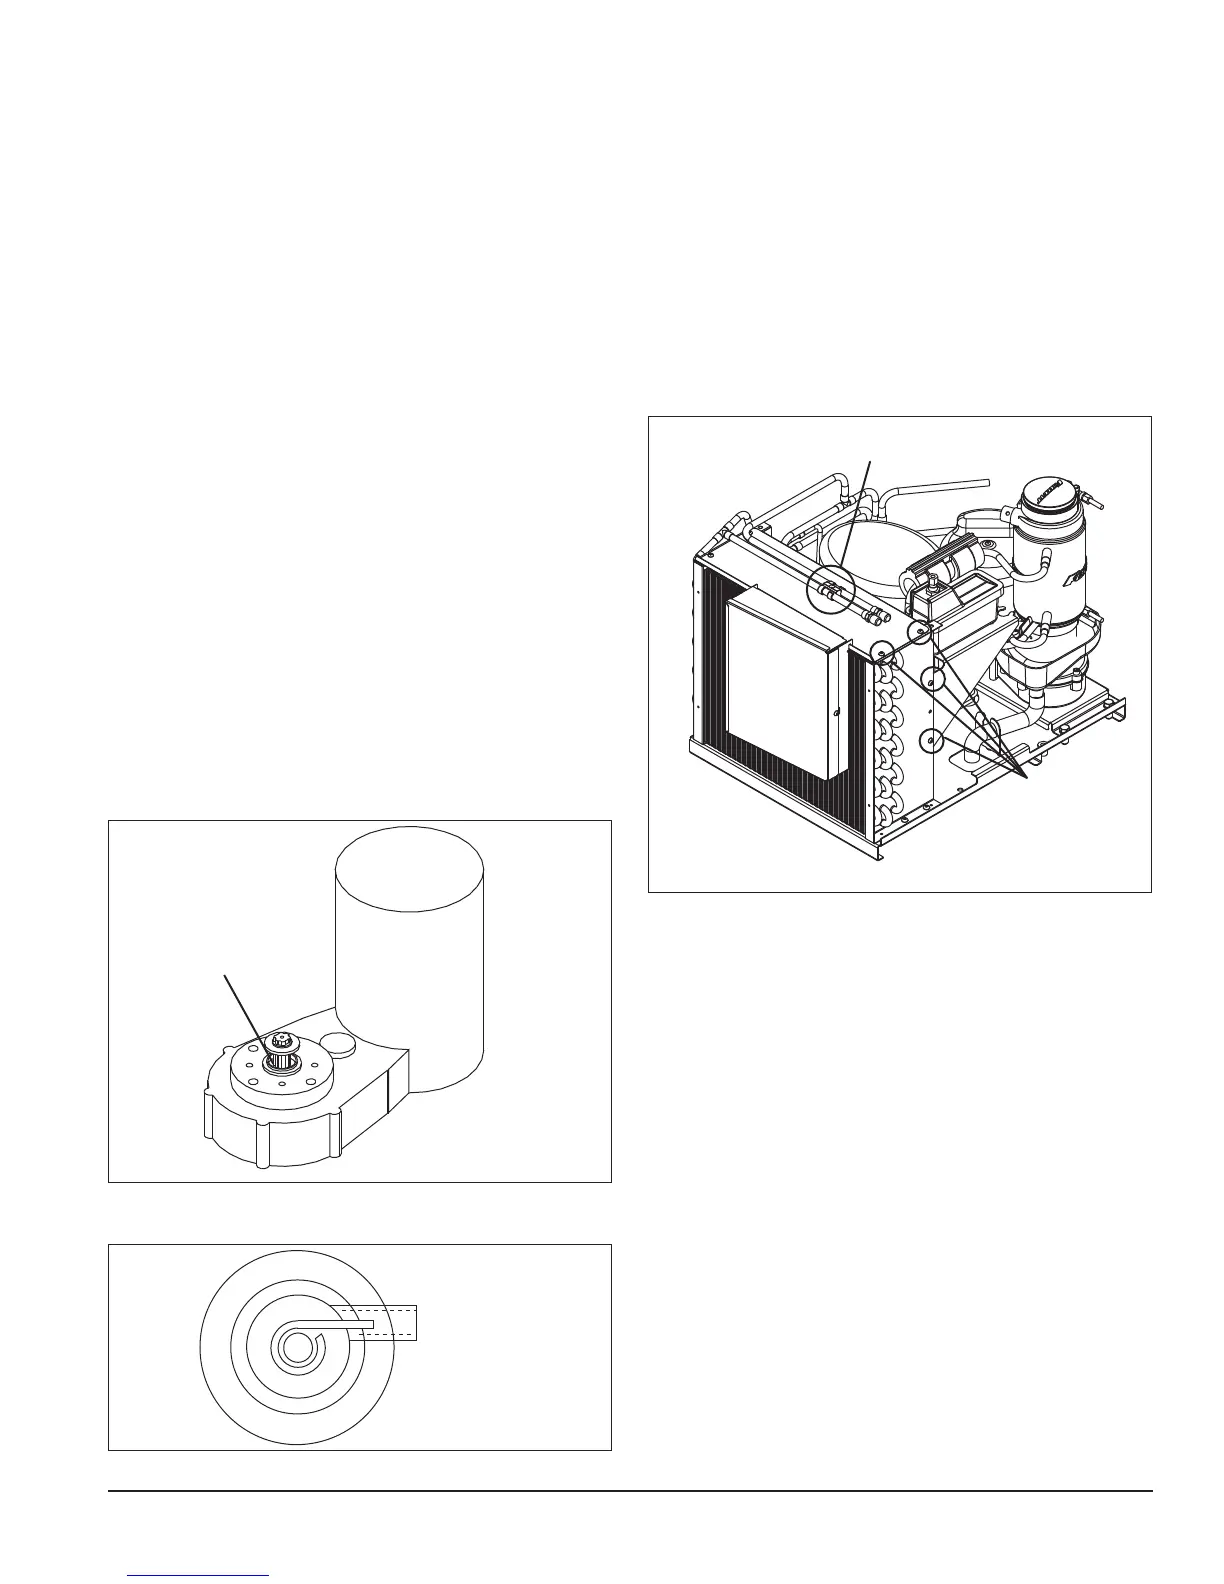
Fan removal
Fig. 29
29.2
29.1
1. Remove screw securing refrigerant lines to
condenser shroud (Fig. 29.1).
2. Remove seven screws securing shroud to
condenser (Fig. 29.2).
3. Slide shroud forward against n block to access
fan and motor.
Evaporator reassembly
1. Clean gearmotor boss, output shaft and shaft well.
2. Install drain pan and evaporator mounting base.
3. Fill gear motor shaft well with food grade grease
(Fig. 27.1).
4. Install condensate shield and seat against gear
motor boss.
5. Install bearing O ring in groove in evaporator
mounting base.
6. Lower bottom bearing assembly into evaporator
mounting base.
7. While maintaining a slight downward pressure on
bottom bearing assembly, tighten hex head bolt with
a 5/16" wrench.
8. Position evaporator over lower bearing assembly
and align grooves with pins in bearing assembly.
9. Install vee band clamp and nut to 70 in/lb.
10. Place auger in center of evaporator and rotate to
mate with drive pin.
11. Install ice compression loop, orienting loop as
shown in Fig. 28.
12. Install upper bearing and seal assembly, rotating
bearing to slip pin into auger slot.
13. Install upper vee band clamp and nut to 70 in/lb.
14. If evaporator was replaced, reinstall compression
nozzle on new evaporator.
Fig. 27
27.1
Fig. 28