TX100 S2 Service Supplement 41
Replacement routines
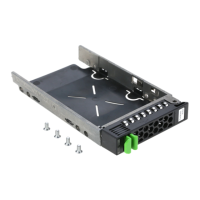
Ê Insert each accessible drive into its installation bay and slide back until it is
flush with the front bezel (1).
Ê Secure each accessible drive to the drive cage with four screws
(M3 x 4.5 mm) (2).
Ê Connect data and power cables to each drive.
Ê Close the side cover as described in section 4.1.1.2 on page 24 and
reconnect the AC power cord.
4.1.6 Replacing dummy covers
4.1.6.1 Removing a dummy cover
The following replacement routines require removing dummy covers:
– Replacing the front panel cable
– Replacing the front USB module
Ê Shut down the server and disconnect the AC power cord from the system.
Ê Remove the side cover as described in section 4.1.1.1 on page 23.
Ê Open the HDD cage as described in section 4.1.2.1 on page 25.
 Loading...