TX100 S2 Service Supplement 95
Replacement routines
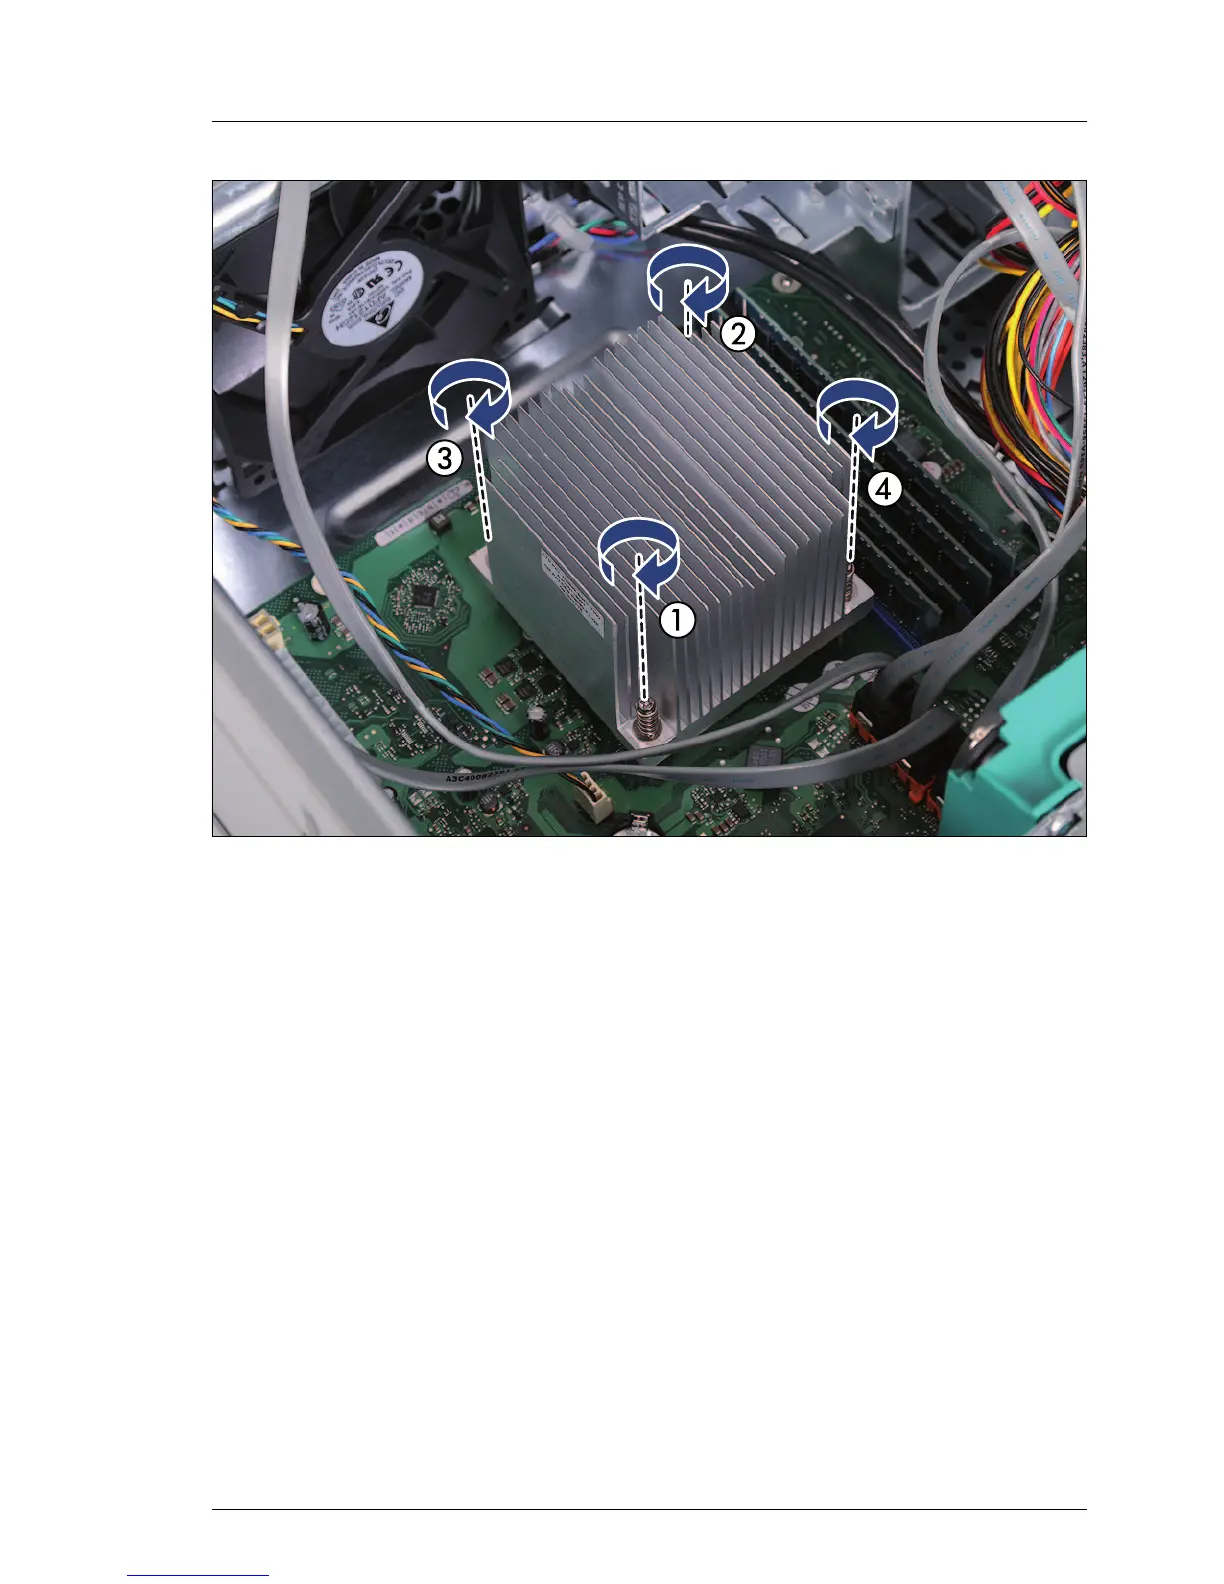
Figure 80: Installing the processor heat sink (B)
Ê Fasten the four captive screws on the heat sink in a crossover pattern (screw
torque: 0.6 Nm) (1-4).
Ê
Reconnect all power cables to the system board (see the cabling plans in the
appendix of the PRIMERGY TX100 S2 Options Guide)
.
Ê Reinstall the air duct as described in section 4.1.4.2 on page 37.
Ê Close the HDD cage as described in section 4.1.2.2 on page 27.
Ê Close the side cover as described in section 4.1.1.2 on page 24 and
reconnect the AC power cord.
 Loading...