37
Returntotableofcontents
4
When using battery fail-safe, set the Battery Fail-safe Voltage in the "Fail-safe" in the
"Linkage menu".
5
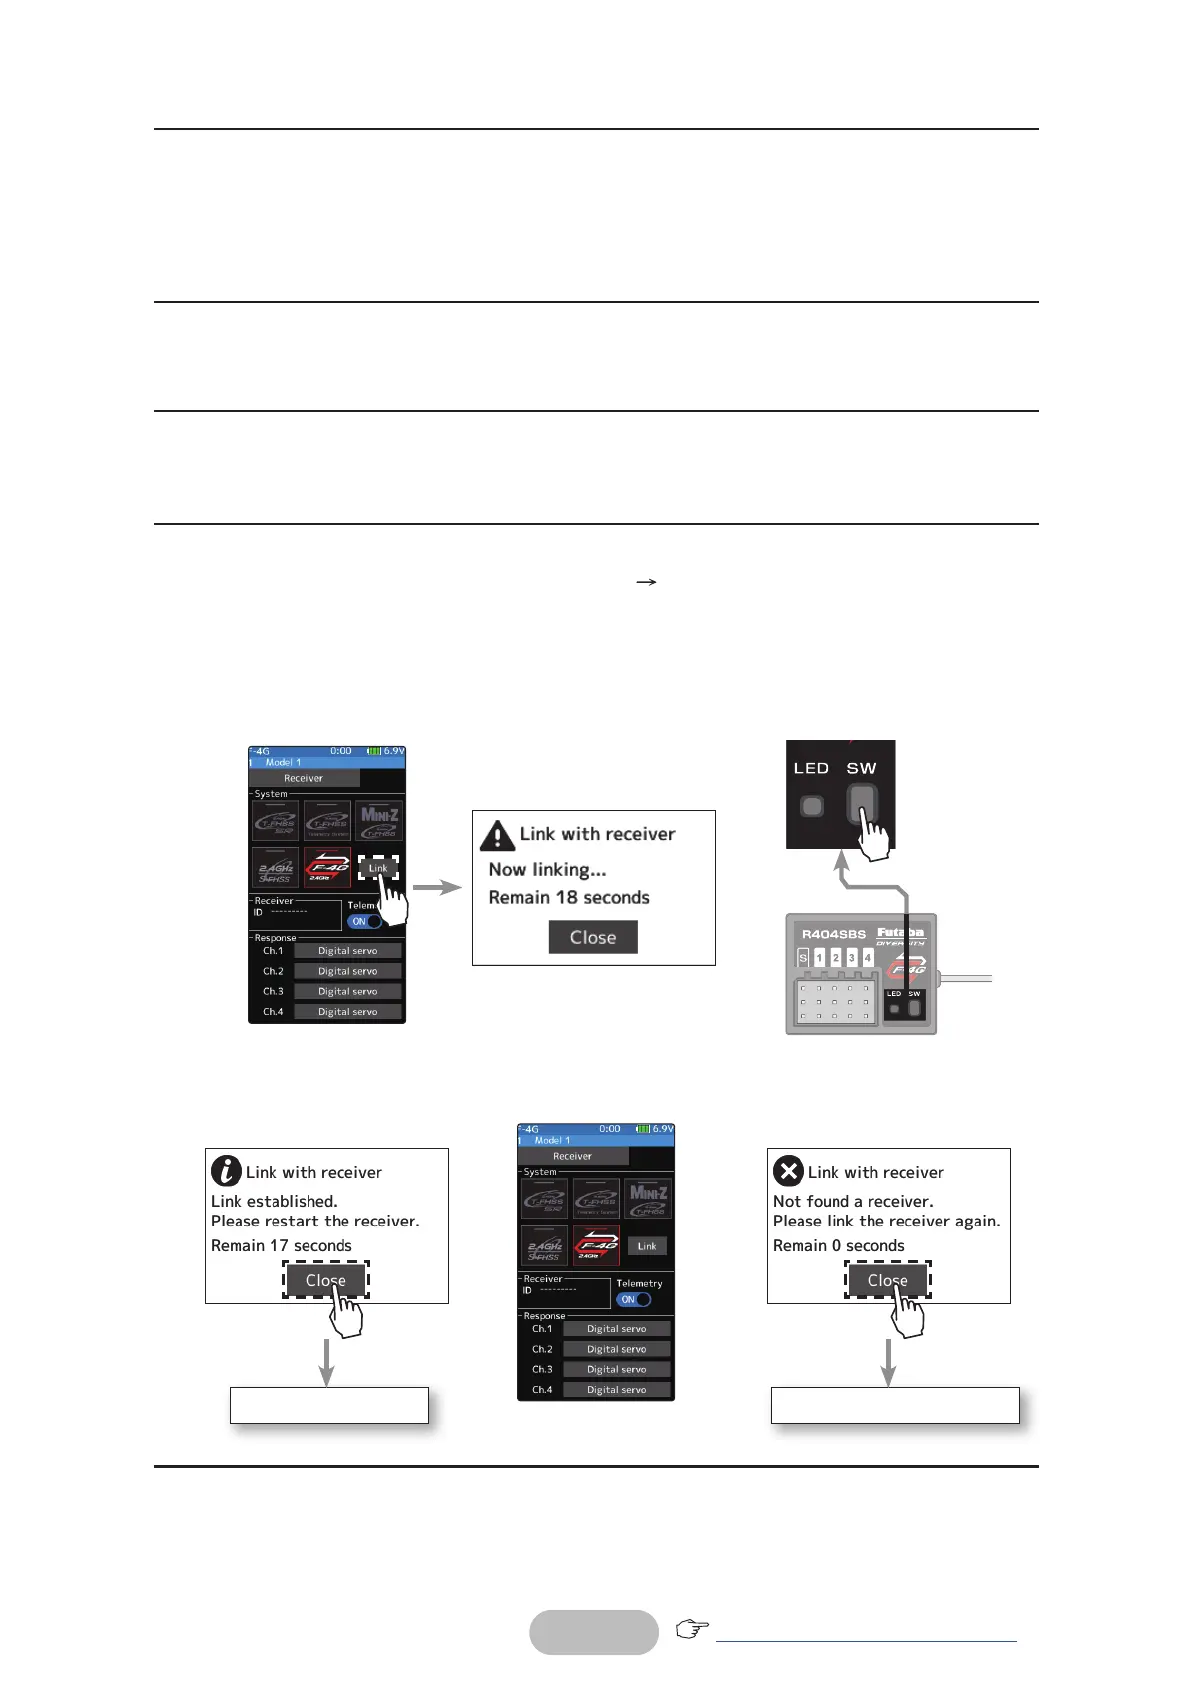
Bring the transmitter and receiver within 50 cm of each other (antennas do not touch)
and turn on the receiver power.
6
Touch [Link] on the transmitter T10PX screen, you will hear a chime sound and T10PX
will enter the link mode for 20 seconds.
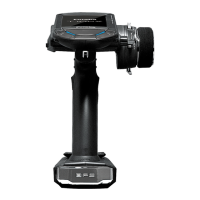
R404SBS
Link failed
Link established
F-4G
The link is completed. Repeat the linking operation
7
During the 20 seconds link mode, press the receiver for at least 2 seconds. The LED
blinks red and then changes to a greenish red
green steady light. When the T10PX
makes a beeping sound and the message "Link with receiver" appears on the screen,
release the receiver push switch. This ends reading of mutual ID and displays the mem-
orized receiver ID number on the T10PX screen. Power cycle the receiver. If the "Re-
ceiver not found" error screen is displayed, linking failed. Check the set contents and re-
peat the linking operation.
8
Once the settings are complete, turn the receiver off and then on again. The response
and battery fail-safe voltage settings will take effect after the receiver is restarted.
*In the F-4G system, the Battery Fail-safe voltage is set at the time of linking. Relink when
changing Battery Fail-safe voltage.
 Loading...