CHAPTER4: Upgrading Your Computer
46
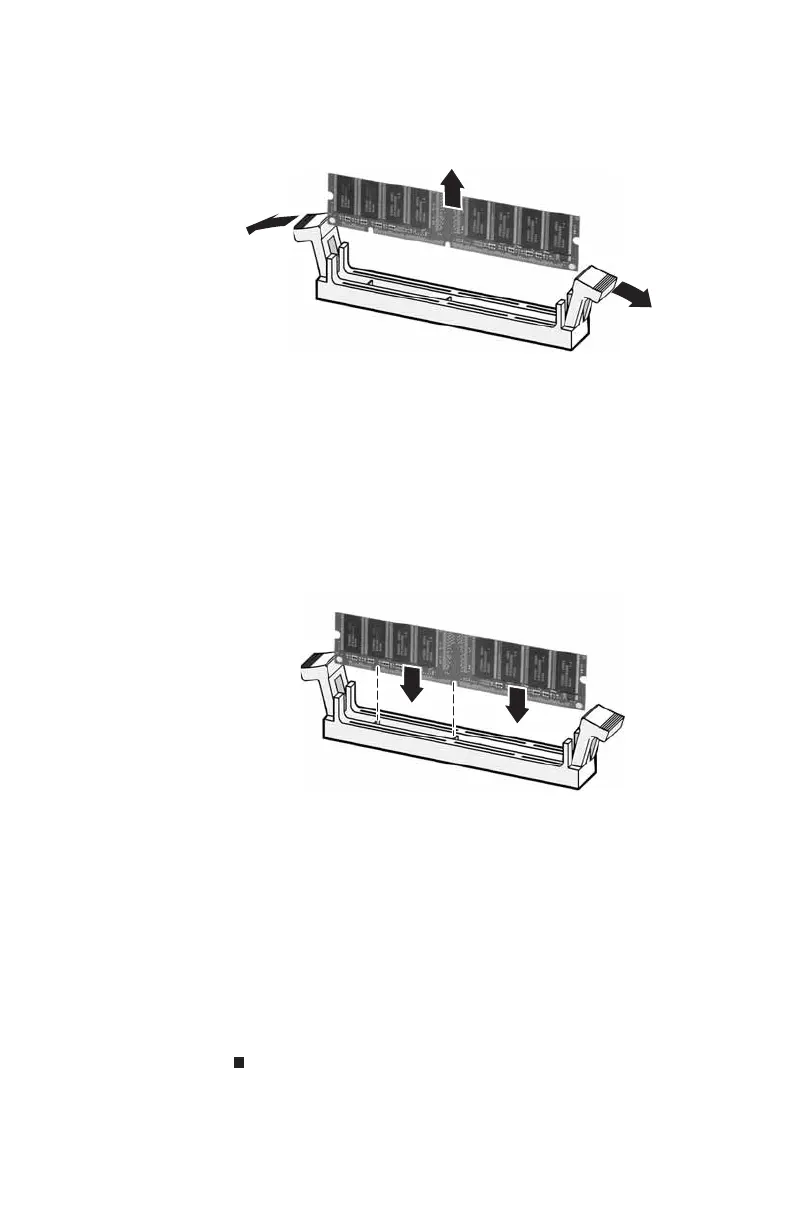
4 If you are removing a DIMM from the memory module
bank, gently pull the plastic tabs away from the sides of
the memory module and remove it.
- OR -
If you are adding a DIMM to an empty memory module
bank, gently pull the plastic tabs away from the sides of
the memory module bank.
5 Align the notches on the new DIMM with the notches on
the memory module bank and press the module firmly
into the bank. The tabs on the sides of the memory
module should secure the memory module
automatically. When the module is secure, you hear a
click.
6 Replace the hard drive bracket, being careful not to pinch
or kink the hard drive cables.
7 Replace the side panel.
8 Return your computer to its upright position.
9 Reconnect the cables and the power cord.
10 Turn on your computer. Windows starts and the
Windows desktop appears.
11 Click Start, right-click My Computer, then click
Properties. The amount of memory in your computer
is displayed.
8512732.book Page 46 Thursday, September 27, 2007 11:33 AM