CHAPTER4: Upgrading Your Computer
58
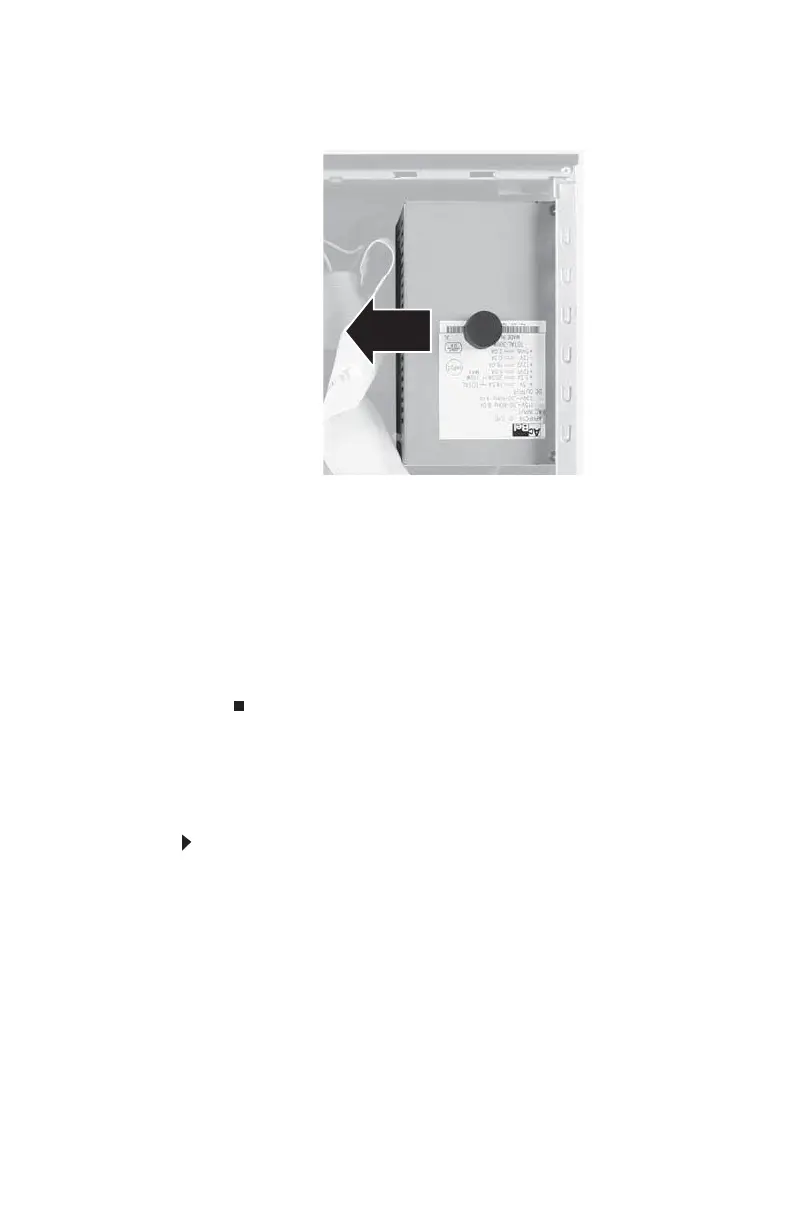
5 Slide the power supply away from the back of the
computer, and remove it.
6 Install the new power supply into the case, then install
the four screws to secure the power supply to the case.
7 Reconnect the power supply cables using the notes you
took previously.
8 Replace the front bezel, then replace the hard drive
bracket, being careful not to pinch or kink the hard drive
cables.
9 Replace the side panel.
Replacing the system board
To replace the system board:
1 Remove the side panel by following the instructions in
“Opening and closing the case” on page 37.
2 Remove the bezel by following the instructions in
“Removing and installing the front bezel” on page38.
3 Remove any expansion cards by following the
instructions in “Adding or replacing an expansion card”
on page 48.
4 Remove the fan assembly by following the instructions
in “Replacing the front fan” on page 50.
8512732.book Page 58 Thursday, September 27, 2007 11:33 AM