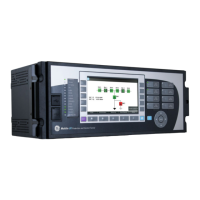
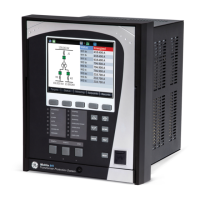
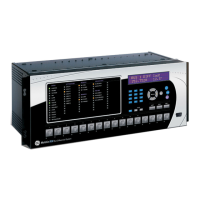
CHAPTER 3: INTERFACES FRONT CONTROL PANEL INTERFACE
339 MOTOR PROTECTION SYSTEM – INSTRUCTION MANUAL 3–5
When the display shows SETPOINTS, pressing the MESSAGE ► key or the ENTER key will
display the page headers of programmable parameters (referred to as setpoints in the
manual). When the display shows ACTUAL VALUES, pressing the MESSAGE ► key or the
ENTER key displays the page headers of measured parameters (referred to as actual
values in the manual).
Each page is broken down further into logical sub-pages of messages. The MESSAGE ▲
and MESSAGE ▼ keys are used to navigate through the sub-pages. A summary of the
setpoints and actual values pages can be found in the Chapters : Setpoints and Actual
Values, respectively.
The ENTER key is dual purpose. It is used to enter the sub-pages and to store altered
setpoint values into memory to complete the change. The MESSAGE ► key can also be
used to enter sub-pages but not to store altered setpoints.
The ESCAPE key is also dual purpose. It is used to exit the sub-pages and to cancel a
setpoint change. The MESSAGE ◄ key can also be used to exit sub-pages and to cancel
setpoint changes.
The VALUE keys are used to scroll through the possible choices of an enumerated setpoint.
They also decrement and increment numerical setpoints.
The RESET key resets any latched conditions that are not currently active. This includes
resetting latched output relays, latched Trip LEDs, breaker operation failure, and trip / close
coil failures. The Autoreclose Scheme is also reset with the shot counter being returned to
zero and the lockout condition being cleared.
The MESSAGE ▲ and MESSAGE ▼ keys scroll through any active conditions in the relay.
Diagnostic messages are displayed indicating the state of protection and monitoring
elements that are picked up, operating, or latched.
LED status indicators - Front panel with non-programmable LEDs
• IN SERVICE: Green
This LED will be continuously “ON”, when the relay is set to “Ready” under
S1 RELAY
SETUP > INSTALLATION > RELAY STATUS, and no major self-test errors have been
detected.
• TROUBLE: Orange
This LED will turn “ON”, when the relay is in the not programmed (Not Ready) state
under
S1 RELAY SETUP > INSTALLATION > RELAY STATUS, or upon detection of a major
self-test error. The relay will turn back to “IN-SERVICE” if no major self-test error is
present.
• LOCKOUT: Green
This LED is lit when any of the following elements is activated:
–Thermal Overload
– Short Circuit
– Mechanical Jam
– Ground Fault
This LED can be reset either by emergency restart or by lockout reset if these are
enabled. If none of them is enabled, a normal reset can be used.
• START INHIBIT: Red
This LED turns "ON" when the Start Inhibit element is activated. The LED self-resets
when the inhibit is no longer present.