GE PROPRIETARY TO GE
D
IRECTION 5308917-100, REVISION 8 LOGIQ P3 SERVICE MANUAL
Chapter 8 Replacement Procedures 8-93
Section 8-14
Loading Software
LOGIQ P3 - FRU part numbers for software.
1.) 5308912-6 LOGIQ P3 Expert Software - R1.0.5
2.) 5315327-6 LOGIQ P3 Pro Software - R1.0.5
3.) 5315328-6 LOGIQ P3 BW Software - R1.0.5
LOGIQ P3 BT10 - FRU part numbers for software.
1.) 5368259-6 LOGIQ P3 BT Expert software - R2.0.5
2.) 5397504-6 LOGIQ P3 BT Pro software - R2.0.5
3.) 5397506-6 LOGIQ P3 BT BW software - R2.0.5
4.) 5443046-4 LOGIQ P3 BT 3 Port BW Software - R2.0.4
NOTE: While it is believed to be unnecessary, It would not hurt to disconnect the system from the
network and remove all transducers.
NOTE: To Enter BIOS Press F2 (Arrow) Key immediately after power on and enter BIOS Password for
LP3 as lakshya.
NOTE: Please ensure AC adapter is connected during system upgrade!
1.) Before loading the Software Backup the database for reference see 4-3-14-2 on page 4-28 and
after loading the Software Restore the bacup database.
2.) Insert the disk labeled “System & Application Software” into the DVD drive.
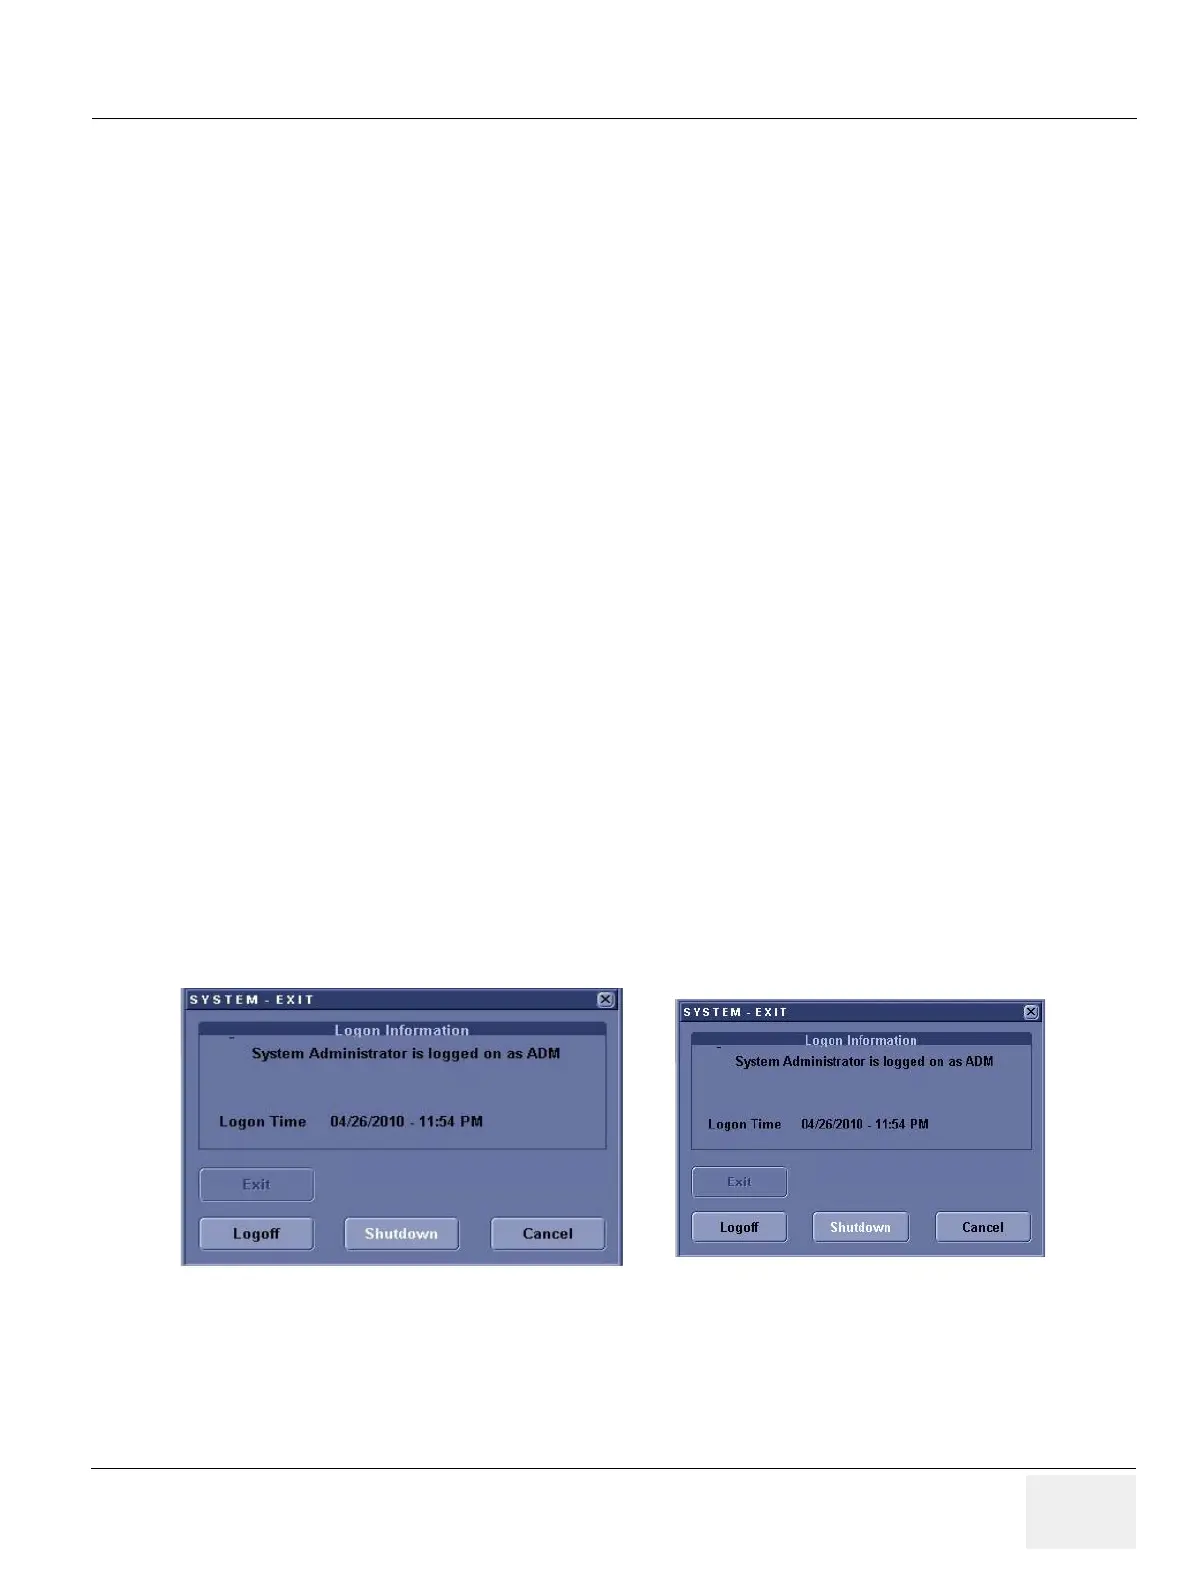
3.) Properly turn off the scanner by momentarily pressing the Power On/Off Switch. Select
“Shutdown” from the System Exit menu.
4.) If the system will not shutdown normally, hold down the Power On/Off Switch until the light
turns from green to amber.
5.) Turn on the scanner. System will detect the DVD-RW automatically.
Figure 8-93 Shutdown Dialog Box

 Loading...


