GE HEALTHCARE
DIRECTION 5245279, REVISION 3 LOGIQ™ P6/P6 PRO SERVICE MANUAL
Section 4-3 - General Procedure 4 - 19
4-3-11-4 Archiving Images (cont’d)
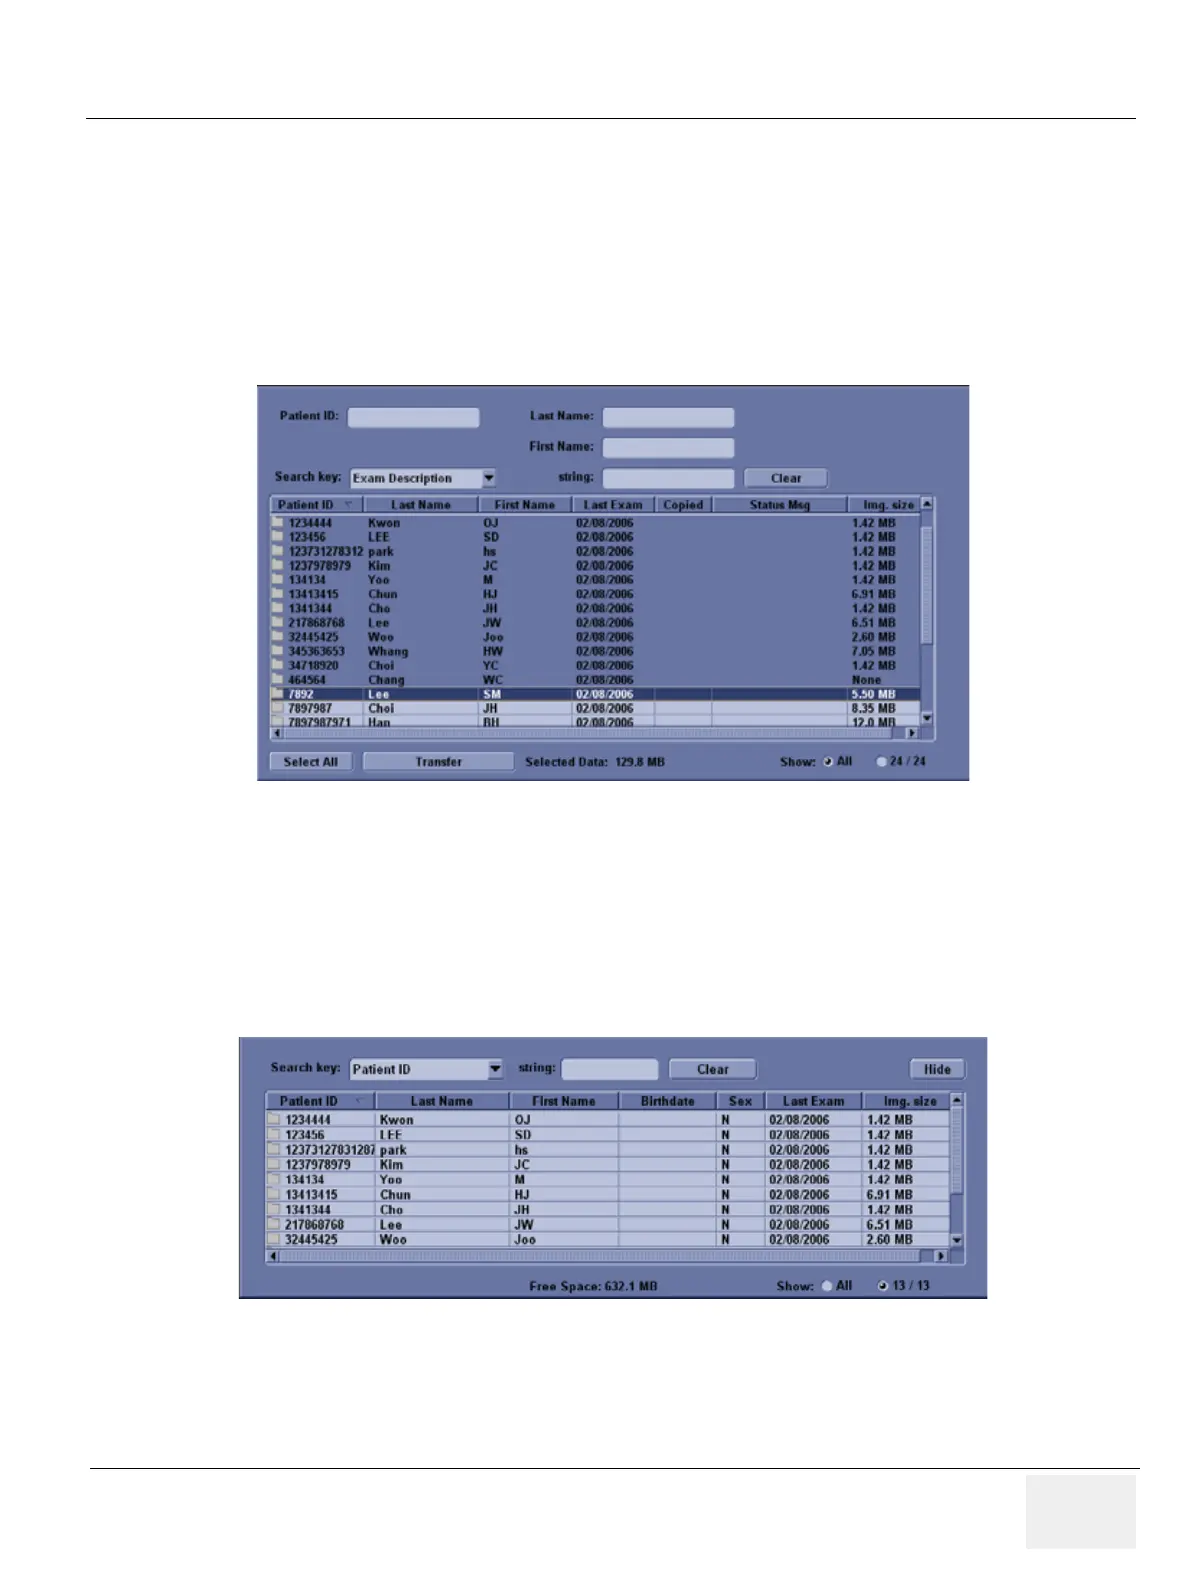
4.) In the patient list at the top of the Patient menu, select the patient(s) you want to export. You
can use Windows commands to select more than one patient. To select a consecutive list of
patients, click the cursor on the first name, move the cursor to the last name, then press and
hold down the Shift+right Set key to select all the names. To select a non-consecutive list of
patients, click the cursor at the first name, move the cursor to the next name, then press and
hold down the Ctrl+right Set key, move the cursor to the next name, then press and hold down
the Ctrl+right Set key again, etc. You can also search for patients via the Search key and string.
Or, Select All Button from the Patient Menu:
NOTE: You need to use your best judgment when moving patients' images. If there are lots of images
or loops, then only move a few patients at a time.
5.) Once you have selected all of the patients to export, press Transfer Button as shown in Figure
4-17 from the Patient Menu.
6.) The progress bar appears as the copy is taking place. Once transfer completed, the exported
patient list will be shown as Figure 4-21.
7.) Press F3 to eject the media. Specify that you want to finalize the CD-ROM.
Figure 4-20 Source Section
Figure 4-21 Destination Section of Patient Screen
 Loading...


