AutoVu SharpX mobile installation
tip.genetec.com | AutoVu Hardware Guide for SharpX Mobile Installation
EN.410.018-XS(6) | Last updated: October 6, 2016 23
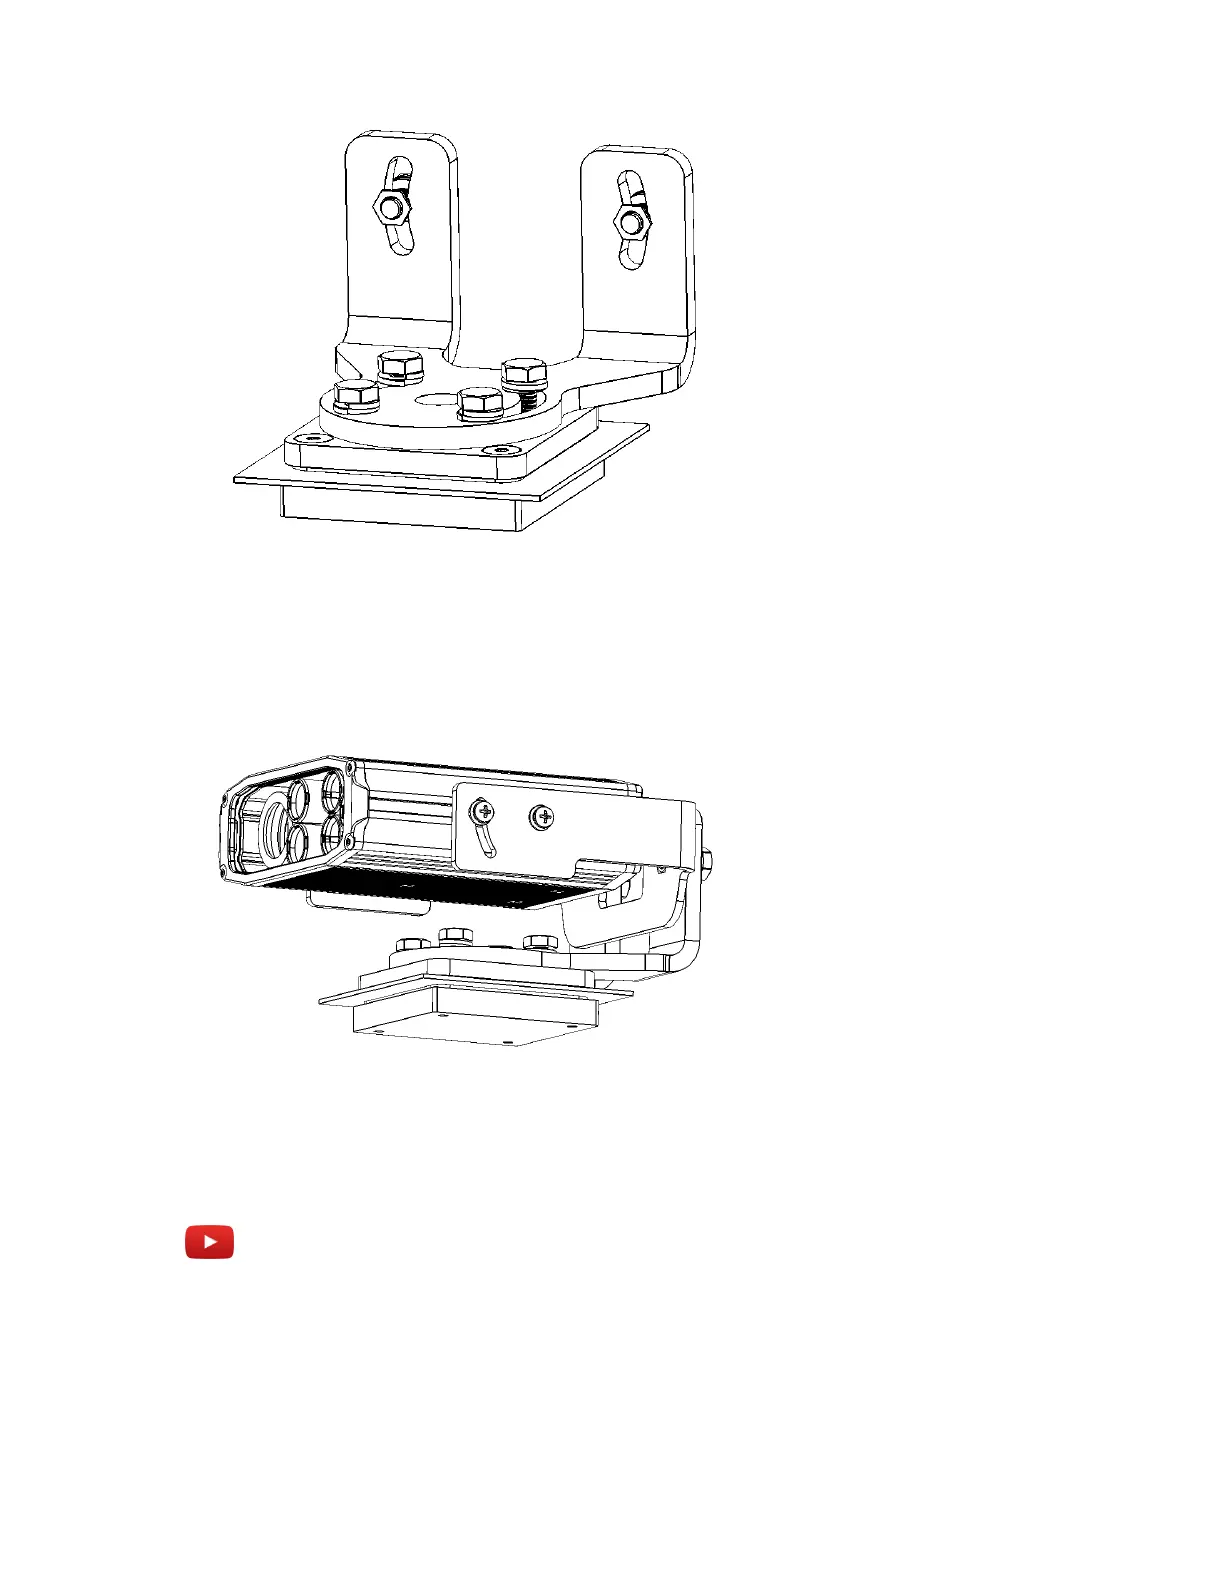
3 Slide the SharpX camera on to the tilt bracket, with the bracket's open notch to the top. Leave
about a 2.5 cm (1 in.) gap between the back of the bracket and the camera.
4 Attach the camera to the bracket using the phillips pan head screws, serrated washers, and flat
washers.
5 Attach the assembled SharpX camera and tilt bracket to the pan/roll bracket using hex-head cap
screws, flat washers, and split washers.
Example
Watch this video to learn more. Click the Captions icon (CC) to turn on video captions in one of the
available languages.