AutoVu SharpX mobile installation
tip.genetec.com | AutoVu Hardware Guide for SharpX Mobile Installation
EN.410.018-XS(6) | Last updated: October 6, 2016 49
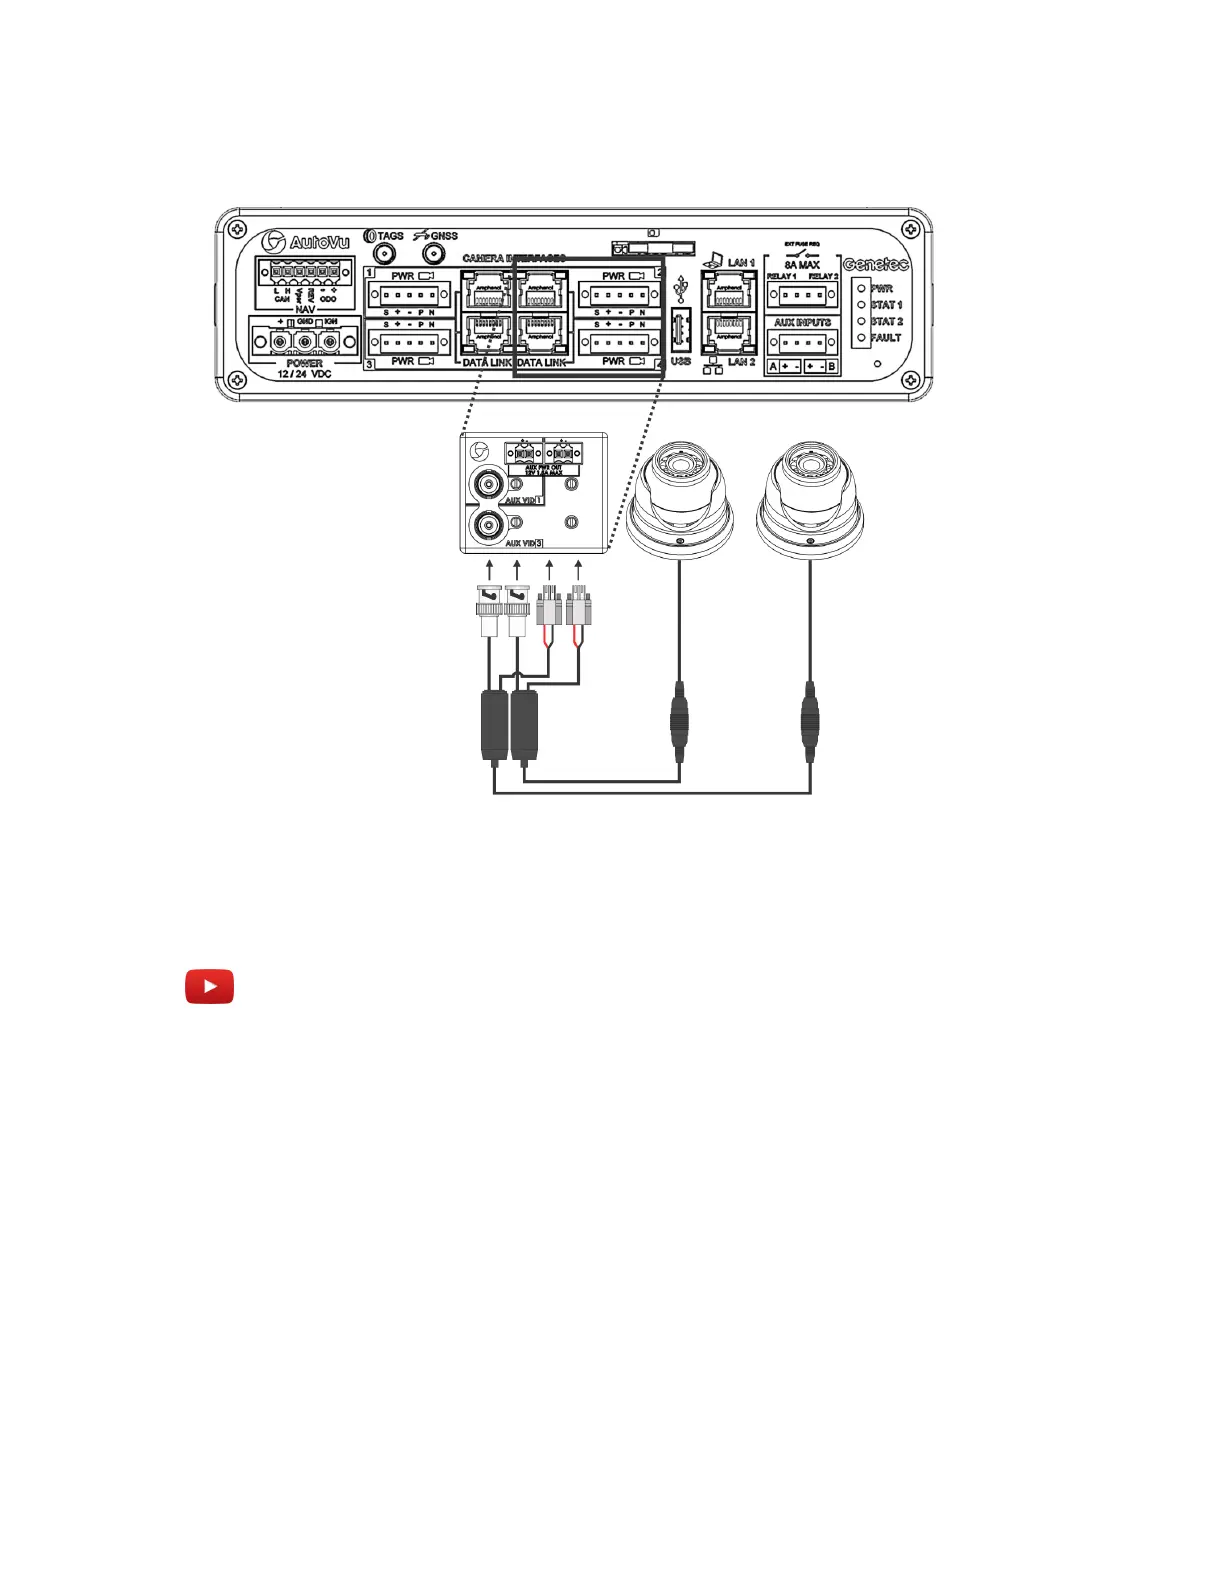
NOTE: As indicated on the adapter module, the wheel imaging camera on port 2 will be
associated with the on port 1, and the wheel imaging camera on port 4 will be associated with the
on port 3.
Example
Watch this video to learn more. Click the Captions icon (CC) to turn on video captions in one of the
available languages.
Aligning a wheel imaging camera
You must align the wheel imaging camera so that the wheel image appears correctly in Patroller.
To align a wheel imaging camera:
1 Position the AutoVu vehicle beside a “target” vehicle so that it is at the expected distance for tire
imaging (between 1.2 - 1.8 meters / 4 - 6 feet).
2 Acquire the live feed from the wheel imaging camera. For more information on using the live feed,
refer to the Sharp Administrator Guide.
3 Using the provided Allen wrench, loosen the set screws on the camera housing.
4 There is an “Up” sticker on the camera ball which shows the camera’s vertical orientation. Rotate
the camera ball so that the “Up” sticker is at the top.
5 In the live feed, confirm that the horizon is not tilted in the image.