AutoVu SharpX mobile installation
tip.genetec.com | AutoVu Hardware Guide for SharpX Mobile Installation
EN.410.018-XS(6) | Last updated: October 6, 2016 22
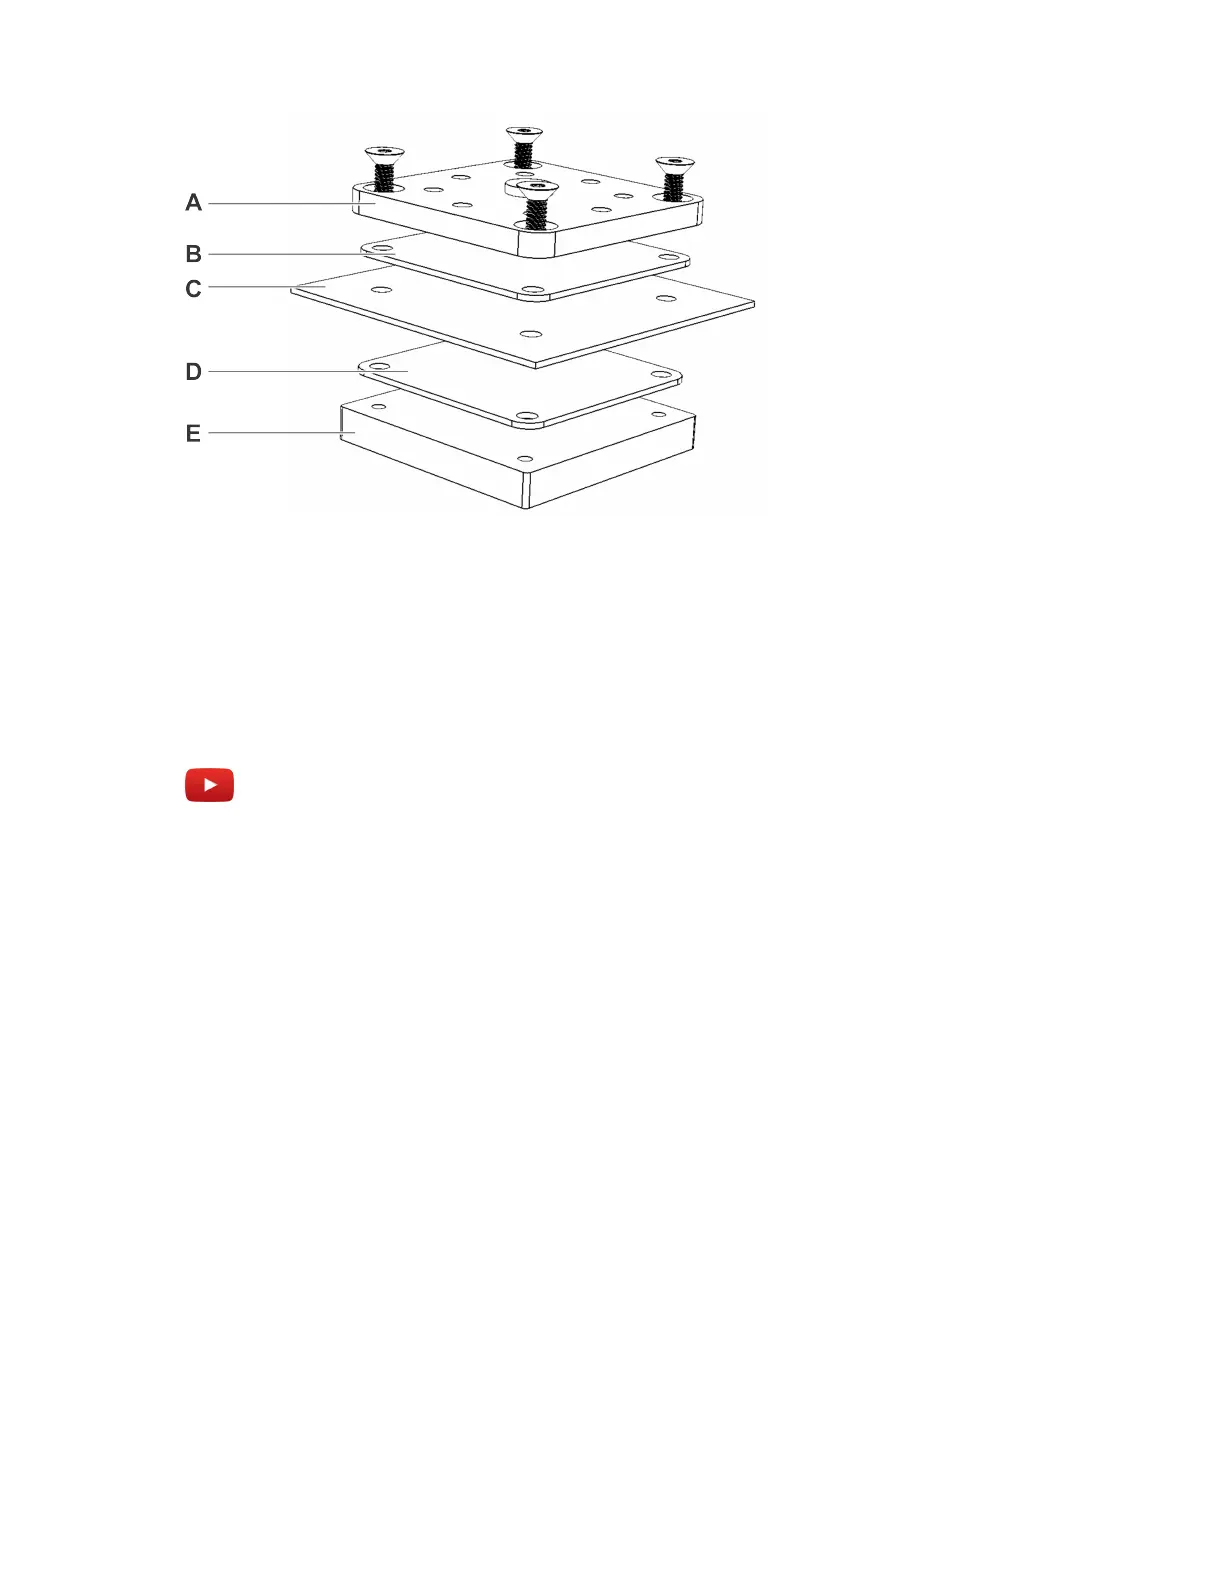
• A: Hardmount top plate
• B: Rubber bumper
• C: Vehicle roof
• D: Rubber bumper
• E: Hardmount bottom plate
Watch this video to learn more. Click the Captions icon (CC) to turn on video captions in one of the
available languages.
After you finish
• If applicable, repeat this process for your other cameras.
• Attach the SharpX to the hardmount.
Attaching the SharpX pan/tilt/roll bracket to the hardmount
After you have attached the Genetec hardmount to your vehicle, you must attach the SharpX camera
using the pan/tilt/roll bracket.
Before you begin
Install the SharpX hardmount on the vehicle.
To attach the SharpX using the pan/tilt/roll bracket:
1 Assemble the pan/roll bracket hardware using the included documentation.
2 Attach the pan/roll bracket to the hardmount using four hex-head cap screws, flat washers, and
split washers as shown in the documentation included with the hardmount. Set the alignment for
the bracket to allow the bracket to pivot from forward to 90 degrees to the side.
TIP: Don’t over tighten as you will still need to aim the SharpX camera later.