AutoVu SharpX mobile installation
tip.genetec.com | AutoVu Hardware Guide for SharpX Mobile Installation
EN.410.018-XS(6) | Last updated: October 6, 2016 31
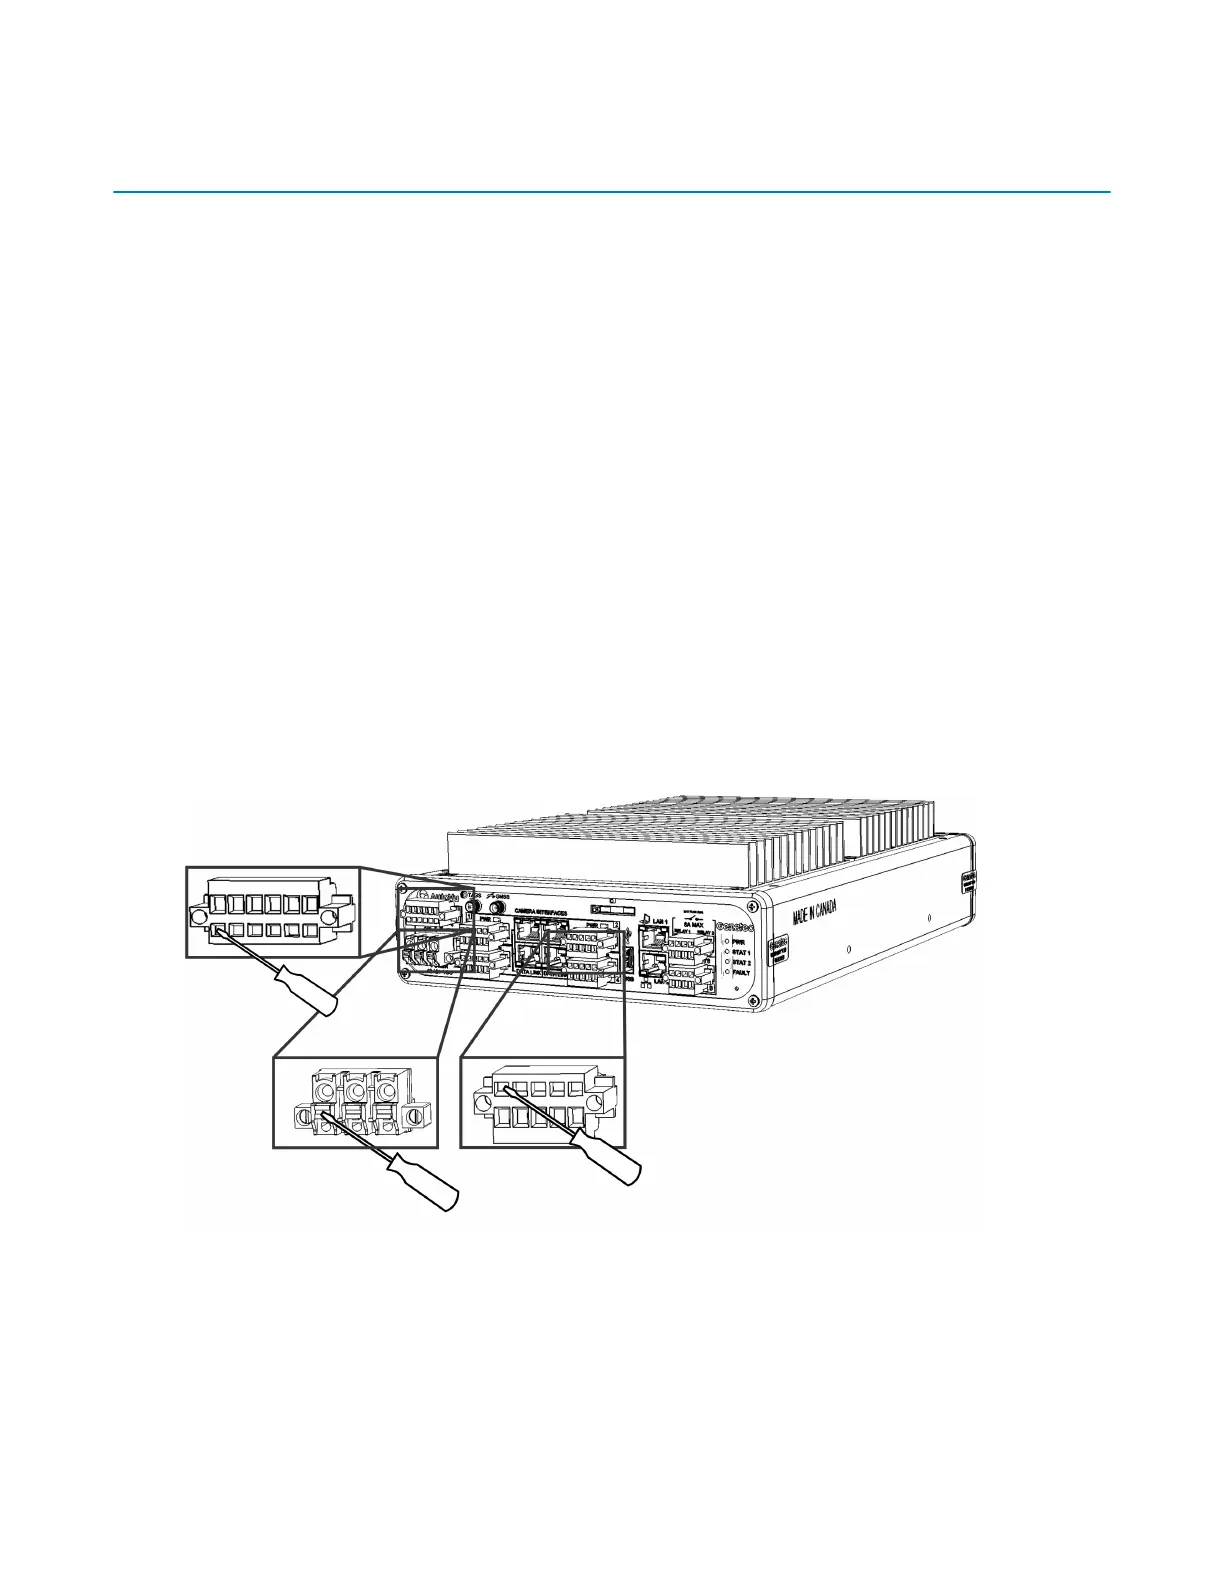
Securing wires using tension clamp connectors
The various connectors used with the SharpX LPR Processing Unit and the optional external
Navigator box are equipped with built-in tension clamps to secure the wires. The tension clamps are
orientated differently depending on which connection you are making.
Before you begin
• You will need a 2.5 mm, flat-head screwdriver to push in the clamps.
• If the LPR Processing Unit installation does not include a wire rack, you must provide extra
support for the wire connections by using the provided strain relief clips.
What you should know
• The SharpX connectors are made by Weidmüller. For more information about the connectors, go
to http://www.weidmueller.com, and search for part numbers 1043920000 (3-pole connector),
1690900000 (4-pole connector), 1690910000 (5-pole connector), and 1690920000 (6-pole
connector if your system includes the AutoVu Navigation Option).
• You must connect the wires for the LPR Processing Unit power, navigation, and camera
connections using tension clamp connectors. The tension clamps have different shapes and
orientations depending on the port.
To secure wires using tension clamp connectors, refer to the illustration and the steps that
follow:
1 Strip 10 mm (3/8 in.) of insulation from the camera wires (the drain wire has no insulation).
2 Plug the connector into the required port on the LPR Processing Unit.
This makes it easier to push in the tension clamps.
3 Use a 2.5mm flat head screwdriver to push in the tension clamps, insert the required wires into
the poles, and then release the tension clamps.
4 Gently tug the wires to make sure they are secure.