AutoVu SharpX mobile installation
tip.genetec.com | AutoVu Hardware Guide for SharpX Mobile Installation
EN.410.018-XS(6) | Last updated: October 6, 2016 48
NOTE: If it is impossible to access the inside of the body panel, consider using rivet nuts (not
provided).
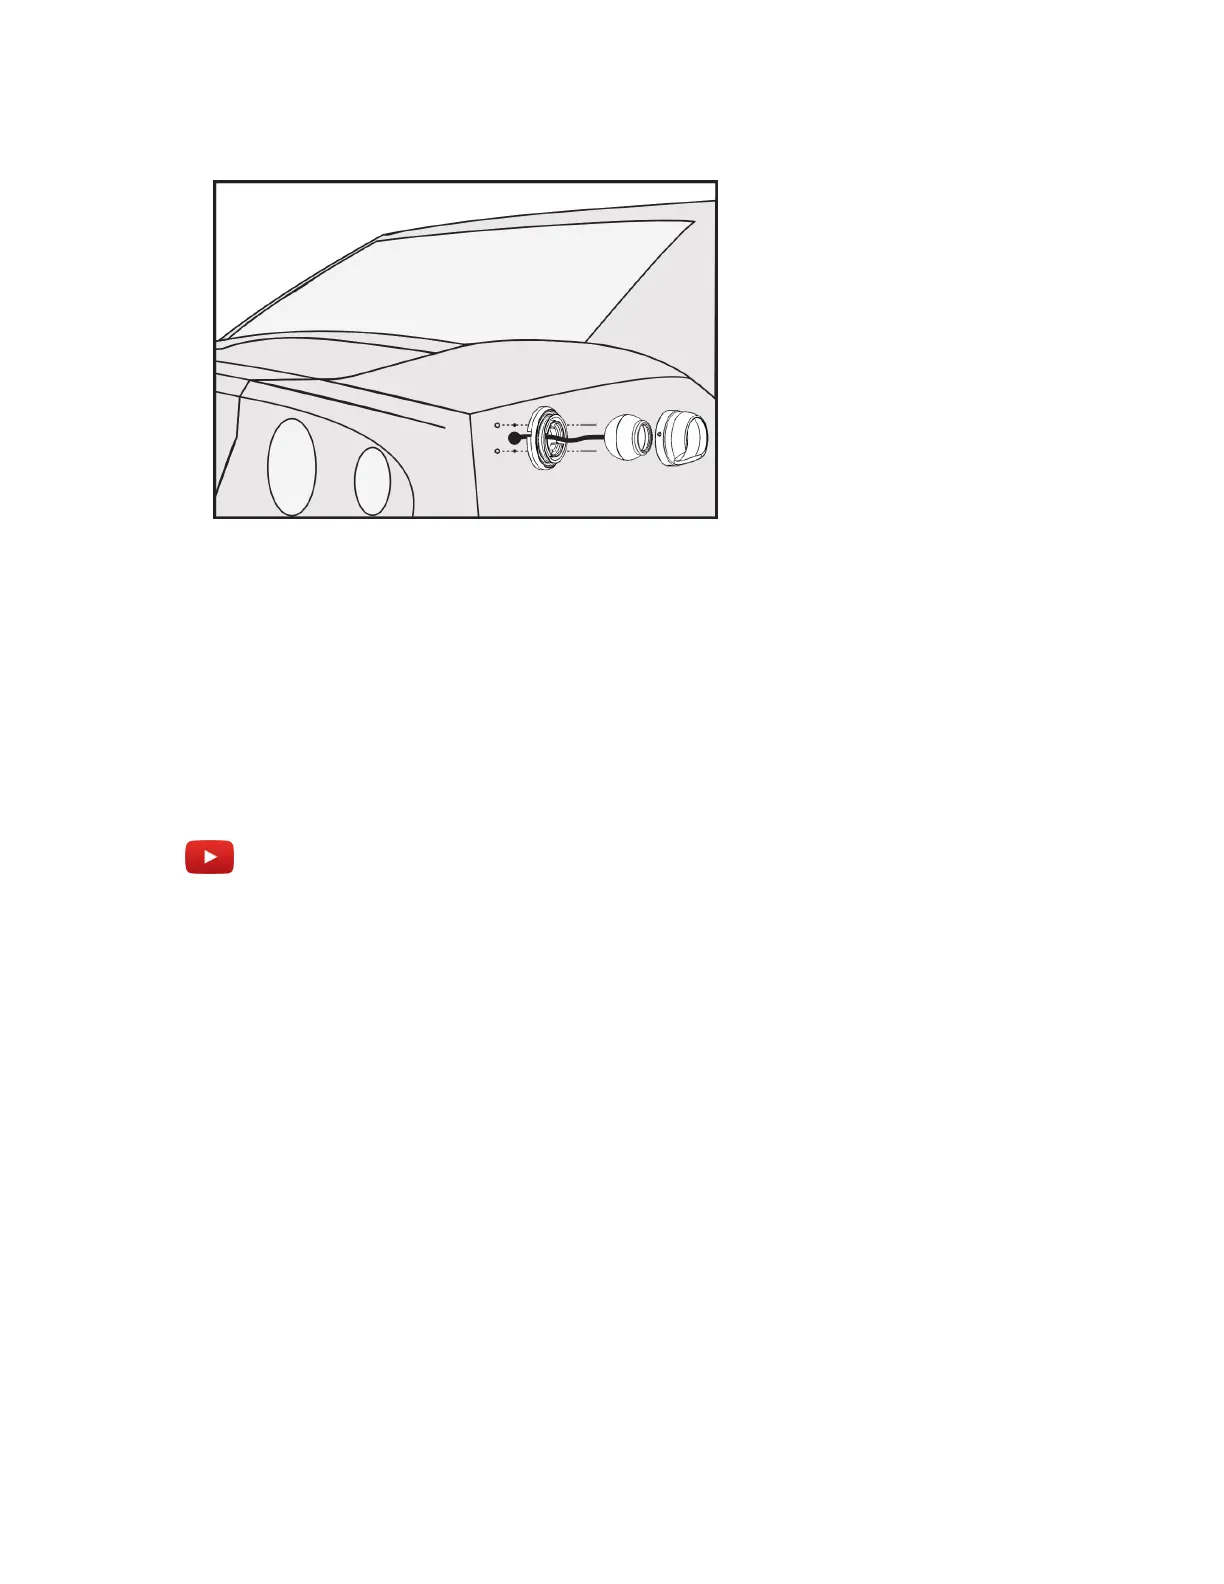
3 Attach the camera housing to the camera base and secure the housing by tightening the set
screws with the provided Allen wrench.
NOTE: You will have to loosen the set screws later to align the camera.
4 Replace any tail light assemblies or trunk liners that were removed for the installation.
Example
Watch this video to learn more. Click the Captions icon (CC) to turn on video captions in one of the
available languages.
Connecting a wheel imaging camera on a SharpX system
To check whether a parked vehicle has moved through the use of digital tire chalking, you can
connect a wheel imaging camera to the LPR Processing Unit via the Tire/Aux Imaging Adapter
Module.
To connect a wheel imaging camera on a SharpX system
1 The camera cable extension divides the cable into a separate camera cable and power cable.
Terminate the power cable with the 2-pin connector that is included with the Tire/Aux Imaging
Adapter Module.
NOTE: If you are adding wheel imaging cameras to an older LPR Processing Unit (X1, X2), connect
the camera cable to the AUX VID 1/2 ports, and power the wheel imaging cameras using the AUX
PWR OUT 12V 0.5A MAX port.
2 Attach the Tire/Aux Imaging Adapter Module to camera ports 2 and 4 of the LPR Processing Unit
and tighten the four screws to secure the module.
3 Connect the BNC from the wheel imaging camera to the port with corresponding SharpX camera.