Omnia Maintenance Through USB Omnia PCB
MDE-5369E FlexPay™ IV (with Omnia) Programming and Service Manual · April 2020 Page 5-57
4 Plug the USB drive into the Omnia board. Depending on the success or failure of the
operation, LEDs start glowing as follows:
• LED D32 goes Solid RED and LED D30 starts blinking slowly.
• LED D30 goes Solid GREEN, indicating that operation is completed successfully.
• LED D30 will start blinking fast, indicating that the operation failed.
Note: If the operation is successful, LED D32 goes OFF. If the operation fails, LED D32 will
start blinking together with LED D30.
5 Remove the USB drive.
Log Retrieval Report and Checking Files on the USB Drive
To perform this operation, proceed as follows:
1 Insert the USB drive used to install packages on Omnia into your PC/Laptop.
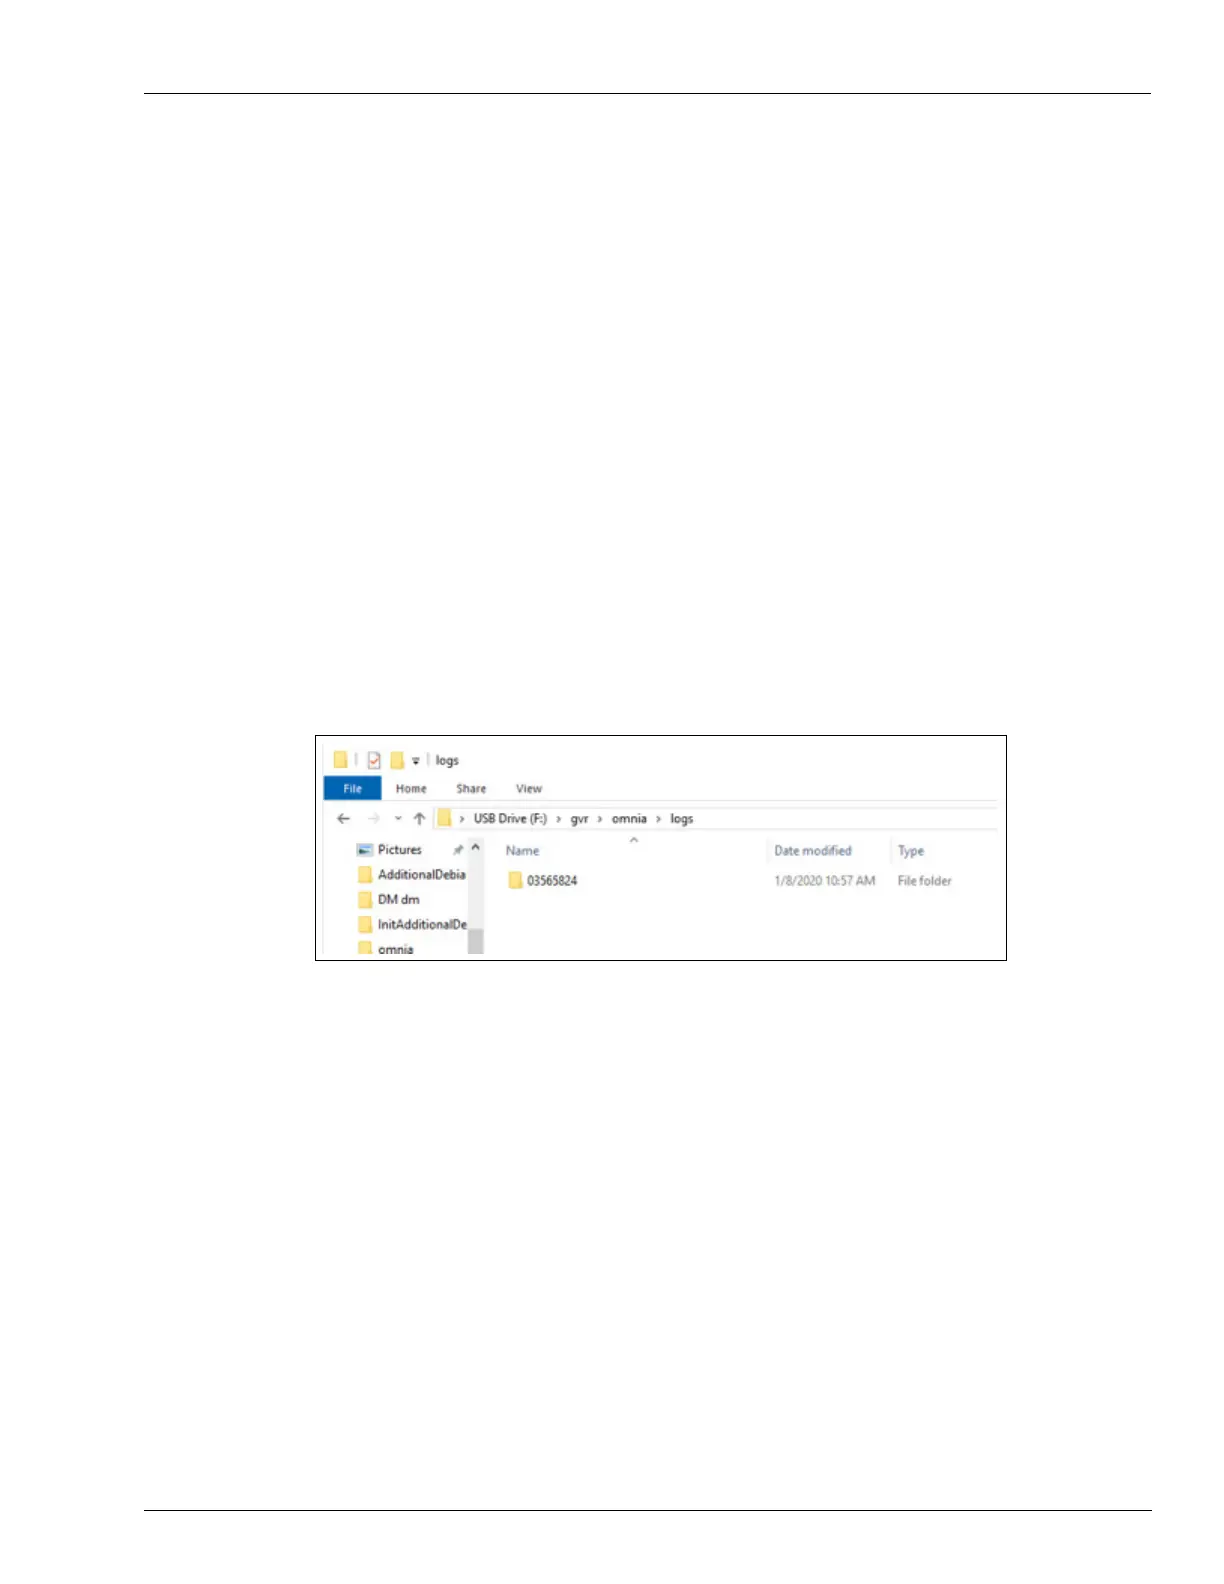
2 Go to gvr\omnia\logs. Open the folder with the name of the Omnia PPN, as shown in the
following figure:
Figure 5-83: Omnia PPN Log Folder
3 Open the file named “OmniaSession-YYYYMMDDhhmmss.txt” and all the log files retrieved
in the operation zipped by Unit and Date, for example,
“SYSTEM_YYYYMMDD000000_YYYYMMDD235959.zip”. The text file includes
information about all of the operations performed during maintenance session (until the USB
is attached to Omnia).
4 Check the file to validate the maintenance operations performed.
 Loading...
