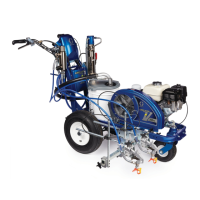
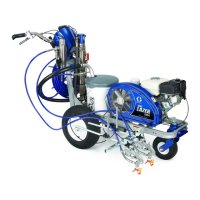
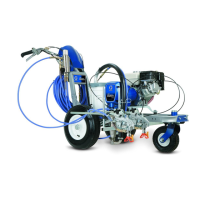
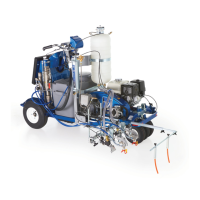
Setup/Startup
10 3A3393C Operation
Setup/Startup
1. Perform
Pressure Relief Procedure
, page 9.
2. Perform Grounding Procedure (For Flammable
Flushing Fluids Only), page 9 if using flammable
materials.
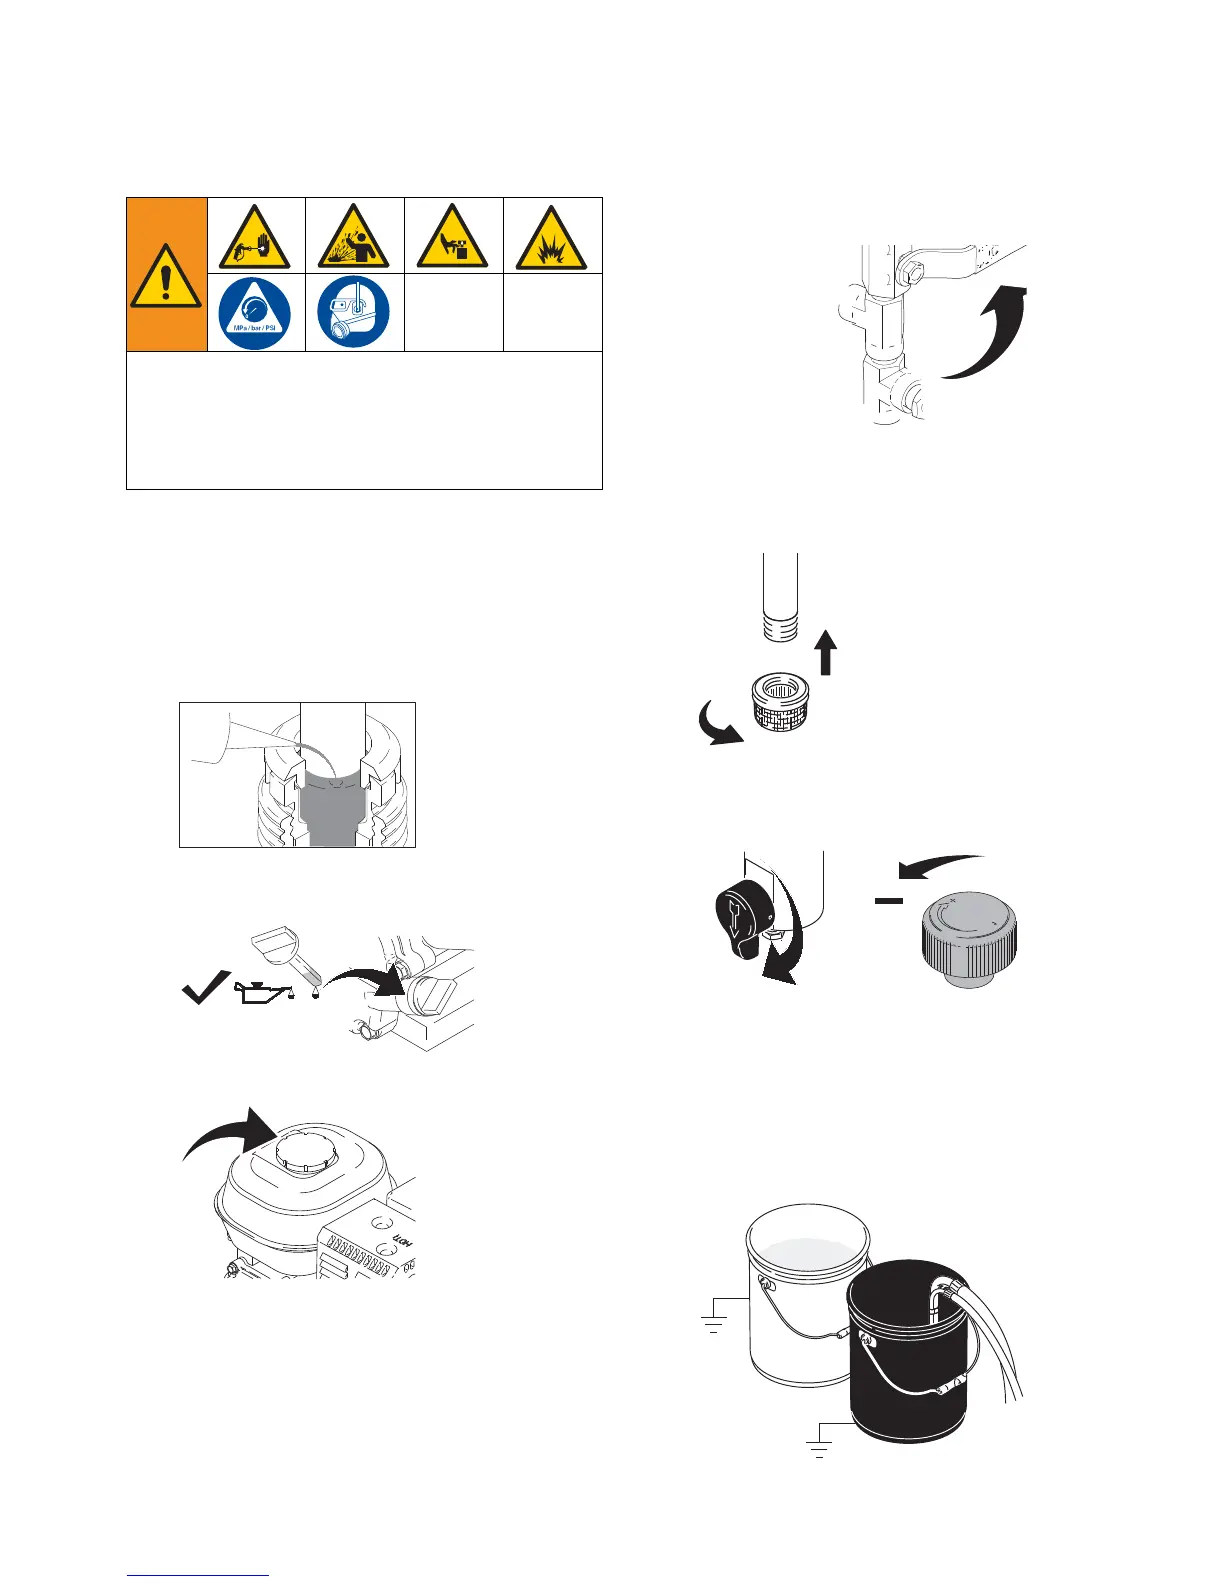
3. Fill throat packing nut with Throat Seal Liquid (TSL)
to decrease packing wear.
4. Check engine oil level. Add SAE 10W-30 (summer)
or 5W-30 (winter). See engine manual.
5. Fill fuel tank.
6. Set pump valve(s) to OFF (250
SPS has one pump
valve; 250
DC has two pump valves).
7. If removed, install strainer(s).
8. Turn prime valve(s) down (250
SPS has one prime
valve; 250
DC has two prime valves). Turn pressure
control counterclockwise to lowest pressure.
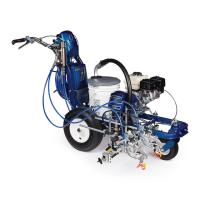
NOTE: Minimum hose size allowable for proper
sprayer operation is 3/8 in. x 11 ft (9.5mm x 3.3m).
9. Place siphon tube set(s) in grounded metal pail par-
tially filled with flushing fluid. Attach ground wire to
true earth ground. Use water to flush water-base
paint and mineral spirits to flush oil-base paint and
storage oil.
This equipment stays pressurized until pressure is
manually relieved. To help prevent serious injury
from pressurized fluid, such as skin injection, splash-
ing fluid and moving parts, follow the Pressure Relief
Procedure when you stop spraying and before clean-
ing, checking, or servicing the equipment.
ti3430a
PAINT
FLUSH
ti3310a