Setup/Startup
12 3A3393C Operation
14. Set pump valve(s) ON (250SPS has one pump
valve; 250
DC has two pump valves). Pumps are now
active.
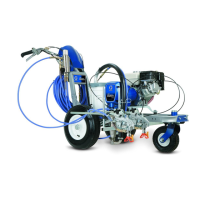
15. Increase pressure control enough to start pump.
Allow fluid to circulate for 15 seconds.
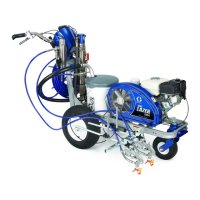
16. Turn pressure down, turn both prime valves hori-
zontal. Disengage gun trigger lock.
17. Hold all guns against a grounded metal flushing pail.
Trigger guns and increase fluid pressure slowly until
pumps run smoothly.
18. Inspect fittings for leaks. If leaks occur, turn sprayer
OFF immediately. Perform Pressure Relief Proce-
dure. Tighten leaky fittings. Repeat Startup, steps
1 - 17. If no leaks, continue to trigger gun until sys-
tem is thoroughly flushed. Proceed to step 18.
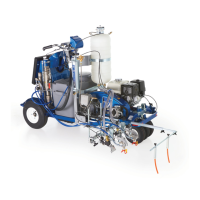
19. Place siphon tube in paint pails.
20. Trigger all guns again into a flushing fluid pail until
paint appears. Assemble tips and guards.
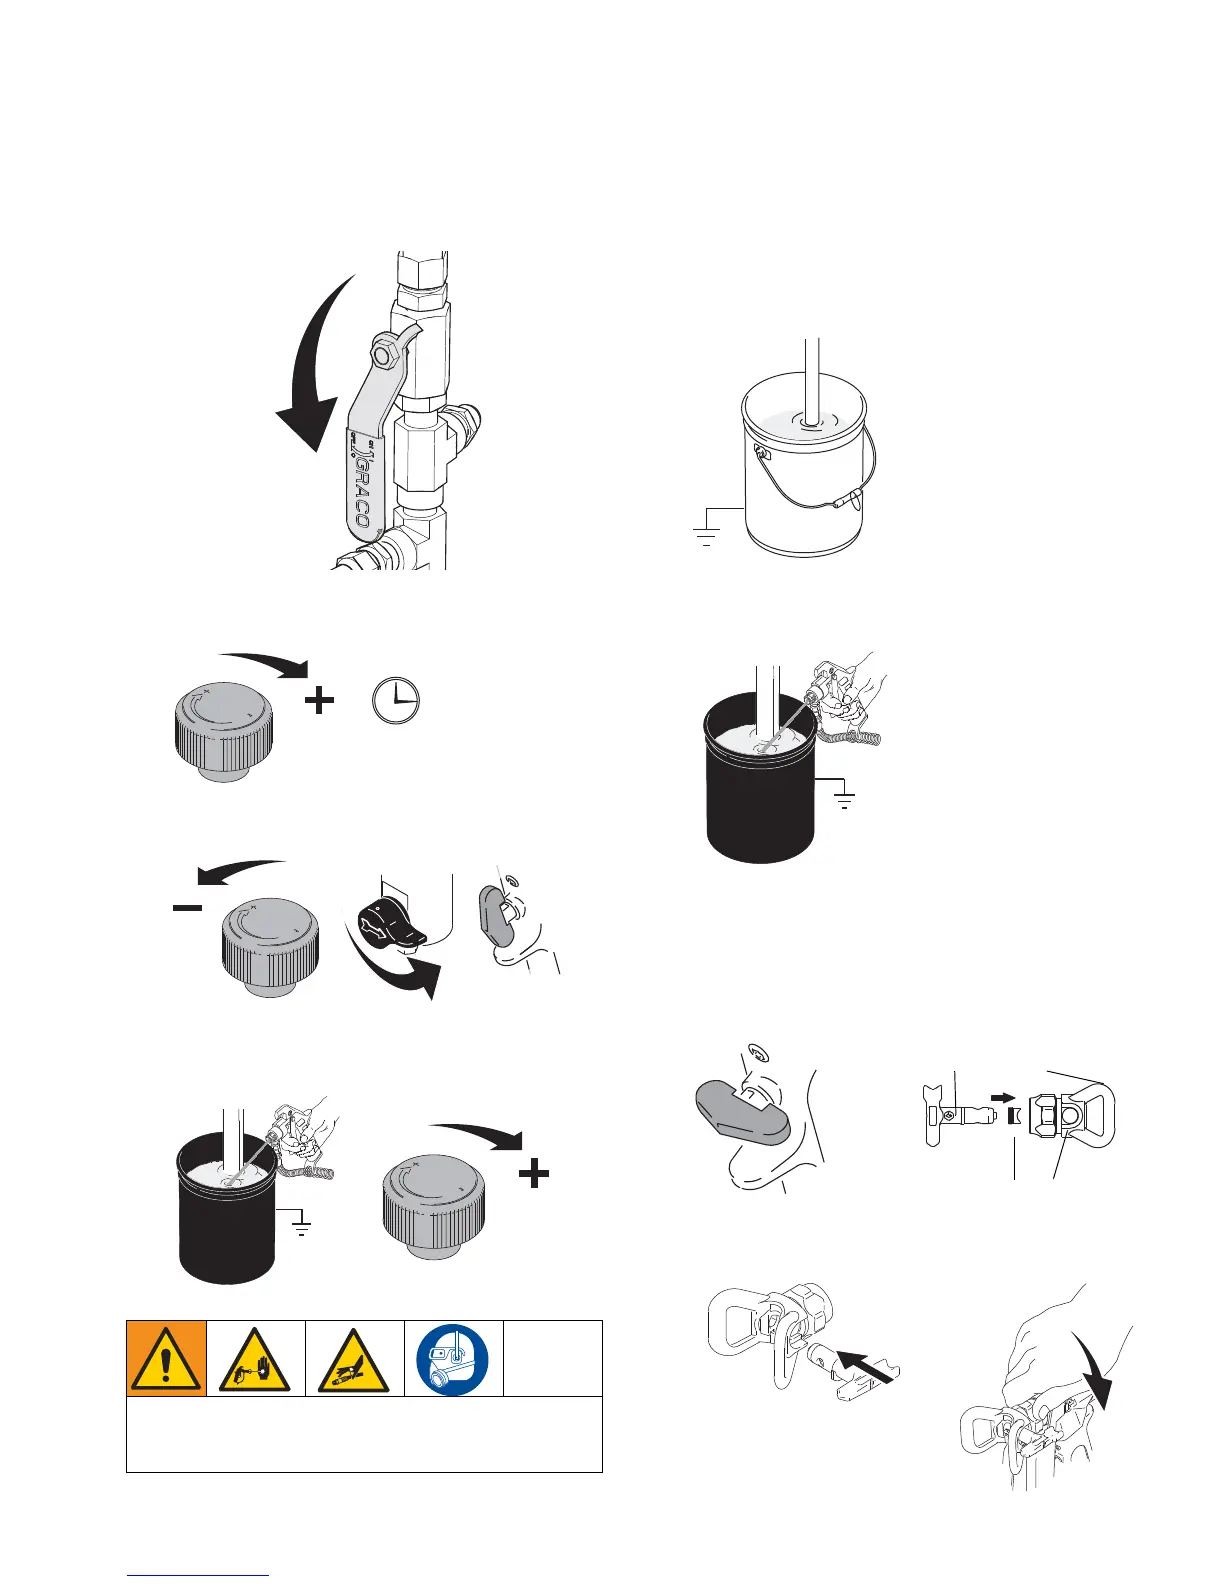
SwitchTip and Guard Assembly
1. Engage trigger lock. Use end of SwitchTip (A) to
press OneSeal (B) into tip guard (D), with curve
matching tip bore (C).
2. Insert SwitchTip in tip bore and firmly thread assem-
bly onto gun.
High-pressure spray is able to inject toxins into the
body and cause serious bodily injury. Do not stop
leaks with hand or rag.
PAINT
ti3316a
ti3324a