41
Edge sanders
HS 950
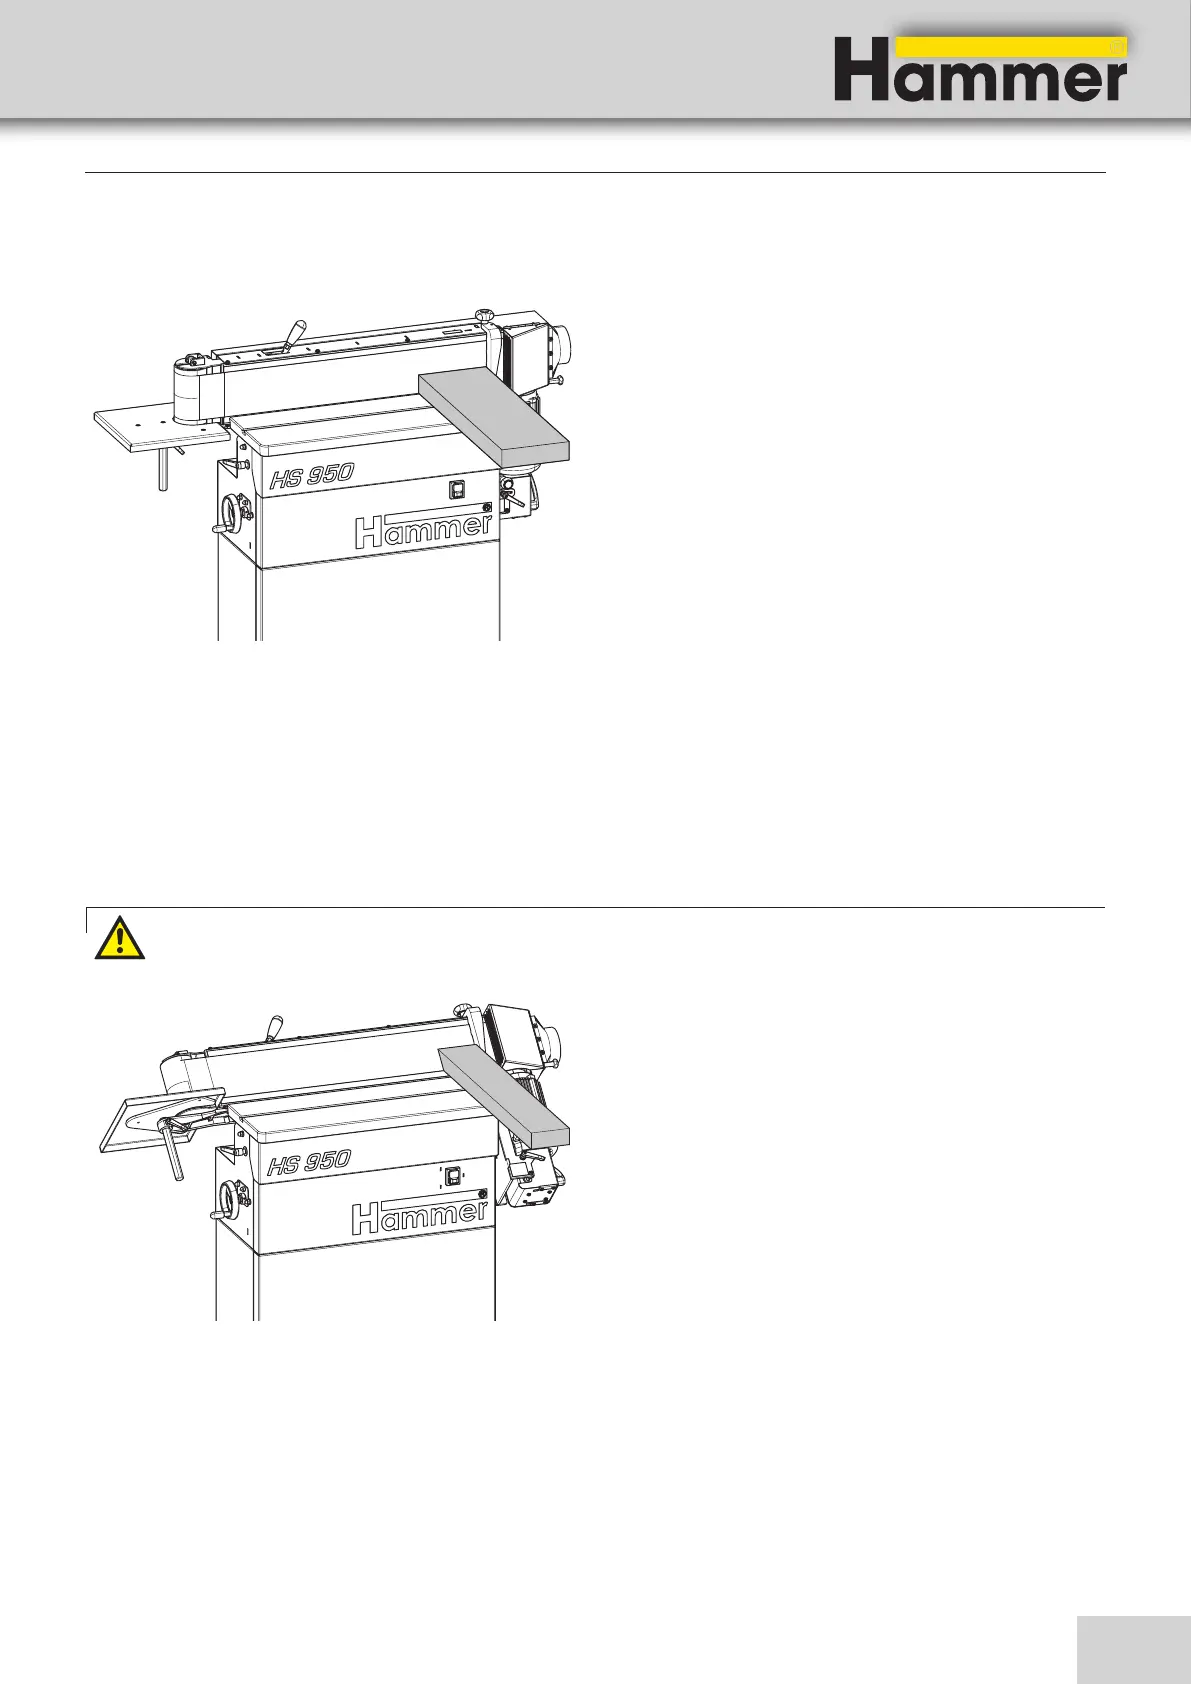
9.4.5 Sanding with tilted unit
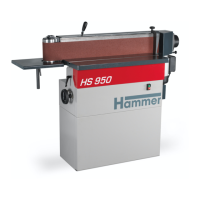
9.4.4 Grinding at the front of the machine
The following operations can be carried out:
• Sanding of parts of drawers
• Straightening corners
• Correcting uneven areas (step between crosspiece
and jamb of a window)
• Head sanding
1. Take note of general procedures for authorized
working techniques.
2. Adjust the table height to the workpiece to be ma-
chined.
3. Check that all clamping levers are tightened firmly.
4. Switch machine on. First place the workpiece against
the fence and then guide it to the abrasive belt. Car-
ry out machining until the surface has been sanded
cleanly.
The tilting sanding unit can be swivelled from 0-90°.
• The sanding of mitered edges
• The chamfering of sharp edges
• The sanding of chamfered edges
1. Take note of general procedures for authorized
working techniques.
2. Adjust the grinding angle by tilting the grinding
unit. Adjust the table height to the workpiece to be
machined.
3. Check that all clamping levers are tightened firmly.
4. Switch machine on.First place the workpiece against
the fence and then guide it to the abrasive belt. Car-
ry out machining until the surface has been sanded
cleanly.
Attention! Risk of material damage! Prior tilting: Remove tools and stops from the work bench
Operation
Fig. 9-4: Grinding at the front of the machine
Fig. 9-5: Sanding with tilted unit