74_ setup
setup
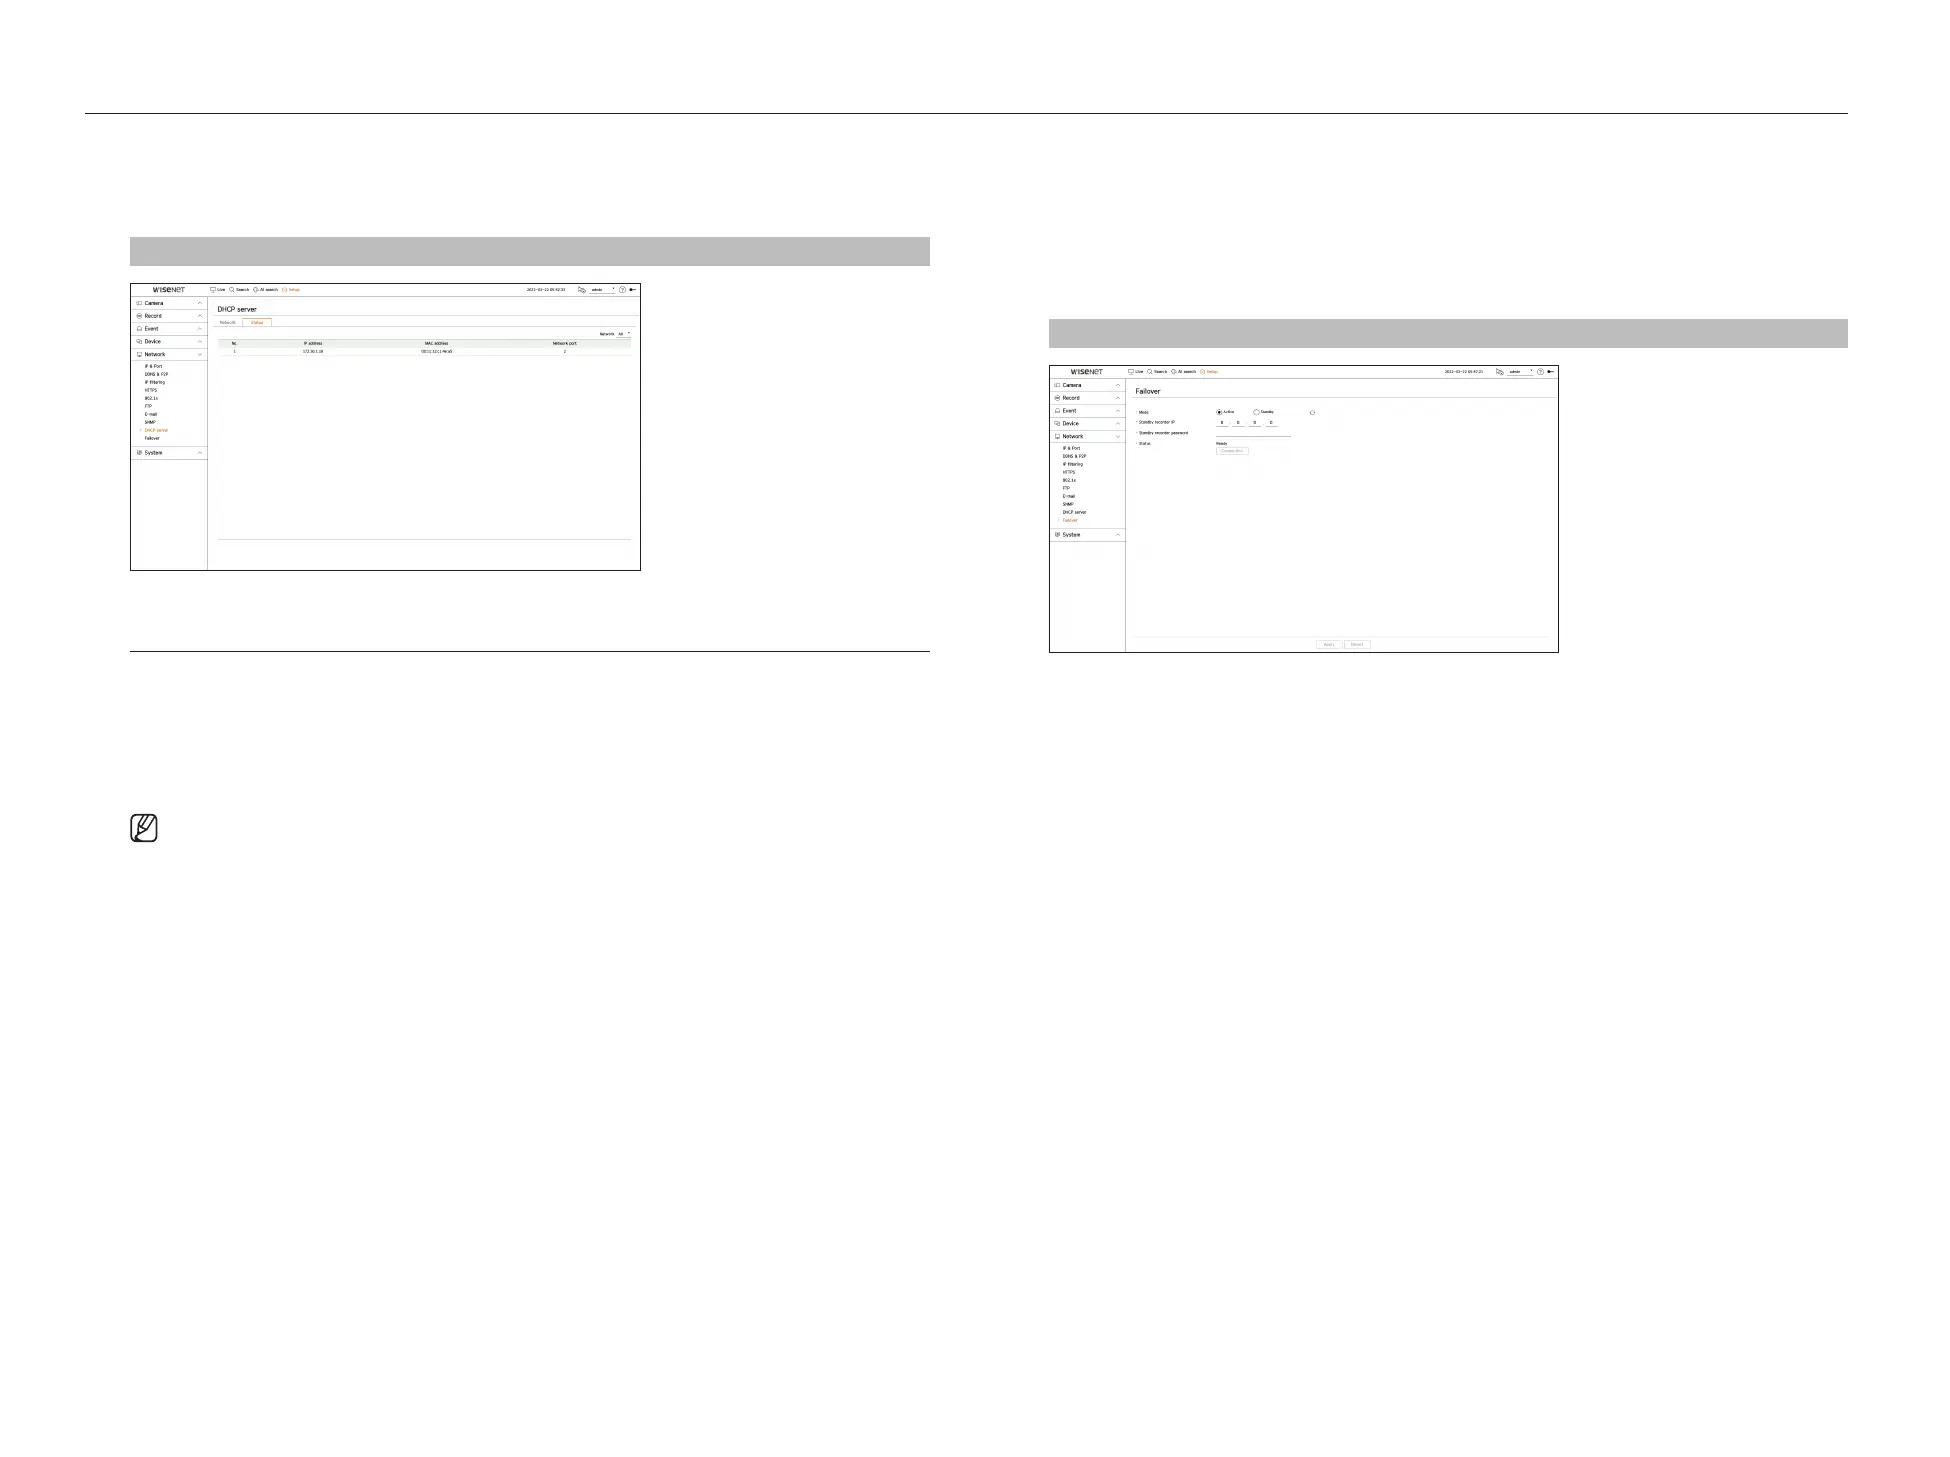
Checking the status
You can check the IP address assigned to the current DHCP server, MAC address, and the connected network port
information.
Setup > Network > DHCP server > Status
Failover
This function is only available for products that support failover. For products that support failover, see page 4
“Products supporting each feature” of the Product Specification Manual.
If the recorder cannot record due to a network failure, other recorders that have been prepared can record
instead.
You can connect 32 'Active' recorders to one 'Standby' recorder.
■
The recorder you want to configure for failover needs to be connected to both the camera and viewer ports to the local network.
■
Failover configurations can only be set with recorders of the same model.
■
Troubleshooting network interface supports IPv4 only.
■
All recorders must have time synchronized. For more information about time synchronization settings, refer to the “Setup > Setting the
System > Date/Time/Language" page in the Table of Contents.
■
The network IP band in the recorder must be set to a different band.
– Example of IP in a different bandwidth
Example 1) IP : 192.168.1.200, subnet 255.255.255.0
In the Example 1) above, since 255 of the subnet corresponds to 192.168.1, any IP in a format of 192.168.1.x has the same bandwidth.
An IP in a format of 192.168.2.x has a different bandwidth with an IP in a format of 192.168.1.x.
Example 2) IP : 172.16.1.200, subnet 255.255.0.0
In the Example 2) above, since 255 of the subnet corresponds to 172.16, any IP in a format of 172.16.x.x has the same bandwidth.
An IP in a format of 172.17.x.x has a different bandwidth with an IP in a format of 172.16.x.x.
■
For more information about network settings, refer to the “Setup > Setting the Network" page in the table of contents.
To set troubleshooting
1. Set one recorder to <Standby> mode and the other recorder to <Active> mode.
2. In the recorder set to <Active> mode, enter the viewer port IP and administrator password of the <Standby>
recorder you want to connect to and click <Connection> under the status display.
3. Check the IP and status of the connected <Active> recorder in the <Standby> recorder.
Setup > Network > Failover
●
Mode : Select either <Active> or <Standby> mode.
– Active : Recorder being recorded. Monitored by the <Standby> recorder.
– Standby : Recorder being prepared without recording. It will record instead of the <Active> recorder if a
problem occurs.
In the case of active mode
●
Standby recorder IP : Enter the viewer port ID of a standby recorder to access.
●
Standby recorder password : Enter the administrator password of the standby recorder.
●
Status : Displays the current connection status.
●
Connection / Disconnection : Click the button to access or disconnect the access.