English _67
SETTING THE NETWORK
You can set various network functions, such as monitoring live video by connecting to a network from a remote location
and receiving an event by e-mail.
IP & Port
You can set the network connection route and protocol.
Setting a network connection
Sets the protocol and environment of the network.
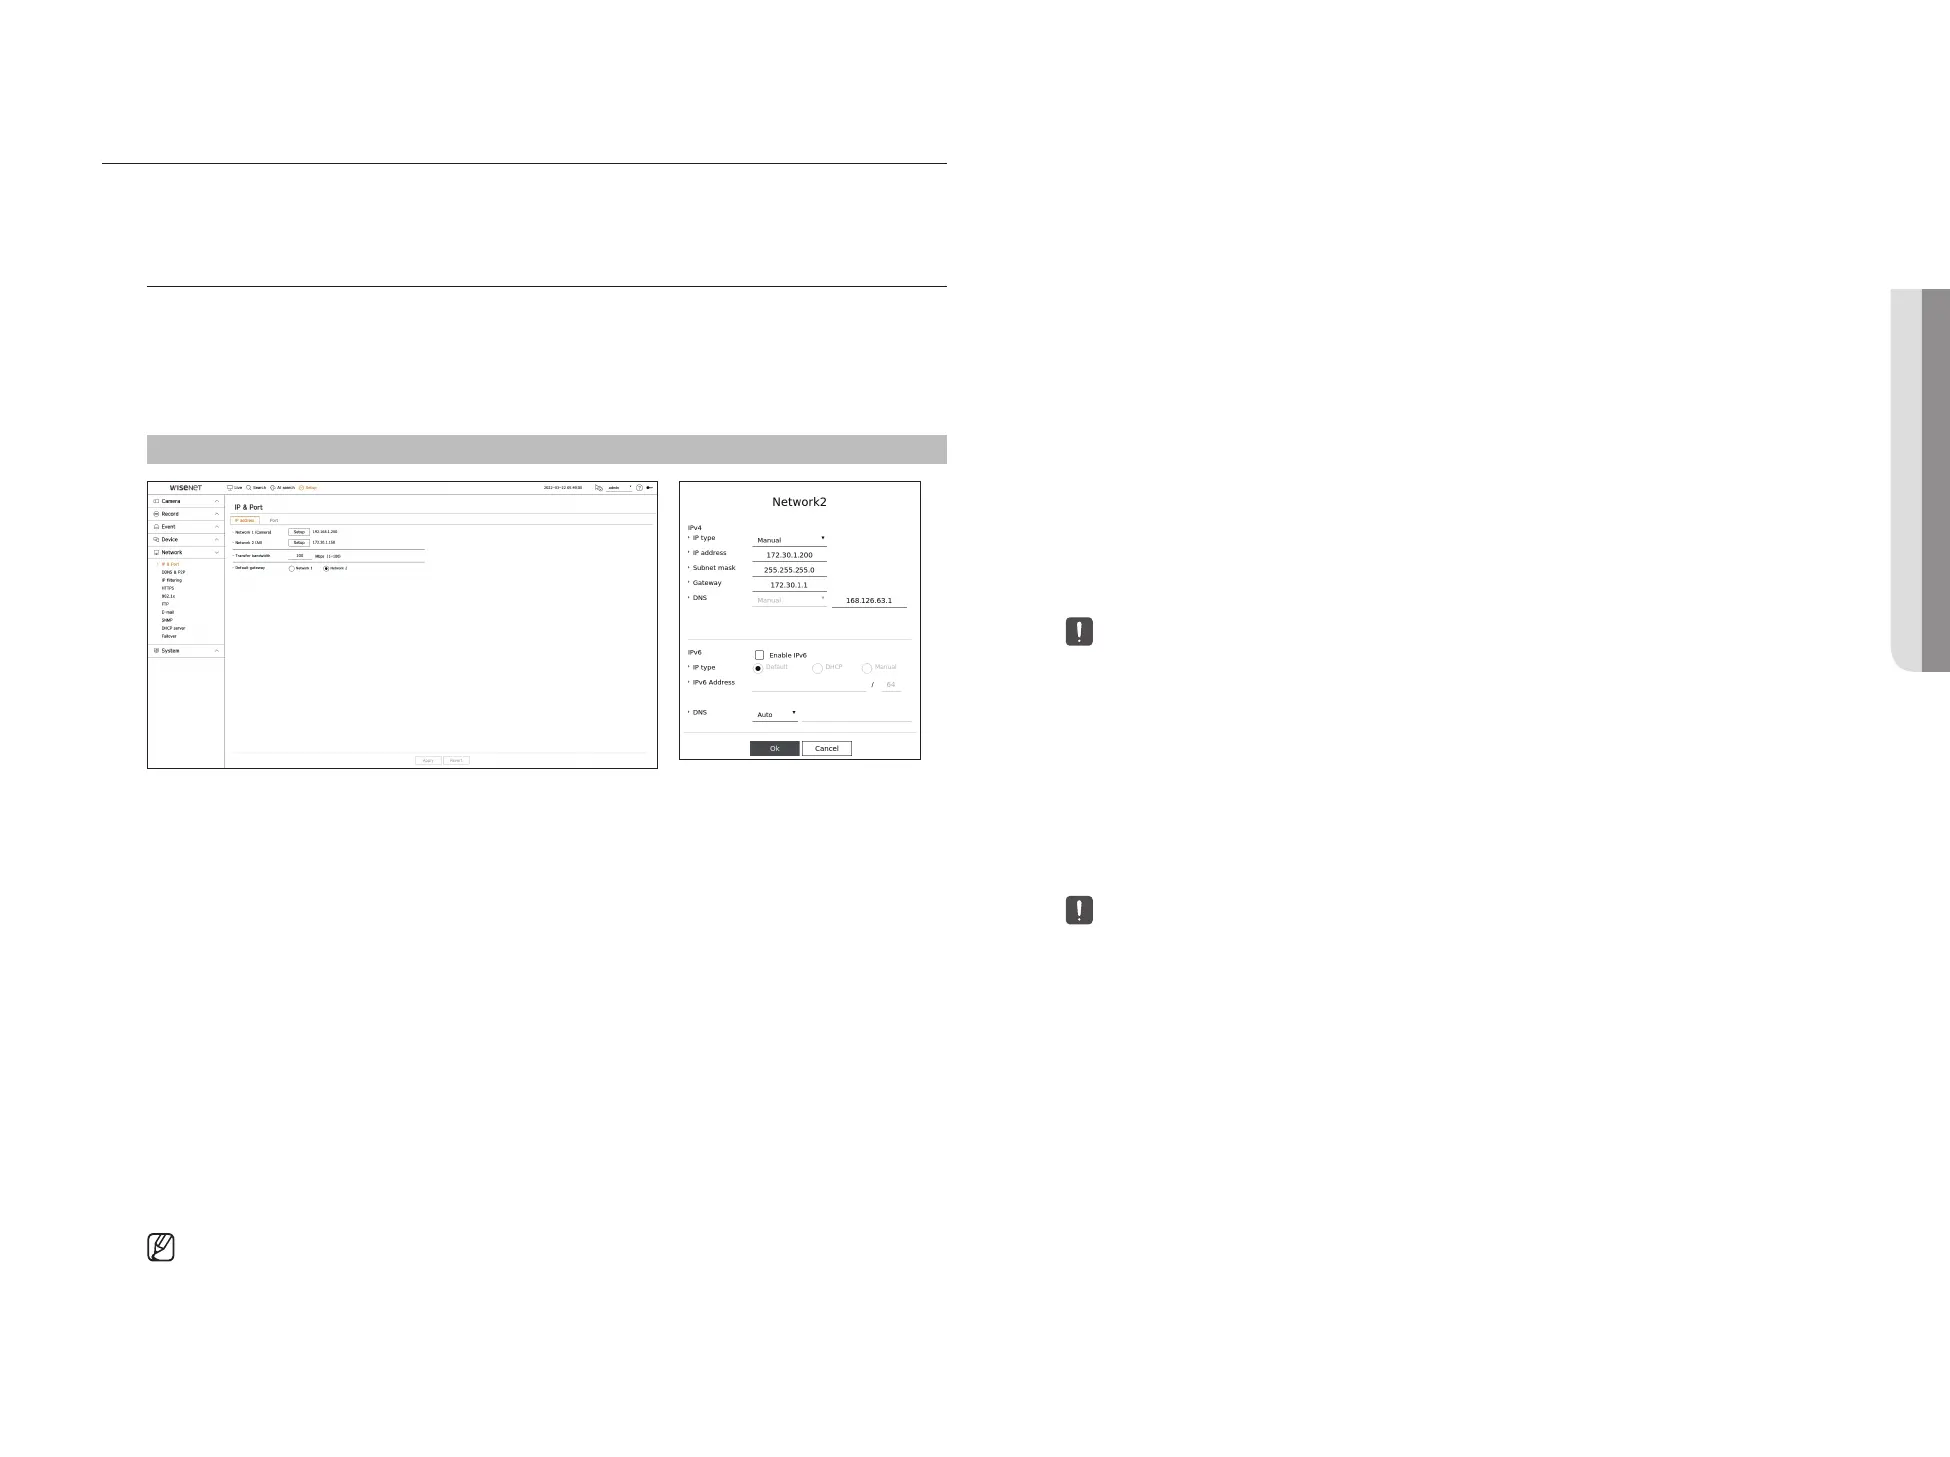
Setup > Network > IP & Port > IP address
●
Network : Each product supports a different number of network ports. If it supports two or more network
ports, you can set the network for each function as follows.
●
Network 1(Camera) : It can be used as a port for connecting a camera. If you connect a camera, then the
camera video will be transmitted. Using the network information, you can access the web viewer.
●
Network 2 (Viewer) : It can be used as a common port for camera and web viewer connection.
●
Network 3 (iSCSI) : It can be used as a dedicated port for iSCSI connection.
■
Only provided for products that support Network 3.
●
Network (All) : It can be used as a common port for connecting camera, web viewer, and iSCSI.
– IP type : Select the type of network access.
– IP address, Subnet Mask, Gateway, DNS
■
Manual : IP address, subnet mask, gateway, and DNS can be directly entered.
■
DHCP : IP address, subnet mask, gateway, and DNS can be automatically set.
●
Transfer bandwidth : Enter the max data volume of a rate for transfer.
●
Default gateway : Select the default gateway. If there are multiple network ports, set one of them as the default
gateway.
■
The DNS value of DHCP can be directly entered only if you have selected <Manual>.
Connecting and Setting the Network
Networking may differ from the connection method, check your environment before setting the connection
mode.
When no router is used
●
Manual mode
– Internet connection : Static IP, leased line, and LAN environments allows connection between the Recorder
and remote user.
– Network Settings : Set the <IP type> of the connected recorder to <Manual>.
■
Consult your network manager for IP, Gateway and Subnet Mask.
●
DHCP mode
– Internet connection : Connect the Recorder directly to a cable modem, DHCP ADSL modem or FTTH
network.
– Network Settings : Set the <IP type> of the connected recorder to <DHCP>.
When a router is used
■
To avoid IP address conflict with the Recorder's static IP, check followings :
●
Setting the Recorder with a static IP
– Internet connection : Connect the recorder to an IP router where cable modem is connected, or connect the
recorder in the local area network (LAN) environment.
●
Setting the Recorder Network
1. Set the <IP type> of the connected recorder to <Manual>.
2. Check whether the set IP address is in the static IP range provided by the Broadband Router.
IP Address, Gateway, and Subnet Mask : Consult your network manager.
■
If a DHCP server is configured with starting address (192.168.0.100) and end address (192.168.0.200), you should set the IP address out of
the configured DHCP range (192.168.0.2 ~ 192.168.0.99 and 192.168.0.201 ~ 192.168.0.254).
3. Check the Gateway address and subnet mask are equal to those set in the Broadband Router.
• SETUP