31
Insert the tube into the corresponding connectors of the RO cartridge.
Install the RO module back on the rack of chamber.
Install the side door of the main unit.
Back to the control panel operation, press the "Stop /
" keypad to confirm the
replacement.
Now you have completed the replacement of RO membrane. Press "Disp. /
▲
" or
"Flush / ▼ " button to select the replacement of other cartridges. You can also press the
"Menu" keypad to return to upper level of menu, or continuously click "Menu" Keypad to exit
the maintenance setting, the system will restart.
The new reverse osmosis membrane will contain a protective solution, which will
make the conductivity of pure water high. After the replacement is done, press the
"Flush /
▼
" button of the control panel to flush the reverse osmosis membrane.
Repeat 10 to 15 times of flush.
6.3.4 Ultra-purification cartridge replacement
Please refer to this chapter to enter the maintenance setting interface, press the "Disp. /
▲
" or "Flush /
▼
" keypad to select " DI cartridge replacement". White on Black means that
it has been selected, press the "Stop /
" keypad to set.
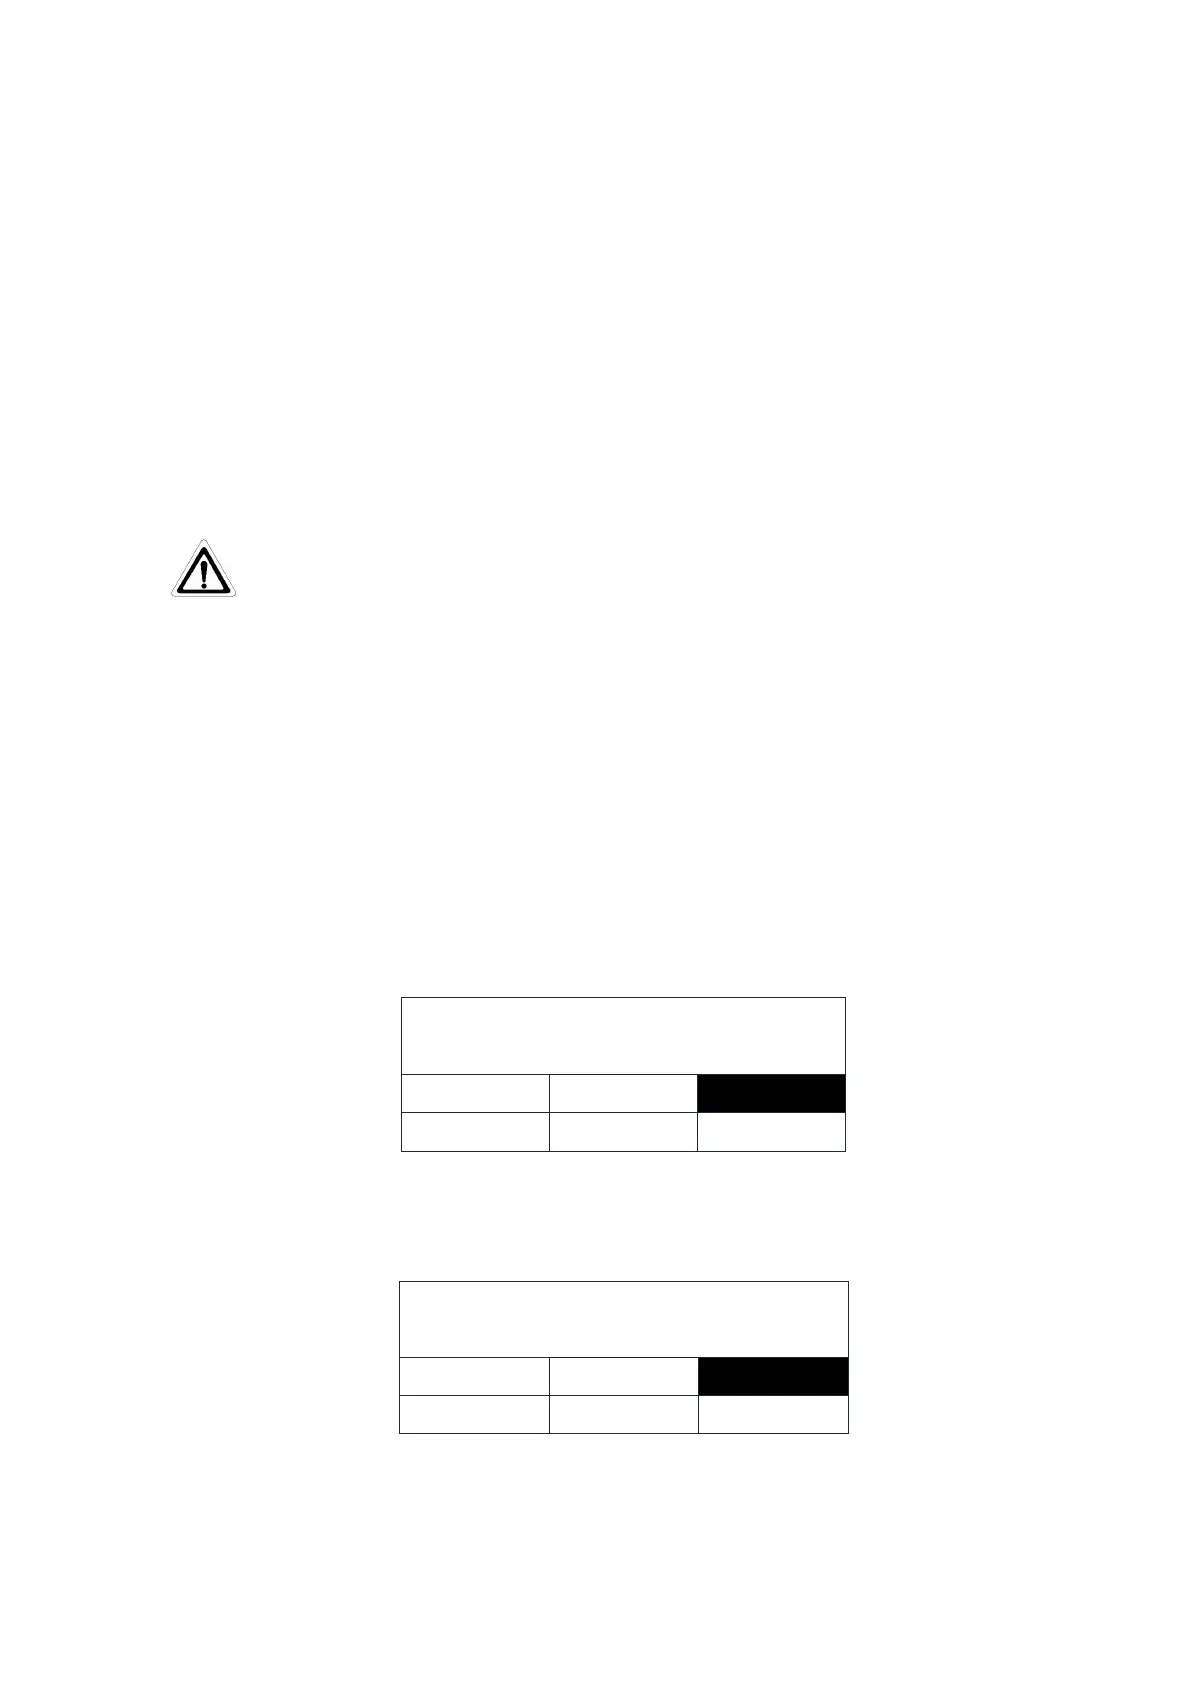
Press "Disp. / ▲" or "Flush / ▼" button to select the "DI" White on Black means that it
has been selected. As shown below
Press "Stop / " button to confirm, LCD displays the replacement complete, as shown
below
Purification cartridge replacement
Remove the left side door of the main unit (front view). Please refer to replacement