113Surgical Implant and Explant of the HVAD® Pump
10
9
8
7
6
5
4
3
2
1
Appendix
Reference
Guides
Alarms and
Emergencies
Patient
Management
Surgical
Implant and
Explant
Monitor
Peripherals
and
Accessories
HVAD
®
PumpOverviewIntroduction
6.3 HVAD
®
Pump Pre-Implant Test and Pump Assembly (continued)
16. Run the HVAD
®
Pump for 30 – 60 seconds. As part of the normal HVAD
®
Pump startup
algorithm, the monitor and controller may momentarily display power values greater than
3.0 Watts before settling at a lower power. Allow for both power and speed to stabilize (this
may take 5-10 seconds). If, after the pump has started and both the power and speed
repeat this test using the back-up HVAD
®
Pump.
17.
insert it into the connector on the back-up controller. If no alarm adapter is available, press
and hold the “Alarm Mute” and “Scroll” buttons until a “beep” is heard, or for at least 5
seconds. Remove the battery from the controller. This will power down the controller and will
stop the pump.
18. Wearing clean, dry gloves disconnect the driveline
extension cable from the controller and the HVAD
®
Pump.
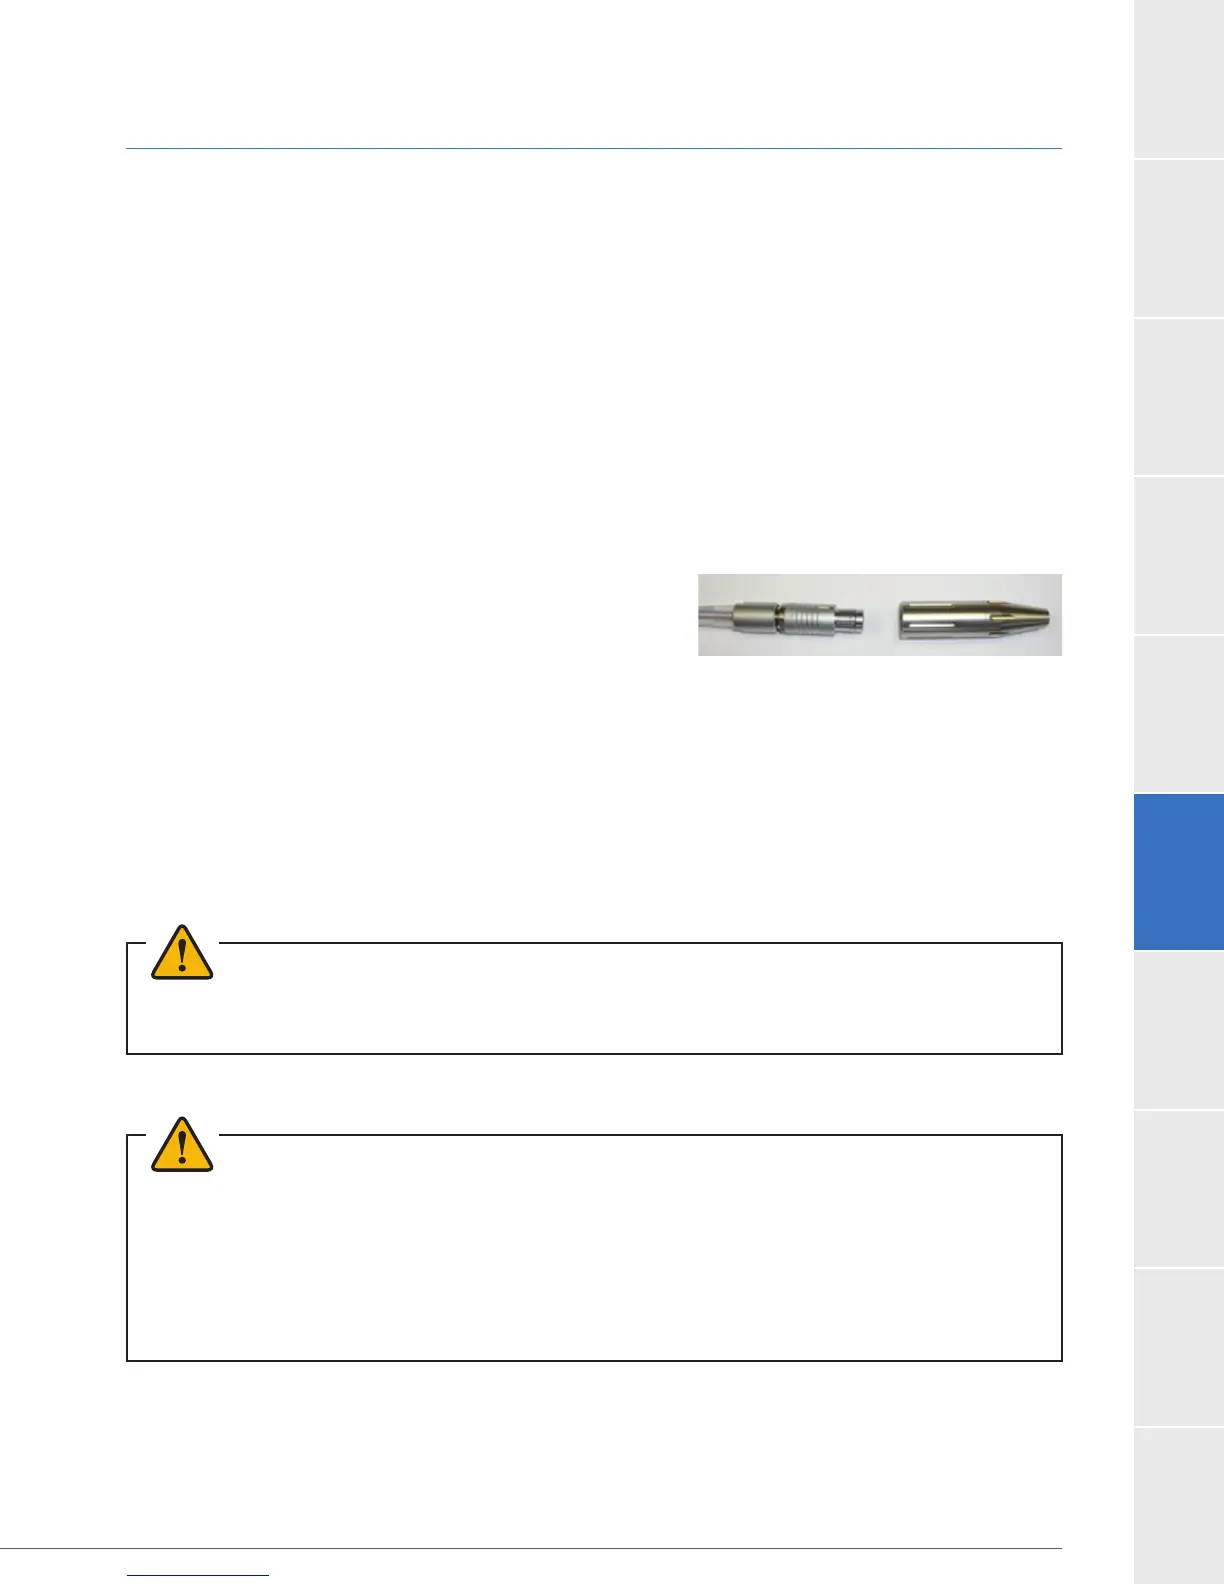
19. Connect the driveline cap to the driveline by pushing
both connectors together until you feel a “click”
(Figure 101). Protect the connector from exposure
20.
®
Outow Graft Attachment
1.
WARNING!
polyester or materials of bovine origin, as severe reactions may occur.
2. Open the package aseptically, talking care not to contaminate the sterile graft.
WARNING!
™
prostheses non-sterile foil pouch or outer tray to be
WARNING!
bleeding. Gelweave
™
prostheses are sealed grafts and must not be preclotted.
WARNING!
™
prostheses more than one month after removal from the
foil pouch. This may disrupt the gel matrix, resulting in bleeding.
3.
Figure 101: Driveline cap connection
 Loading...