EN
55/165
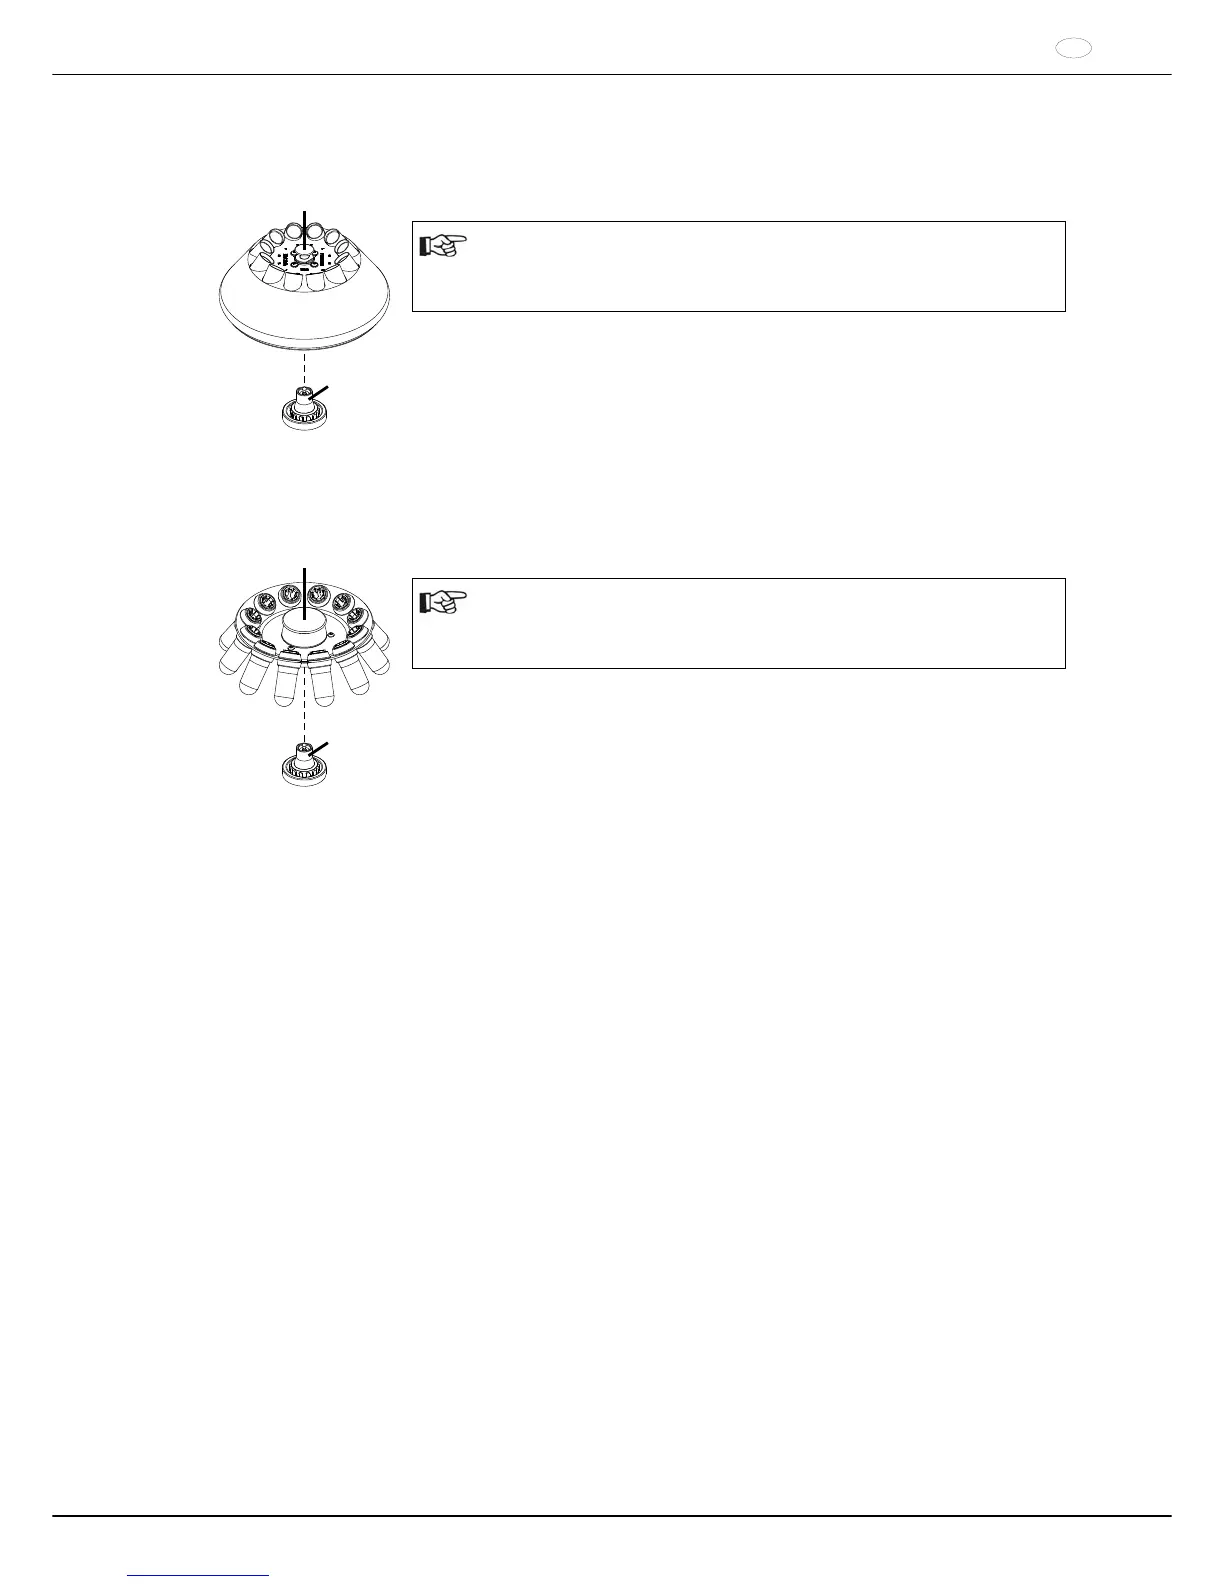
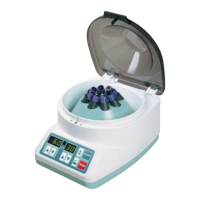
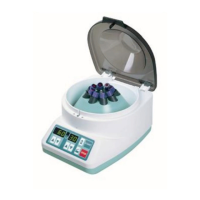
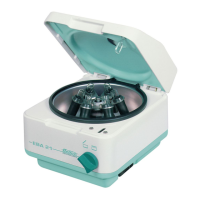
12 Inserting and removing the rotor
Rotor with unlocking knob
Inserting the rotor:
Dirt particles between the motor shaft and rotor prevent the rotor from
having a perfect seat and cause it to run unsteadily.
If necessary, clean the motor shaft (B) and the rotor hub before inserting the
rotor.
B
Lift up the rotor by the unlocking knob (A) and place horizontally on the motor
shaft (B). The rotor will automatically engage on the motor shaft.
Hold the rotor firmly at the left and right and pull up lightly to check whether it
has properly engaged on the motor shaft.
Removing the rotor:
Pull up the unlocking knob (A) on the rotor, hold onto it and lift the rotor from the
motor shaft.
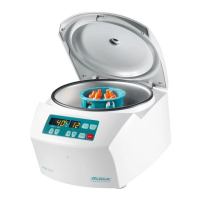
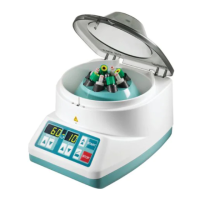
Rotor without unlocking knob
Inserting the rotor:
Dirt particles between the motor shaft and rotor prevent the rotor from
having a perfect seat and cause it to run unsteadily.
If necessary, clean the motor shaft (B) and the rotor hub before inserting the
rotor.
B
C
Lift up the rotor by the handle (C), place it horizontally on the motor shaft (B) and
press down as far as it can go.
Removing the rotor:
Hold the rotor firmly by the handle (C) and lift it off of the motor shaft.