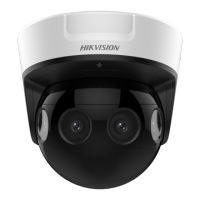
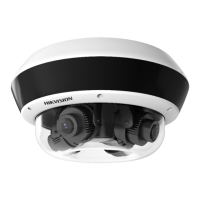
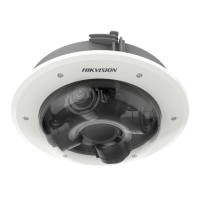
User Manual of PanoVu Series Network Camera
needs less bandwidth. The resolution of third stream is between that of main
stream and sub stream. The default setting of stream type is .
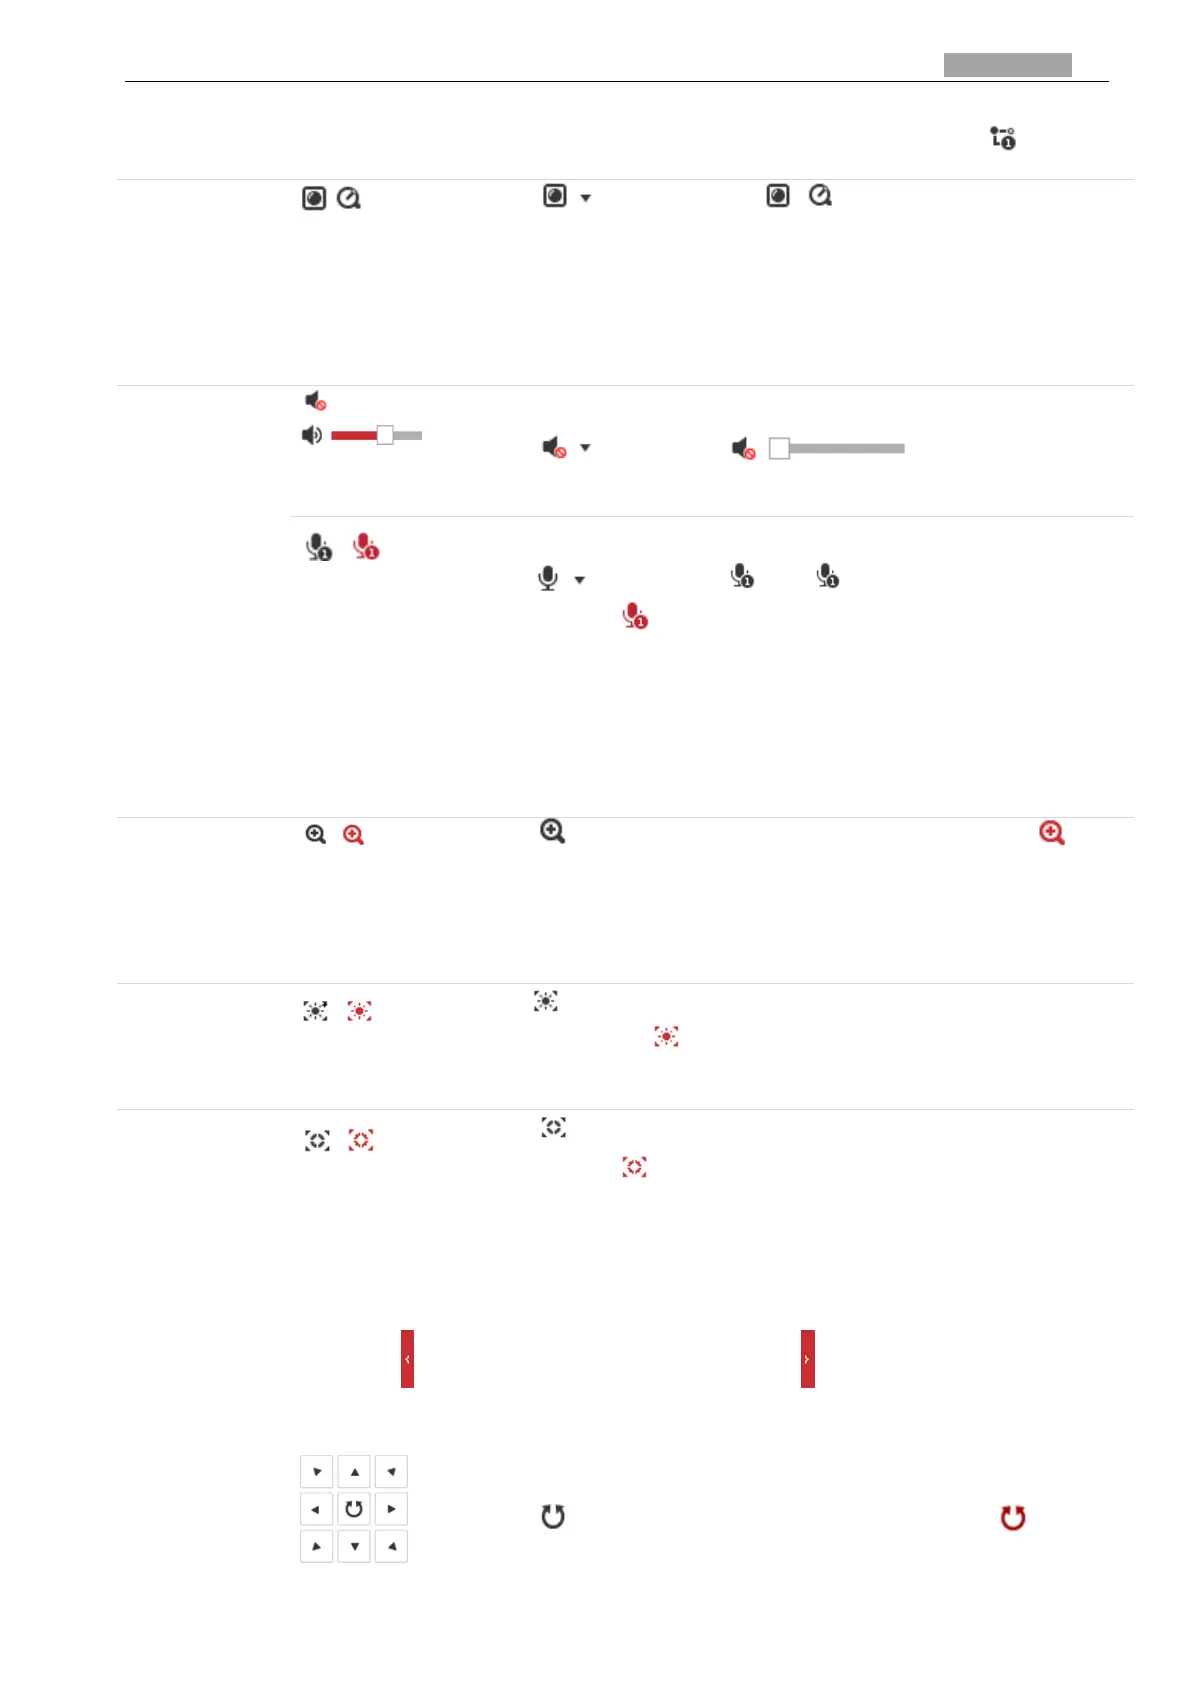
Click to select between and play the live video via player
Webcomponents or Quick Time. The live video is played via webcomponents
by default, and other types of players are supported for the browser, such as
MJPEG, and VLC. You are required to download and install the player to play
the live video.
Volume
Click to display the . Drag the slider to adjust
the volume.
Two-way Audio
Click and it displays . Click to enable two-way audio and the
icon turns into . Click the icon again to stop two-way audio.
Note:
Before enabling the two-way audio or recording with audio functions, set the
Stream Type to Video & Audio referring to Section 3.4.1 Configuring Video
Settings.
Click to enable digital zoom function and the icon turns into . Then
drag the mouse towards low right direction to draw a rectangle on the image
as the desired zoom. After viewing it you can click any place of the picture to
get back to normal picture.
Click on the toolbar to enter the regional exposure operation mode and
the icon turns into . Then drag the mouse to draw a rectangle on the
image as the desired exposure region.
Click on the toolbar to enter the regional focus operation mode and the
icon turns into . Then drag the mouse to draw a rectangle on the image
as the desired focus region.
PTZ Control Panel
On the live view page, click to show the PTZ control panel or click to hide it.
Descriptions of Icons on PTZ Control Panel are listed below:
Hold the direction buttons to control the pan/tilt movements.
Click and the camera keeps panning, the icon turns into . Click the
icon again to stop the camera.
 Loading...