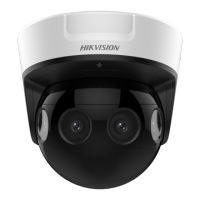
User Manual of PanoVu Series Network Camera
4. Configure the rule area: Click Draw Line or Draw Area on the tool bar of the live view panel.
Click the mouse on the live view panel. Right click the mouse to finish drawing. For details,
refer to Section 6.3.9 Rule Configuration Demonstration.
5. Configure the filtering size: The filtering function is reserved. You can set the minimum and
maximum size of the object needs to be filtered in Section 6.3.4 Advanced Configuration.
6. Enable rules: Check the Enable checkbox of each rule in the rule list to enable the rule.
7. Click to save the settings.
Note:
Create multiple rules: You can create more rules by repeating the above steps.
Arming Schedule
Steps:
11. Enter the Arming Schedule settings interface:
Configuration > VCA > Scene Configuration > Scene > Arming Schedule
Figure 6-24 VCA Arming Schedule Interface
12. The saved rules will be listed in the rule list. Click to select a rule to set the arming schedule.
13. Select the timeline of a certain day, and drag the left button of the mouse to set the arming
schedule (the start time and end time of the recording task).
14. After you set the scheduled task, you can click and copy the task to other days (optional).
15. After setting the arming schedule, you can click an arming segment to display the segment
arming settings interface to edit the segment arming parameters. (optional)
Figure 6-25 Segment Arming Settings
 Loading...