55
Figure 17. Tampering Area Setting
7. Set detection sensitivity. The higher the value set, the higher the sensitivity.
8. Click OK to return to the Camera Settings/Management menu.
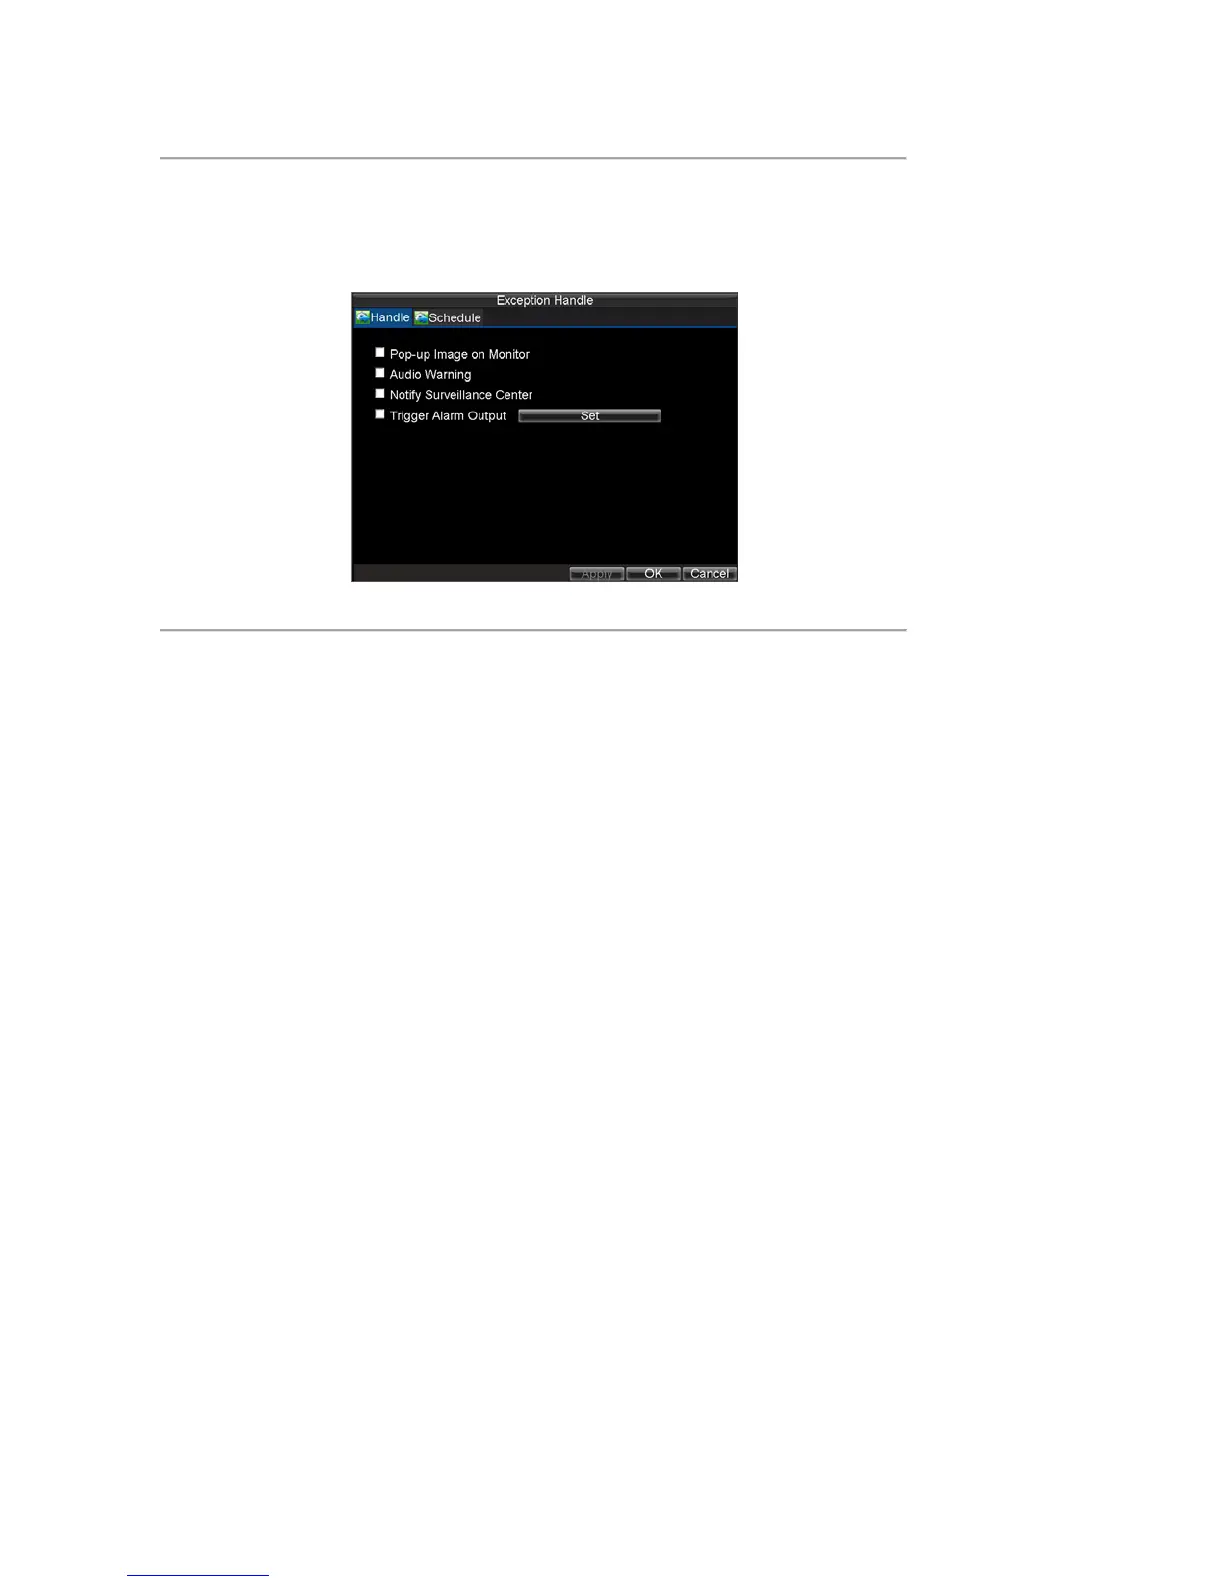
9. Click the Handle button to enter the Exception Handle menu, shown in Figure 18.
10. Select the Handle tab to configure exceptions handling. Exception trigger options will be described in
the next section (See Understanding Exception Trigger Options).
Figure 18. Exception Handle Menu
11. Select the Schedule tab. Set the schedule of when you want video loss detection to be enabled.
Schedule can be set for all week or any day of the week with up to 8 time periods per day.
12. Click Apply to finish the settings.
13.
Repeat above steps to configure settings for other channels.
Setting Exception
The exception setting allows the DVR to alert you when irregular events occur. These events include:
• HDD Full: All installed HDD are full.
• HDD Errors: Errors occurred during writing of the HDD, no HDD installed or HDD had failed to
initialize.
• Network Disconnected: Disconnected network cable.
• IP Address Conflict: Conflict in IP address setting.
• Illegal Access: Wrong user ID or password used.
• Abnormal Video Signal: Instable video signal detected.
• Mismatched I/O Video Standards: I/O video standards do not match.
To set exceptions:
1. Click Menu > Exception to enter the Exception menu.
2. Select the exception to configure under Exception Type.
3. Select triggering options, as shown in Figure 19. Trigger options are further explained in the next
section (See Understanding Exception Trigger Options).
 Loading...