6 Remove the CN5A connector on the control PCB of the electrical box.
7 Hold and disconnect the coil of the expansion valve.
The expansion valve coil is equipped with a lock mechanism.
Ensure that the coil is locked when replacing.
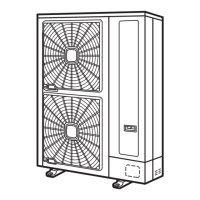
1. One terminal cover screw.
2. Side cover.
3. Seven side cover screws.
4. Three front cover screws.
1. Expansion valve coil.
2. Expansion valve body.
N O T E
• DO NOT touch electrical components while the LED1 (Red) is ON to avoid electrical shock. Wait until the LED
turns off.
¿ Removing electrical components
Removing Electrical Box
1 Remove the pipe cover following Removing pipe cover, see on page 395.
2 Remove three (3) fixing screws and remove the upper cover.
3 Remove the electrical box cover.
4 Remove one (1) fixing screw and remove the terminal cover.
5 Disconnect all the wiring connected to the control PCB.
6 Remove two (2) screws which fix the electrical box.
7 Pull up and remove the electrical box.
10 Servicing
400
SMGB0060 rev. 1- 12/2010

 Loading...
