2 Optional parts and installation
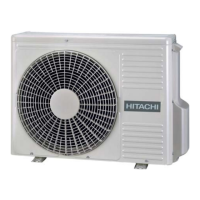
Optional parts and installation RAS-(4-6)H(V)(R/N)(C/P)2E
SMGB0136 rev.0 - 07/2021
35
2
Service space (In case of upward air discharge)
• In case of right and left sides air discharge enough space for air
discharge is required.
• The downward air discharge is also available. In such case install
the base under the unit to secure enough space for air discharge.
• In case of serial units installation air discharge should be upward.
Min.200 mm
2.2.2 Wind guard WSP-335A
Specications
Material Galvanized sheet metal + baked painting
4x 7
Color Gray (1.0Y8.5/0.5)
Weight 8 kg
Accessories Fixing screw 4 x [M5 (SUS) x 12]
Installation manual
Installation restriction
“Guard net” “Air ow guide” or “Snow protection
hood” is not available to install with Wind guard
Installation
1 Remove the 4 xing screws at corner of resin air outlet grille to attach the air ow guide.
2 Attach the air ow guide by 4 screws (accessory). (Tightening Torque: 2.4 - 3.1Nm).
3 Do not remove the air discharge grille for air ow guide installation.
! CAUTION
If the air guide is installed without discharge grille it may cause injury due to rotating fan.
One wind guard cover installation
Wind guard
Screw (4 x M5)
(Accessory)
Air ow
Air ow
Air ow
Air ow
Service space
• Both sides of the outdoor unit should be open.
• No obstacles should be placed in the air discharge side.
Min.200 mm