3 Piping work and refrigerant charge
Piping connection for outdoor unit
SMGB0136 rev.0 - 07/2021
50
3.2.3 Outdoor unit stop valve
1 Remove the stop valve cap before performing the air tight test after connecting the are nut. Tighten the spindle valve
in clockwise according to the following table “Tightening Torque of Stop Valves.”
2 Tighten the are nut according the specied torque. If the tightening torque is excessive, it may cause refrigerant
leakage from the spindle part.
3 Perform the air tight test after the tightening work. It is more effective to perform this work after x the are nuts for
the piping connection to the stop valves.
4 Use the charging hose for the check joint connection. When removing the charging hose from the check joint, a
sound may be heard by a small quantity of refrigerant leak. However it is not abnormality. Do not apply excessive
force to the end of opening the spindle. (Tightening Torque: < 5.0N-m)
Spindle Type
Spindle valve
Flare nut
Cap
Check joint for service port
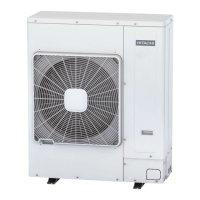
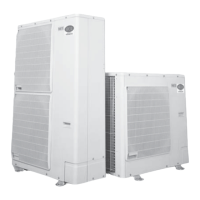
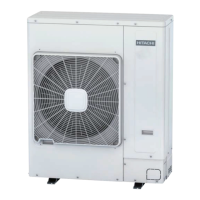
Outdoor unit
Tightening Torque (Nm)
Gas
valve
Liquid
valve
Gas
valve
Liquid
valve
Gas
valve
Liquid
valve
Gas
valve
Liquid
valve
RAS-3HVRC2 9-11 7-9 68-82 33-42 33-42 33-42 14-18 14-18
RAS-(4-6)H(V)(R/N)(C/P)2E 9-11 7-9 68-82 33-42 50-62 33-42 14-18 14-18
Nº Description Remarks
Cap Tighten the cap with 37 Nm torque
Allen wrench
Liquid valve: Hex 4mm
Gas valve: Hex 5mm
Refrigerant piping Field supplied
Flare nut
Refrigerant pressure To outdoor unit
Seat Surface Fully closed position
Check joint Only the charging those can be connected
Charge port cap Tighten the cap with 16 Nm torque
O-Ring Rubber
Spindle valve
Open – Counterclockwise
Close – Clockwise
 Loading...


